A perfect guide for changing nameservers in Godaddy, Nameservers convert the domain name into an IP address, which is easy for computers to understand.
To connect your domain with your hosting, you need to change your domain’s nameserver to point it out to your servers.
In this article, we will see how to change/update your domains’ nameservers in Godaddy.
Quick & Easy Way to Change Nameservers in Godaddy
1. Login into your Godaddy account using your username or Customer Id.
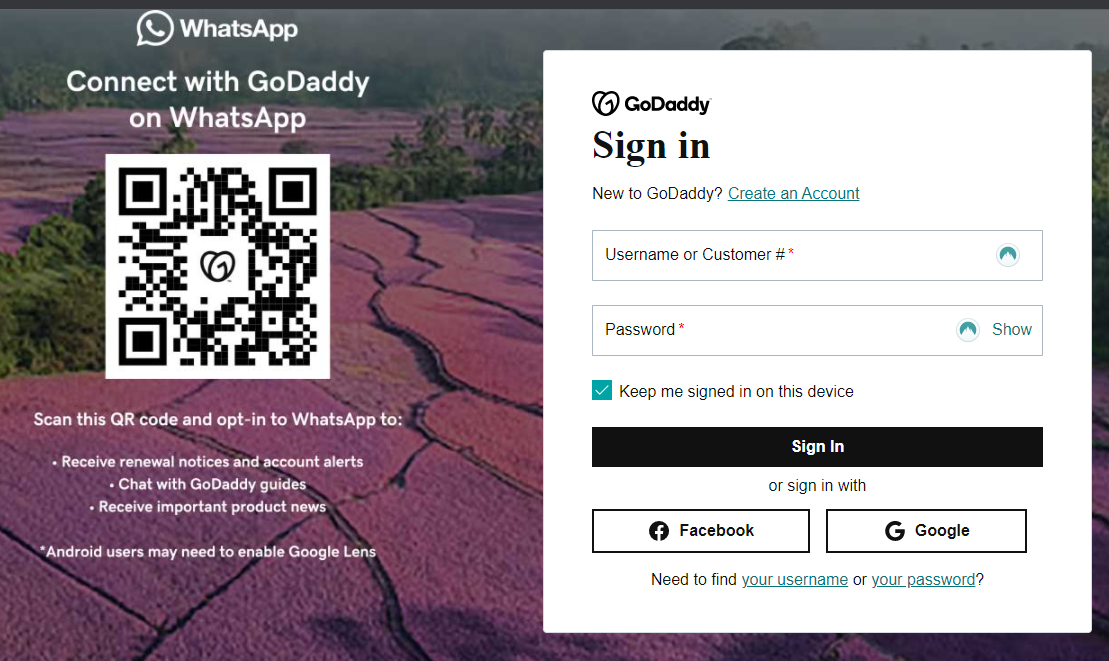
2. You will be redirected to your account dashboard where you can see your products.
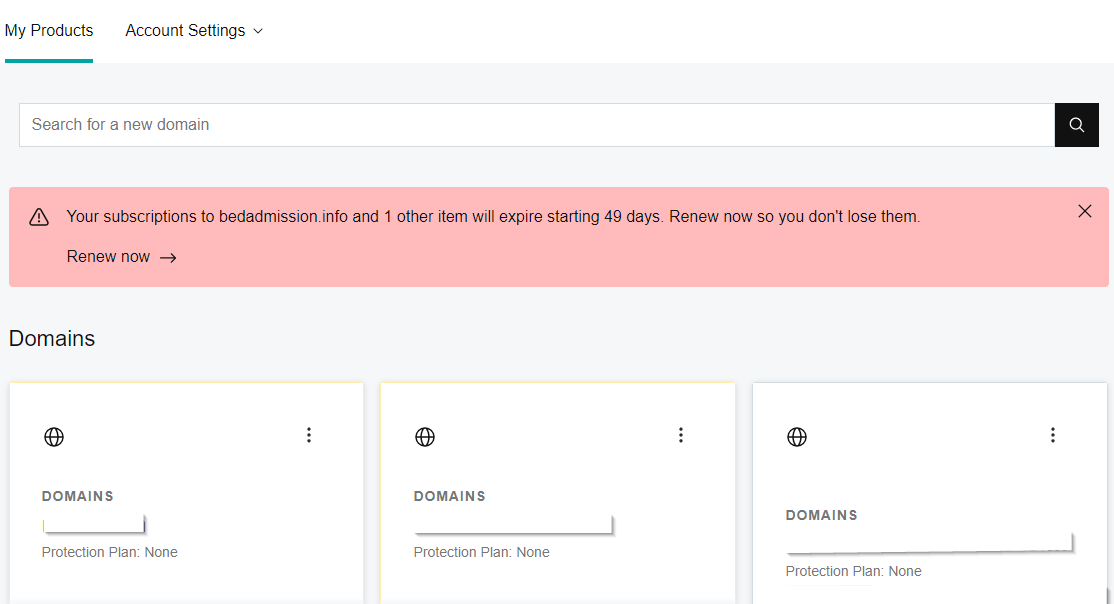
3. Click on the domain name and your domain setting page will open. Click Manage DNS
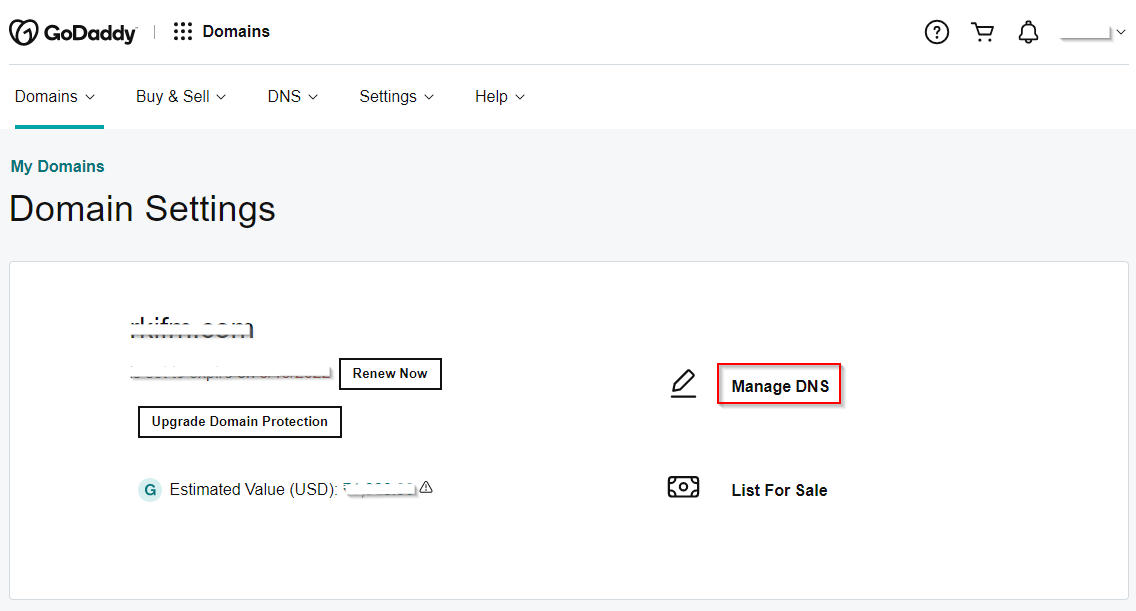
4. DNS management page will open. Scroll down to locate the Nameservers section and click Change.
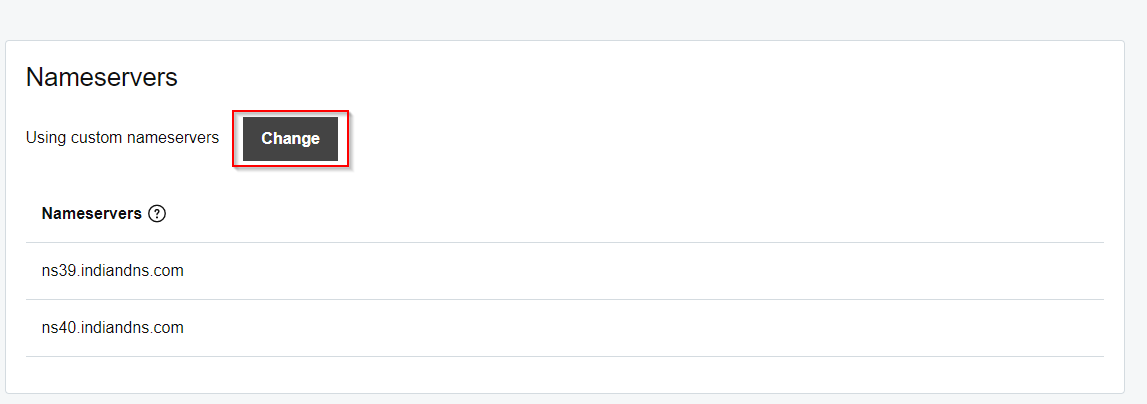
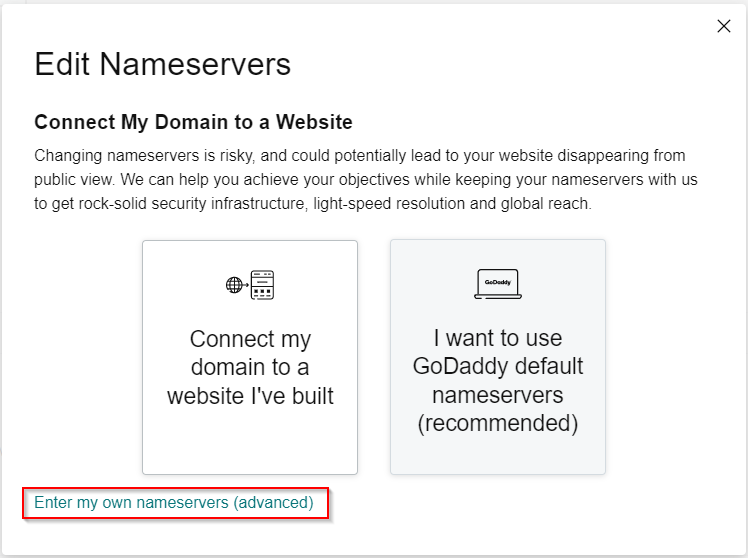
5. Click on Enter my own nameservers(advanced).
6. Enter your nameservers and click Save.

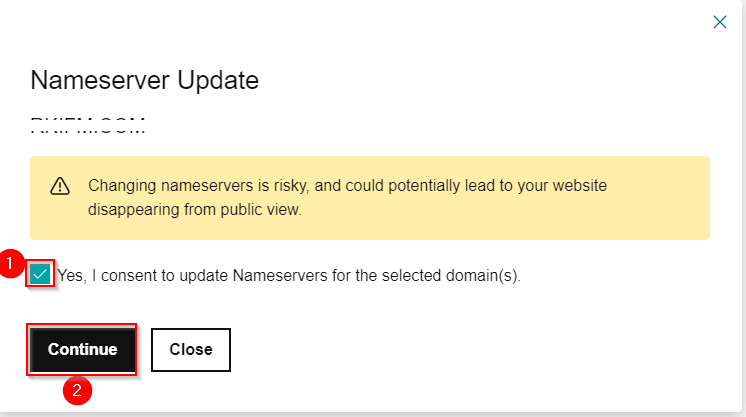
7. A pop will appear for your consent. Click on the checkbox and Continue.
8. A successful message will appear confirming the change of nameserver.
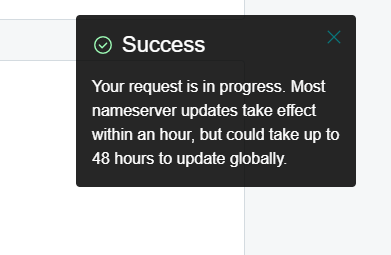
Once you save your changes, you’re finished. It may take up to 24 hours for your nameservers to update.