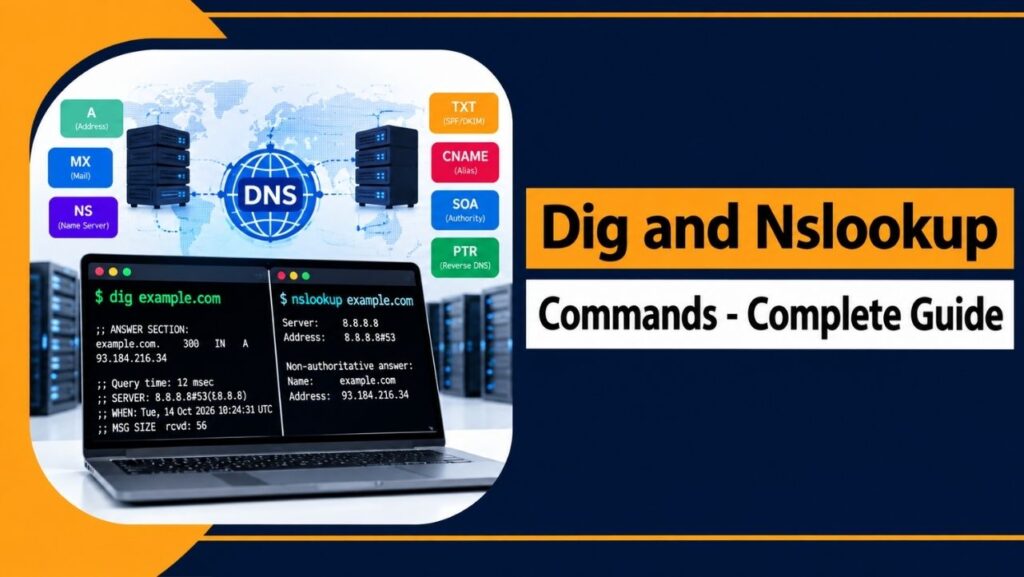
DNS problems can affect websites, email, and APIs when records point to the wrong place. Dig and Nslookup provide practical ways to inspect those records quickly.
This guide explains how both commands work, where to install them, and how to use common DNS queries for faster troubleshooting without relying on graphical tools.
You will learn useful commands, compare Dig with Nslookup and Host, trace DNS resolution, troubleshoot common errors, automate checks, and follow reliable DNS practices with confidence.
Why Dig and Nslookup Commands Matter?
Every website, mail server, and API depends on DNS resolving correctly. When a domain does not resolve, or resolves to the wrong IP address, the result is downtime, bounced email, or broken SSL.
DNS lookup tools like dig and nslookup let administrators verify, in seconds, whether a DNS record is published correctly, which name server is authoritative, and how far a change has propagated across the internet.
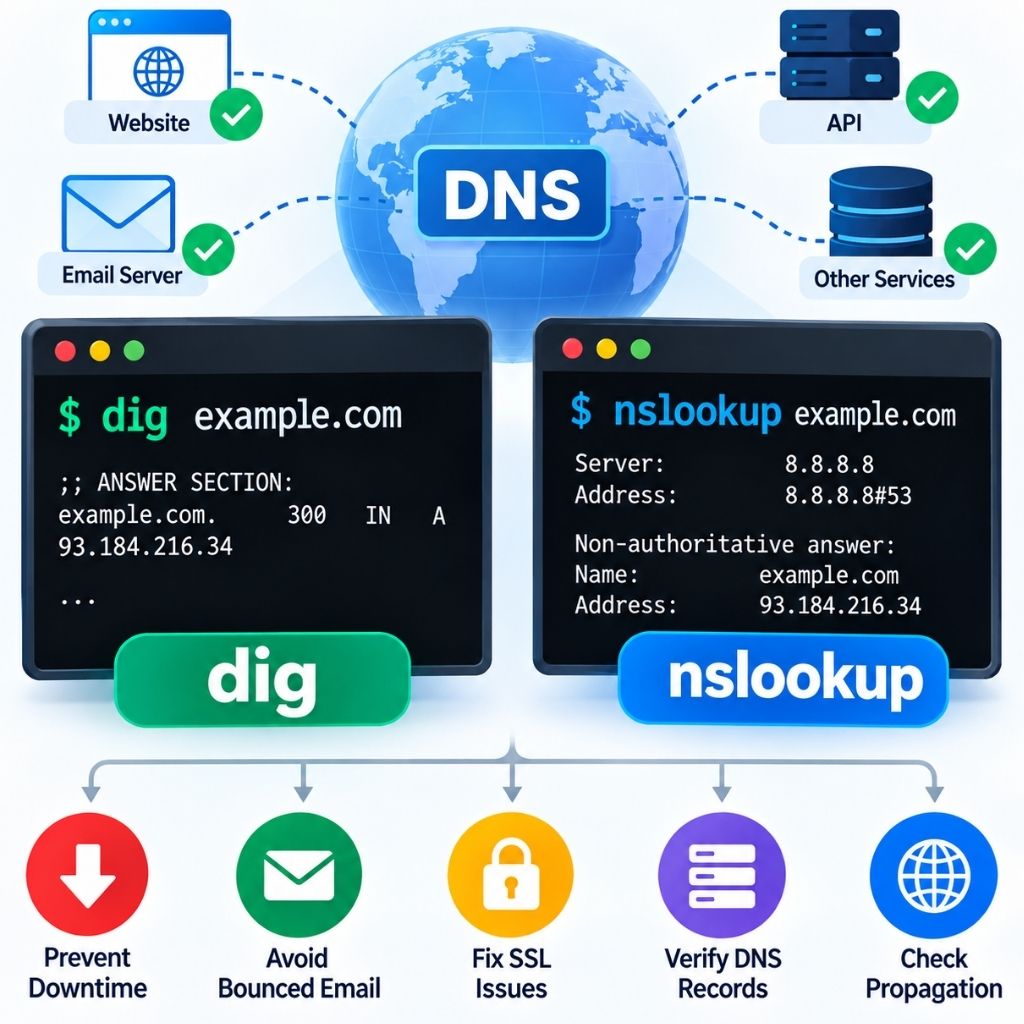
Both tools are free, pre-installed or easily installable on every major operating system, and require no GUI, making them the first step in any DNS troubleshooting workflow before escalating to a hosting provider or registrar.
What Is the Dig Command?
Dig (Domain Information Groper) is a command line DNS lookup utility included in the dnsutils (Debian/Ubuntu) or bind-utils
(RHEL/CentOS/AlmaLinux) packages. It queries DNS servers directly and returns a raw, detailed response including the question asked, the
answer section, the authority section, timing, and the server that answered.
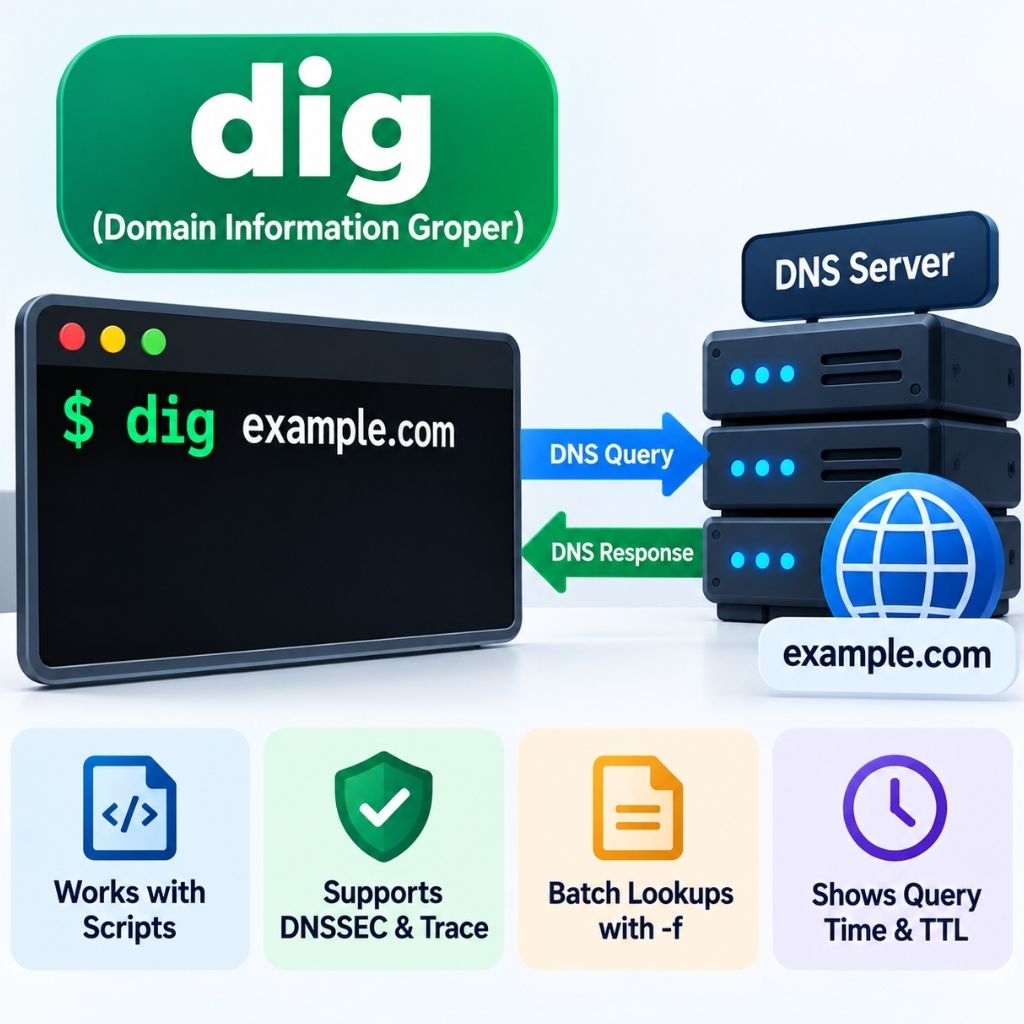
Why sysadmins prefer dig:
- Consistent, parseable output that works well in bash scripts
- Full DNSSEC and DNS trace support (
+trace) - Batch lookups from a file with
-f - Query timing and TTL shown by default
What Is the Nslookup Command?
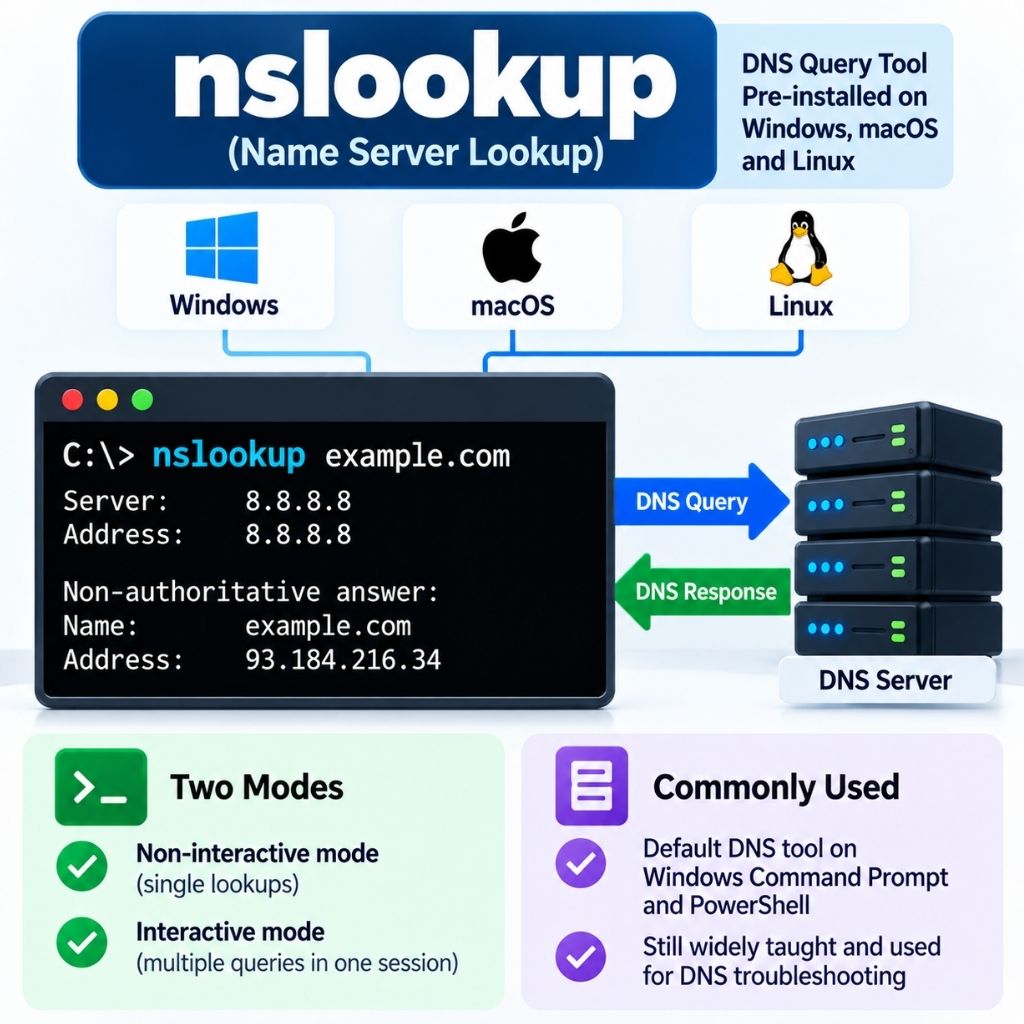
Nslookup (Name Server Lookup) is a DNS query tool available by default on Windows, macOS, and Linux.
It supports both a quick non-interactive mode for single lookups and an interactive mode for running several queries inside one session.
For every nslookup flag, record type option, and troubleshooting example in depth, see our dedicated nslookup command guide.
Nslookup remains the default DNS tool on Windows Command Prompt and PowerShell, which is why it is still widely taught even though most Linux distributions now favor dig.
How to Install Dig and Nslookup
Nslookup is pre-installed on Windows, macOS, and most Linux distributions. Dig usually needs to be installed separately on fresh Linux servers.
Install Dig on Debian / Ubuntu
sudo apt update
sudo apt install dnsutils -y
Install Dig on RHEL / CentOS / AlmaLinux
sudo yum install bind-utils -yVerify Installation
dig -v
nslookup -version
Dig Command Syntax
The basic syntax format:
dig [@DNS-server] [domain] [record-type] [options]Example:
dig youstable.com @8.8.8.8If no DNS server or record type is specified, dig queries the system’s default resolver for the A record.
Most Used Dig Commands and Practical Examples
A Record Lookup (Domain to IP)
dig example.com AMX Record Lookup (Mail Server Check)
dig example.com MXNS Record Lookup (Authoritative Name Servers)
dig example.com NSTXT Record Lookup (SPF, DKIM, Verification)
dig example.com TXTSOA Record Lookup (Primary DNS Authority)
dig example.com SOACNAME Lookup (Alias Records)
dig www.example.com CNAMEReverse DNS Lookup (PTR Record)
Get hostname from IP:
dig -x 93.184.216.34Short Answer Only Output
dig example.com +shortAnswer Section Only (No Header/Footer Noise)
dig example.com +noall +answerFull DNS Resolution Path (Trace)
dig example.com +traceBatch Lookup From a File
dig -f domains.txtNslookup Command Quick Reference
The equivalent nslookup command syntax for the same DNS checks:
| Task | Dig Command | Nslookup Command |
|---|---|---|
| A record | dig example.com A | nslookup example.com |
| MX record | dig example.com MX | nslookup -type=MX example.com |
| TXT record | dig example.com TXT | nslookup -type=TXT example.com |
| Reverse lookup | dig -x 93.184.216.34 | nslookup 93.184.216.34 |
| Custom DNS server | dig example.com @1.1.1.1 | nslookup example.com 1.1.1.1 |
Dig vs Nslookup vs Host: Full Comparison
| Criteria | Dig | Nslookup | Host |
|---|---|---|---|
| Default OS availability | Not default on most Linux | Windows, macOS, Linux | Most Linux/macOS |
| Output detail | Very detailed (question, answer, authority, timing) | Basic to medium | Minimal, one line |
| Scripting friendly | Yes, +short and +noall +answer | Limited | Yes, simple parsing |
| DNSSEC support | Full (+dnssec) | No | No |
| Trace full resolution path | Yes (+trace) | No | No |
| Interactive mode | No | Yes | No |
| Best for | Advanced DNS diagnostics, automation | Quick checks, Windows environments | Fast forward/reverse lookups |
In short: use dig for detailed, scriptable, DNSSEC-aware diagnostics on Linux and macOS; use nslookup for quick checks on Windows or when dig is unavailable; use host for the fastest one-line answer.
Real-World DNS Troubleshooting Scenarios
| Problem | Command to Run | What It Tells You |
|---|---|---|
| Website not loading | dig example.com +short | Confirms if domain resolves to the correct server IP |
| Emails bouncing | dig example.com MX / TXT | Reveals misconfigured mail routing or missing SPF/DKIM |
| DNS propagation check | dig example.com @8.8.8.8 vs @1.1.1.1 | Different answers mean the change is still propagating |
| Wrong name servers after migration | dig example.com NS | Shows which registrar or host currently controls DNS |
| CDN or reverse proxy verification | dig example.com +trace | Shows the exact path from root servers to the final answer |
| Suspicious inbound traffic | dig -x [IP address] | Identifies the hosting provider or network behind an IP |
Common DNS Error Messages and Fixes
| Error | Meaning | Fix |
|---|---|---|
| NXDOMAIN | Domain does not exist | Check spelling, confirm the domain is registered and has DNS records |
| SERVFAIL | Authoritative server failed to respond correctly | Retry against a public resolver like 1.1.1.1; check zone file for errors |
| REFUSED | DNS server rejected the query | Server may restrict recursion; query the authoritative NS directly |
| connection timed out; no servers could be reached | No response from any configured DNS server | Check firewall rules on port 53 (UDP/TCP) and network connectivity |
| Empty answer section | Domain resolves but the queried record type does not exist | Confirm the correct record type was created (e.g. MX vs A) |
Understanding Dig +trace Output
The +trace flag makes dig follow the entire DNS delegation chain, from the root servers down to the authoritative name server, instead of relying on a resolver’s cached answer:
dig example.com +trace

.                       518400  IN  NS  a.root-servers.net.
com.                    172800  IN  NS  a.gtld-servers.net.
example.com.            172800  IN  NS  ns1.example.com.
example.com.            300     IN  A   93.184.216.34
This is the fastest way to confirm exactly which name server is authoritative for a domain, and to catch broken delegation after a domain transfer or nameserver change.
Automating DNS Checks With Dig in Shell Scripts
Because dig’s +short output is clean and script friendly, it is commonly used in bash monitoring scripts and cron jobs to detect DNS or propagation failures:
#!/bin/bash
DOMAIN="example.com"
EXPECTED_IP="93.184.216.34"
CURRENT_IP=$(dig +short "$DOMAIN" A)

if [ "$CURRENT_IP" != "$EXPECTED_IP" ]; then
  echo "DNS mismatch for $DOMAIN: expected $EXPECTED_IP, got $CURRENT_IP"
fi
This pattern is useful for alerting when a domain’s A record changes unexpectedly, such as during a hijack attempt or an accidental DNS edit.
Best Practices for Using Dig and Nslookup
Use dig and nslookup carefully to get accurate DNS results and avoid confusing cached or incomplete responses. Follow these practices when troubleshooting DNS issues:
- Check multiple DNS resolvers: Query public resolvers such as 1.1.1.1 and 8.8.8.8 to compare results and identify possible propagation differences.
- Use dig +trace for delegation issues: When a domain gives inconsistent results, use dig example.com +trace to follow the DNS resolution path from the root servers to the authoritative name server.
- Use clean output for scripts: Use dig +short or dig +noall +answer when automating DNS checks. These options make the output easier to parse in shell scripts.
- Check the SOA record and TTL: Review the SOA record and its TTL before assuming that a DNS change has fully propagated across different resolvers.
- Query authoritative servers directly: Use dig example.com @ns1.example.com to check the authoritative response and separate DNS configuration problems from resolver caching.
- Verify the correct record type: Make sure you query the record relevant to the problem, such as A for website IP addresses, MX for email routing, or TXT for SPF, DKIM, and verification records.
These practices make DNS troubleshooting more reliable and help identify whether an issue comes from the DNS configuration, authoritative server, resolver cache, or propagation.
FAQs
What is the difference between dig and nslookup?
Dig gives more detailed, script friendly output and supports DNSSEC and full resolution tracing, while nslookup is simpler and available by default on Windows, macOS, and Linux for quick checks.
Which is better, dig or nslookup?
Dig is generally better for advanced DNS diagnostics and automation on Linux/macOS. Nslookup is better when you need a quick lookup on Windows or a tool with no installation required.
How do I install dig on Linux?
On Debian/Ubuntu run “sudo apt install dnsutils”. On RHEL/CentOS/AlmaLinux run “sudo yum install bind-utils”.
How do I check MX records with dig?
Run “dig example.com MX” to see the mail exchange records and their priority values.
What does dig +trace do?
It follows the full DNS delegation path from the root servers down to the authoritative name server, instead of returning a cached resolver answer.
Can I use dig on Windows?
Yes, by installing BIND tools for Windows or using WSL (Windows Subsystem for Linux). Nslookup remains the built-in default on Windows.
Why do dig and nslookup show different results for the same domain?
This usually happens due to DNS propagation delay, different DNS resolvers being queried, or local DNS caching returning a stale record.
How do I do a reverse DNS lookup?
Use “dig -x [IP address]” or “nslookup [IP address]” to resolve an IP address back to its hostname.