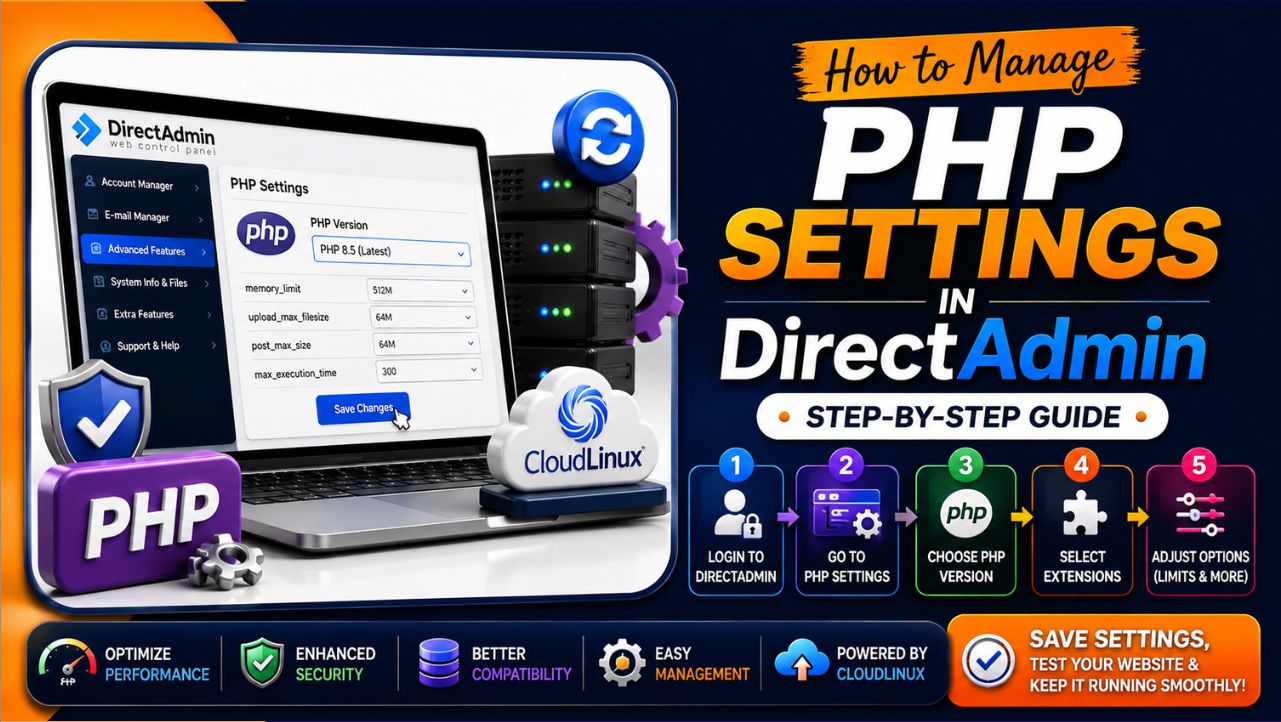
Your PHP settings are very important for your website and its performance. Youstable allows website owners to easily customize their PHP configurations to match their application and website needs.
You get options such as PHP version and memory limit, and you can very easily handle errors that can even be adjusted through the DirectAdmin panel. If you do proper configuration, it will help you maintain reliable operations with security and deliver smoother performance.
Let’s start and see how easily you can manage your PHP settings.
How to Manage PHP Settings in DirectAdmin
We’ve given simple and navigable steps here so that you’re not stuck anywhere in between when you’re managing your PHP settings. You’ll see well-explained steps with properly labeled screenshots.
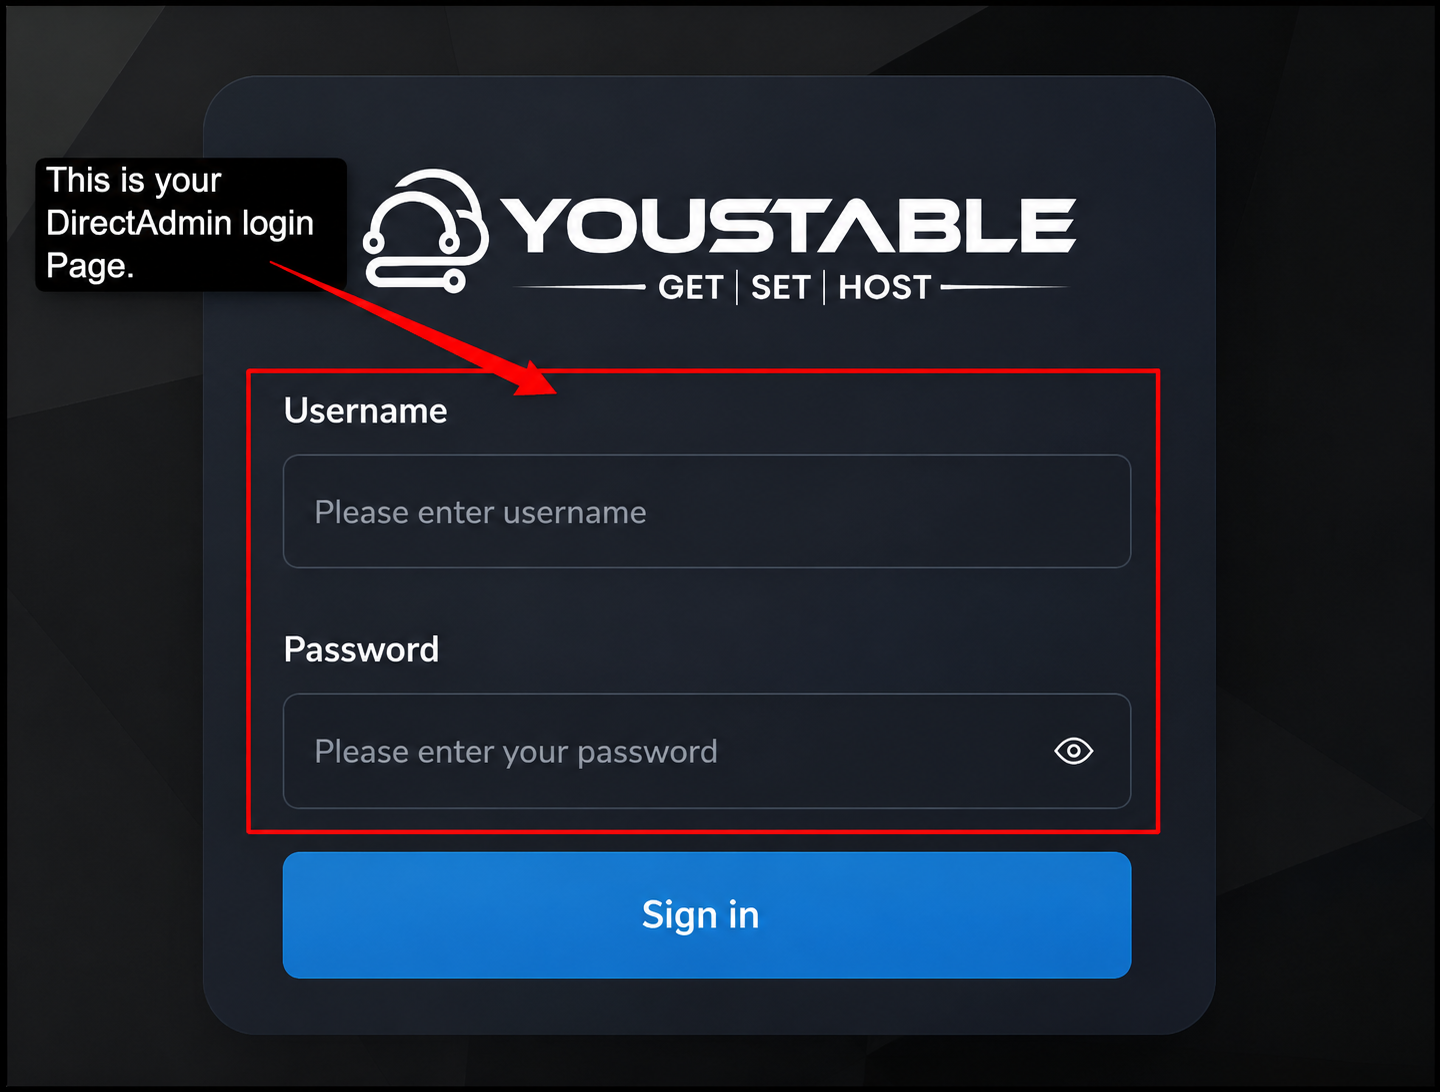
Step 1) Go to your DirectAdmin panel URL (usually yourdomain.com:2222). >> Enter your username and password >> Click on Login >> You are now on the DirectAdmin main dashboard.
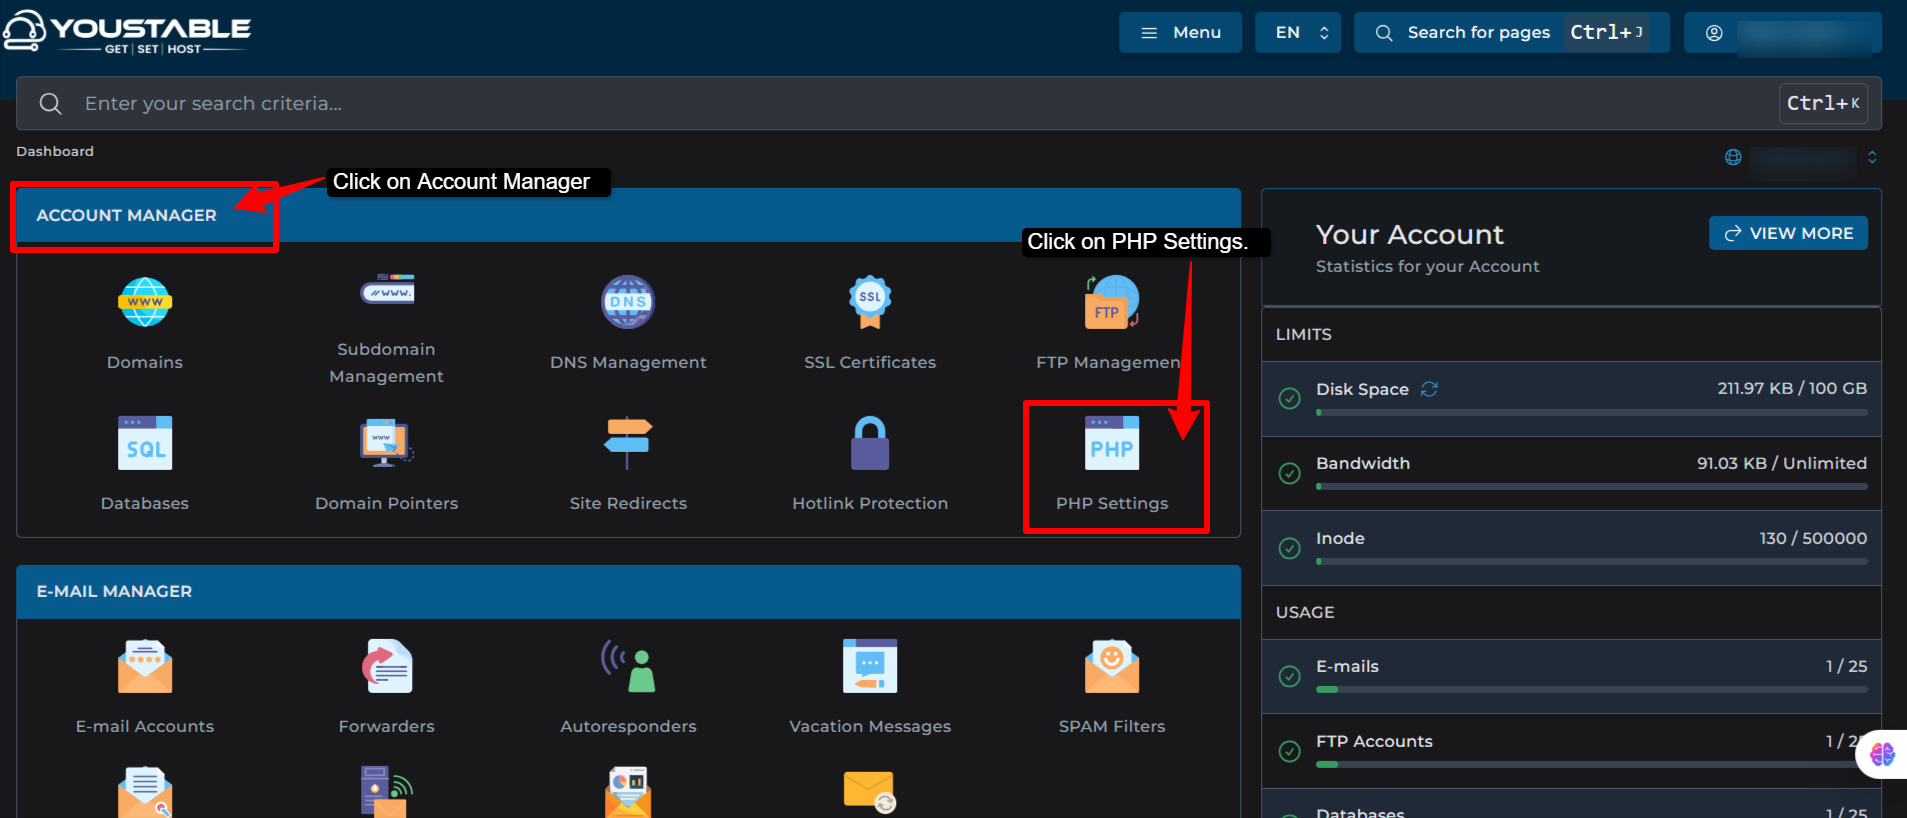
Step 2) Once you enter your DirectAdmin credentials, the DirectAdmin interface will open >> Click on “Account Manager” and go to “PHP Settings.”
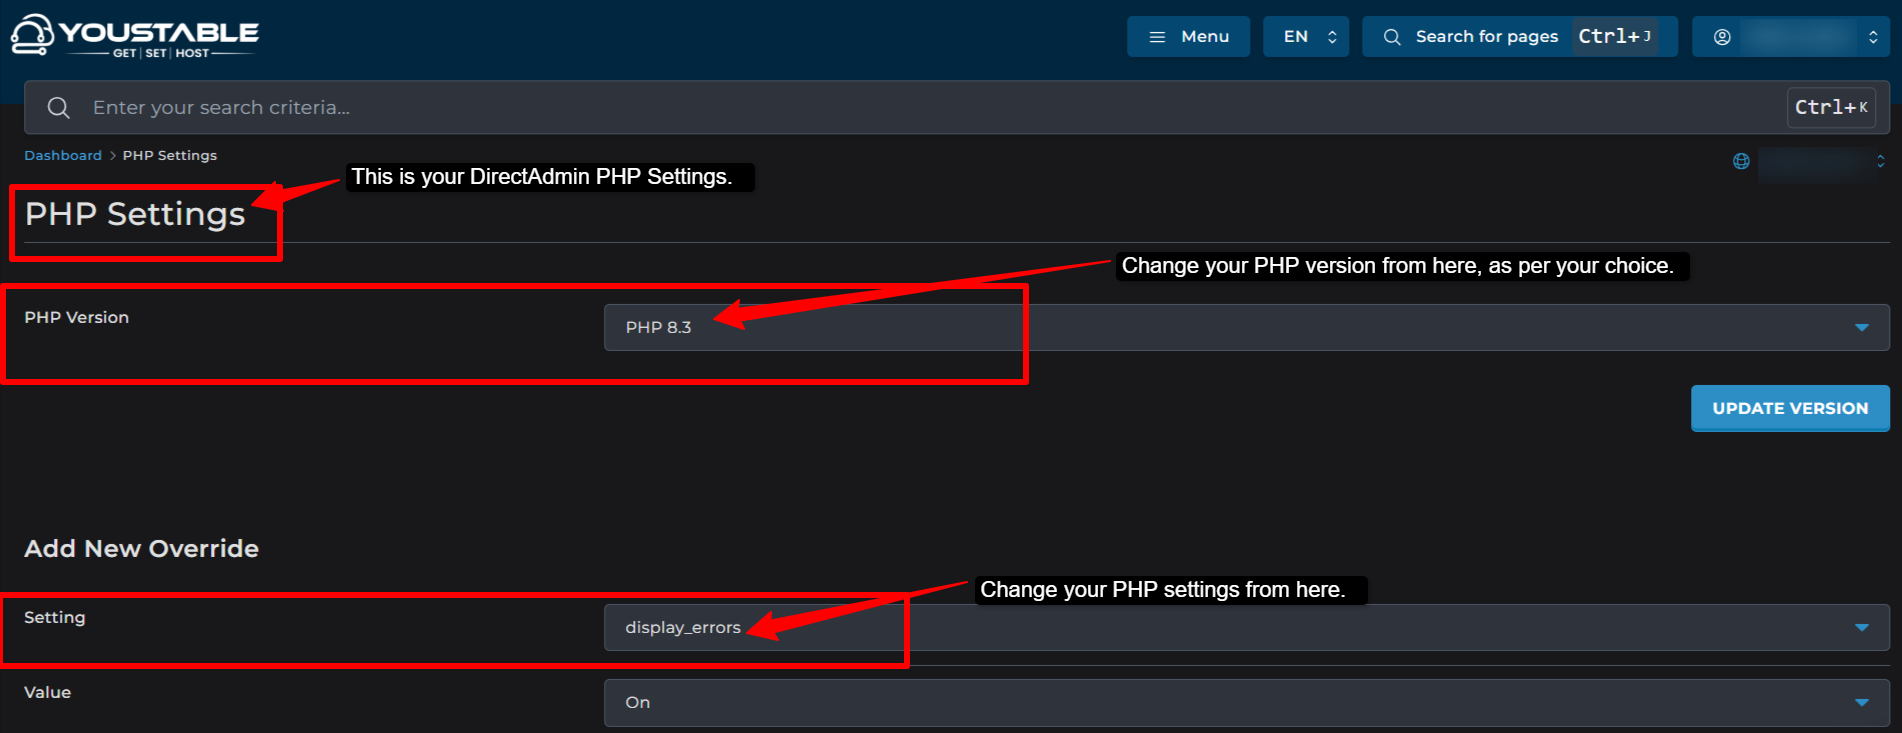
Step 3) Once you click on the PHP settings option >> A page will open where you can change your PHP settings. >> Change your PHP version as per your choice (8.4 is the current version). >> You can easily change your settings with multiple options and manage your PHP settings easily from here.
| Note: There are 2 ways of managing your PHP settings You can directly log in to the DirectAdmin page and change your PHP settings, as I have mentioned above. OR Youstable provides CloudLinux, from which you can manage your PHP settings more easily. It gives you ease of management compared to managing your PHP settings in DirectAdmin. |
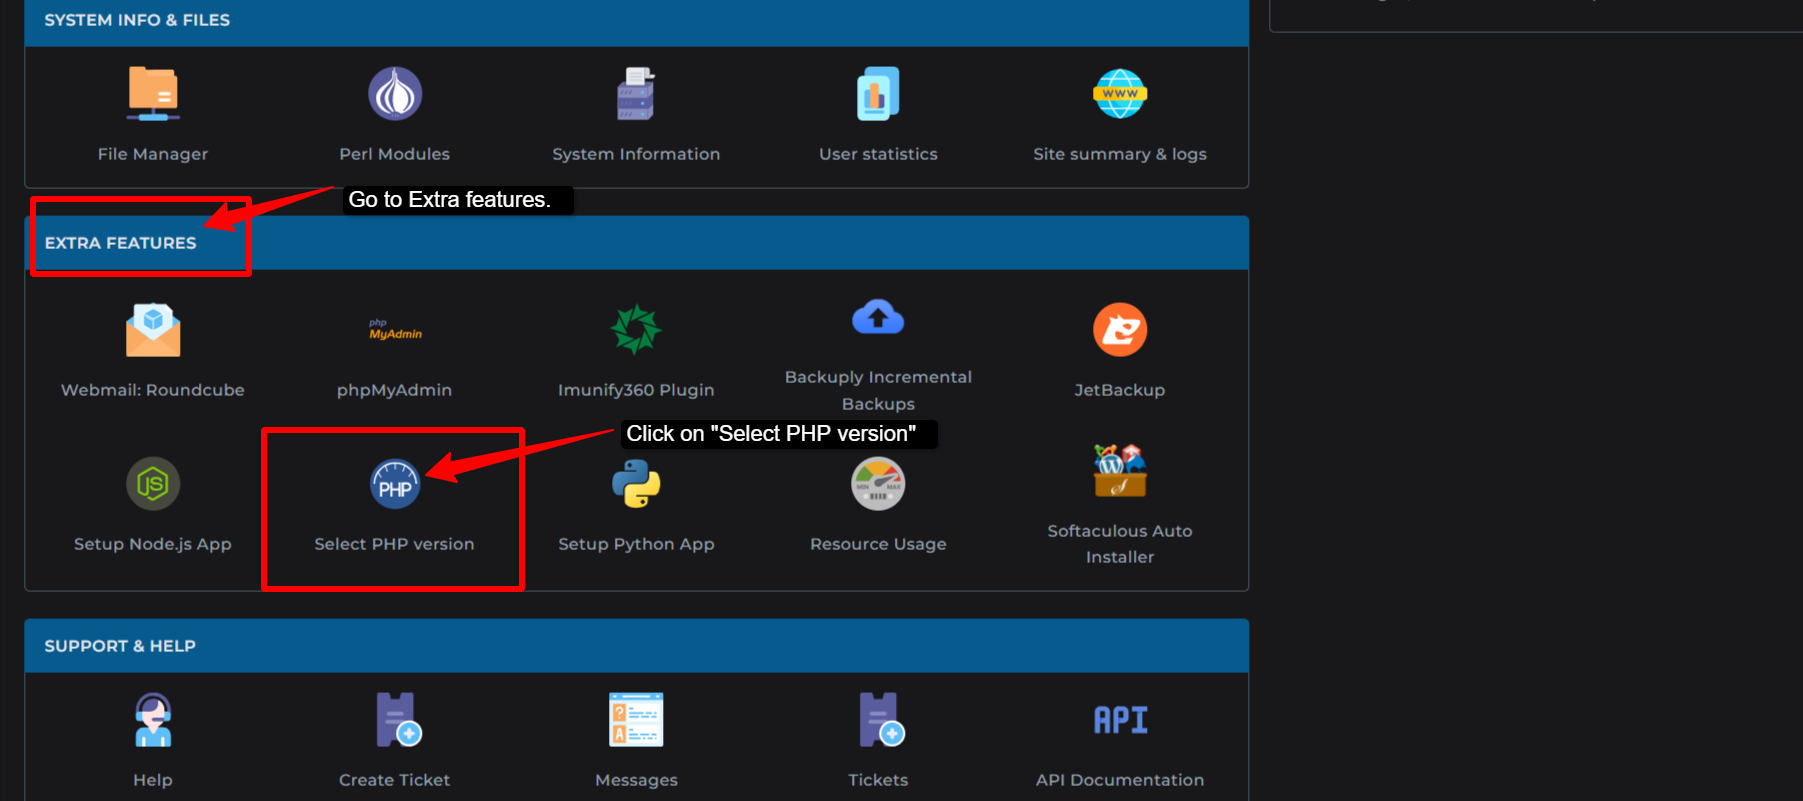
Step 4) Click on the Youstable logo, and you will reach the main menu section >> Find “Extra Features” >> Click on “Select PHP Version.” (This is through CloudLinux, which you get with Youstable).
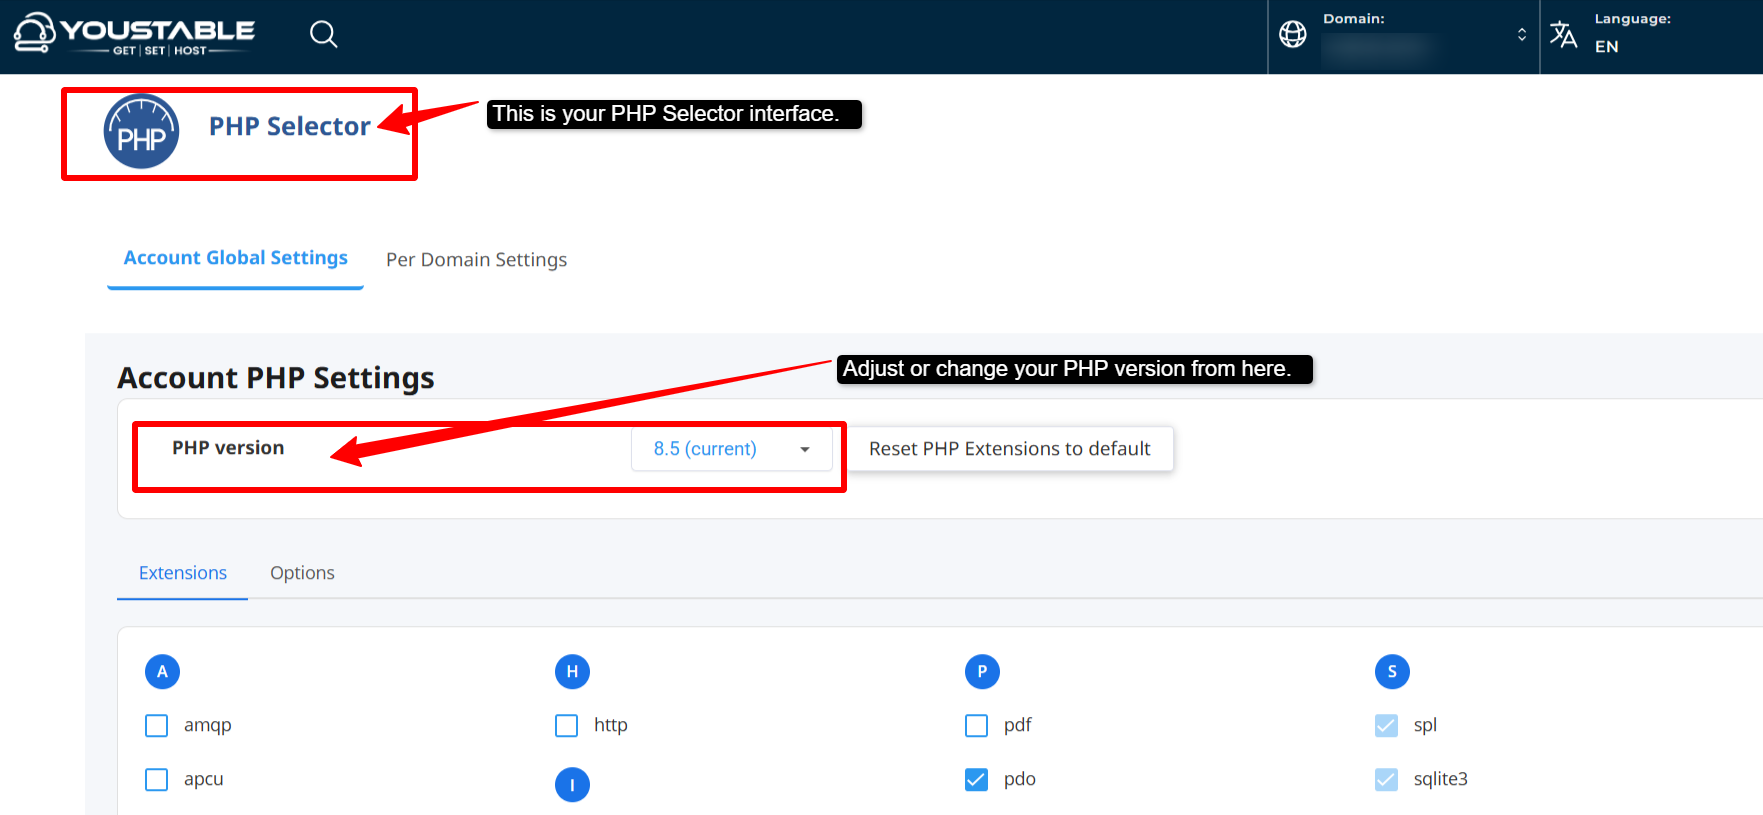
Step 5) Your PHP Selector interface will open >> Choose your PHP version as per your needs (You can go for 8.5, as it’s the latest version)
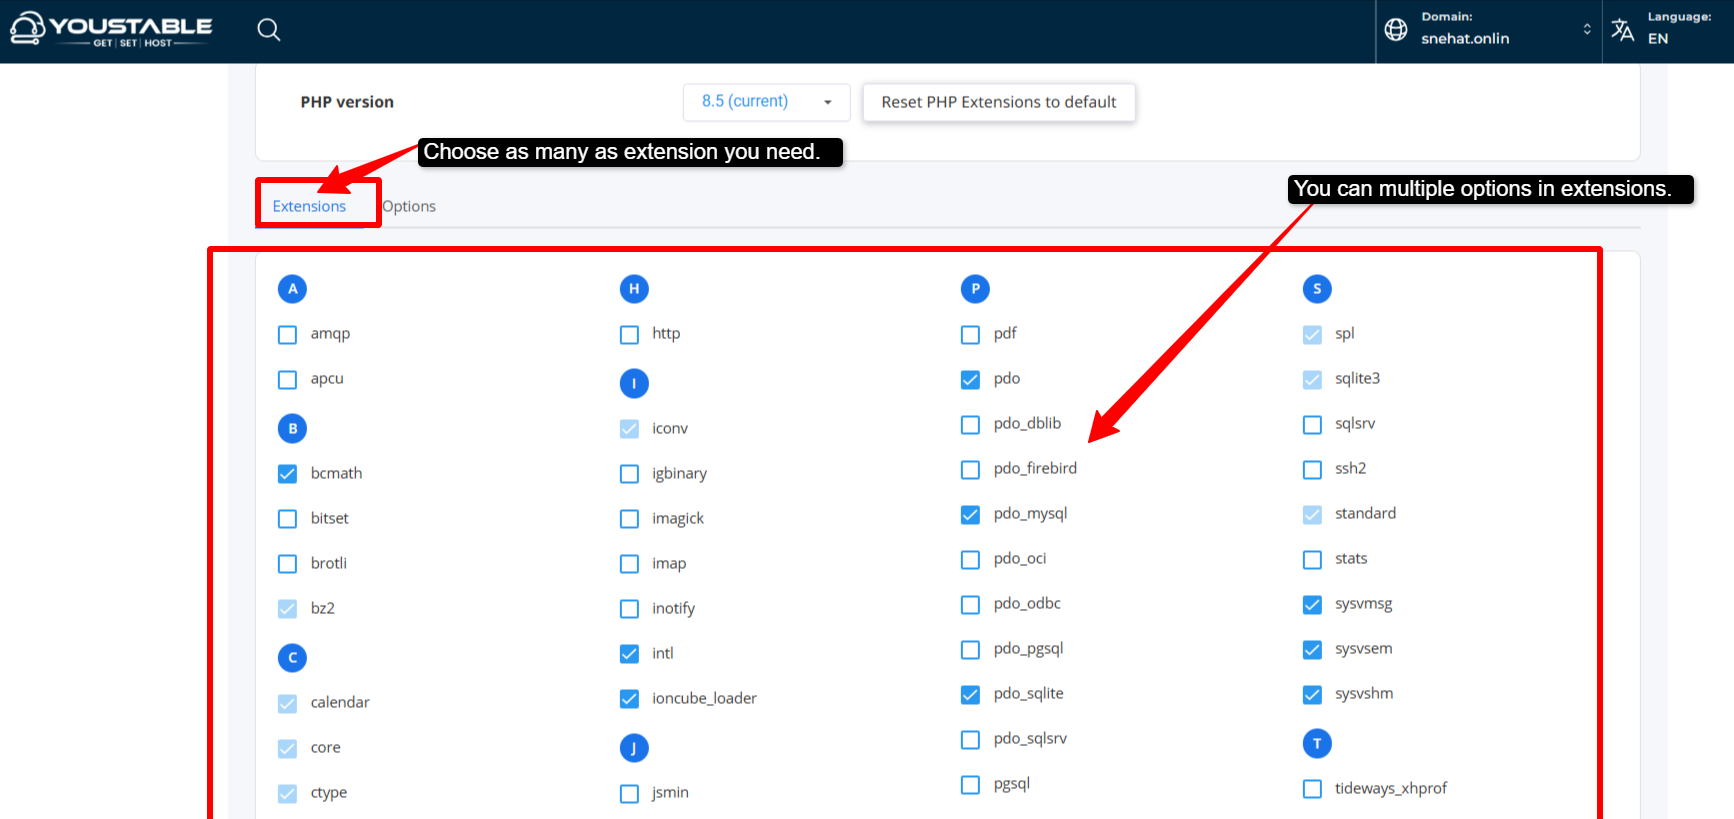
Step 6) Below your PHP version >> You will see many extensions; choose whichever extension you require.
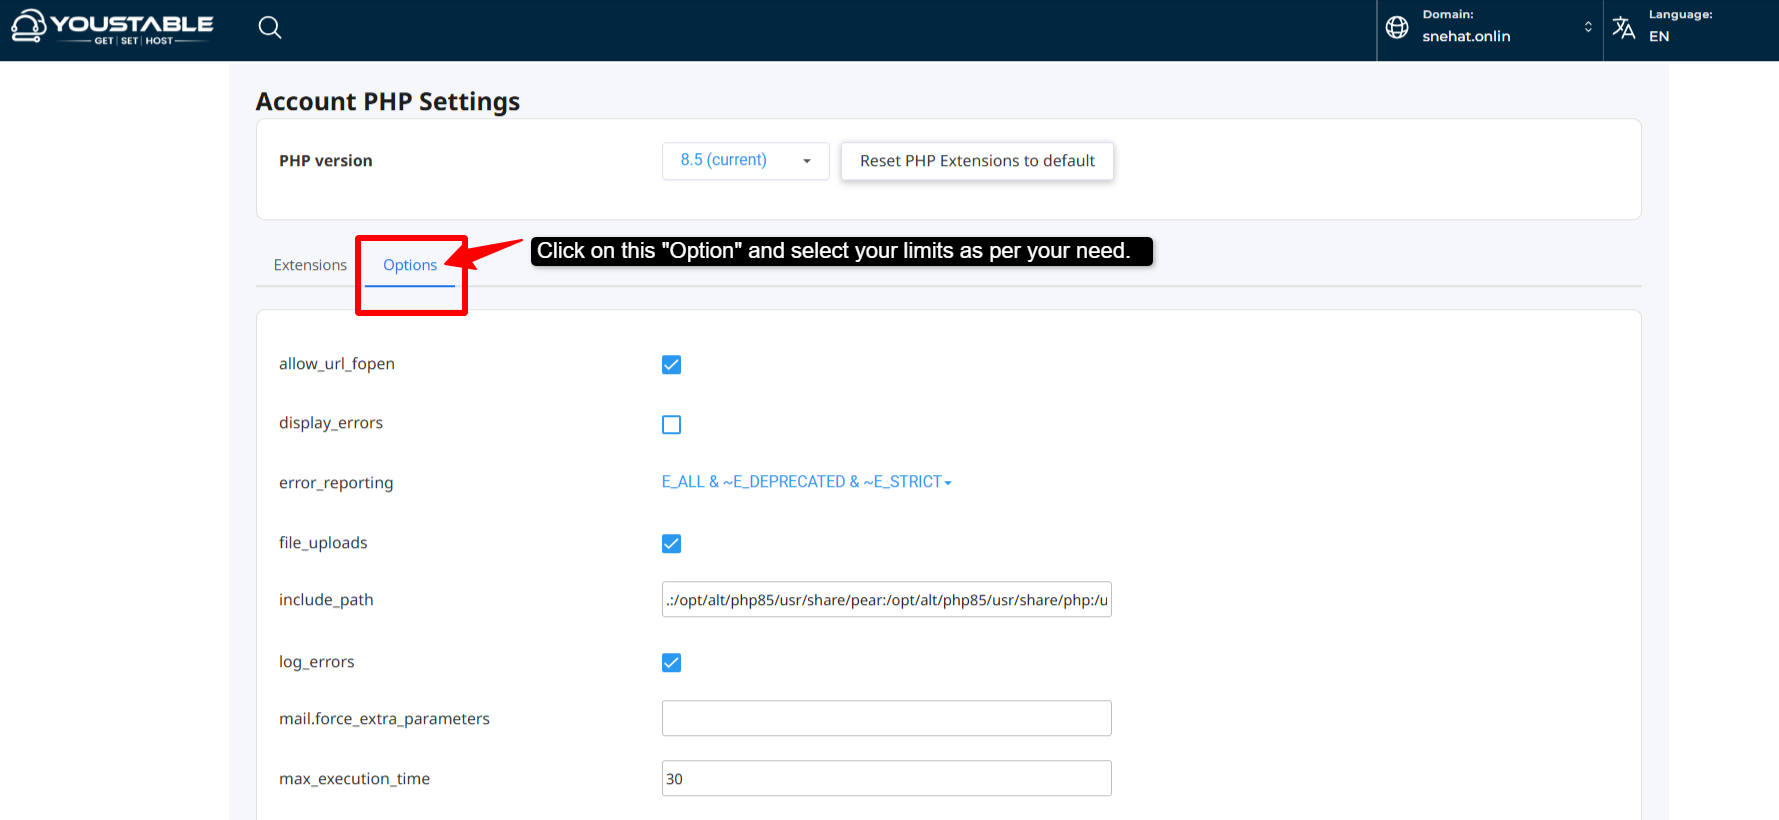
Step 7) Click on the “Option” beside the Extension option. >> Here, it gives you the flexibility to set a limit to the number of options, like Upload Size >> Memory Limit >> Set limit to post max size, and many other things too.
Altogether, managing your PHP settings in DirectAdmin is a very simple way to keep your website running well. Just select the correct PHP version you need and adjust the important options.
The CloudLinux that you get with YouStable makes the PHP selector allow users to choose the PHP version that their website needs. This reduces the need for technical commands or frequent support requests.
Using this, users can easily upgrade their PHP settings and improve their application compatibility and keep their website running smoothly.
Always remember to save your changes, test your website, and contact your hosting provider if you need assistance in any way.