One of the most important aspects of creating a website with WordPress is thousands of third-party plugins which are a supplement for everything you need to do without any coding knowledge.
Unfortunately, the big help of plugins also makes a big difference in aspects like versions and security. Some of the common WordPress problems have been related to plugins:
- The website pages appear as blank pages.
- Slow website speed.
- Error information appears on the web page
In addition to the above issues, other problems are there.
The following article will give you information on how to disable plugins as a way to fix WordPress problems.
There are 4 ways to disable the installed plugins
- From WordPress Dashboard
- From File Manager
- From FTP
- From SSH
How to Disable WordPress Plugins From WordPress Dashboard
Follow the steps below to disable the plugins.
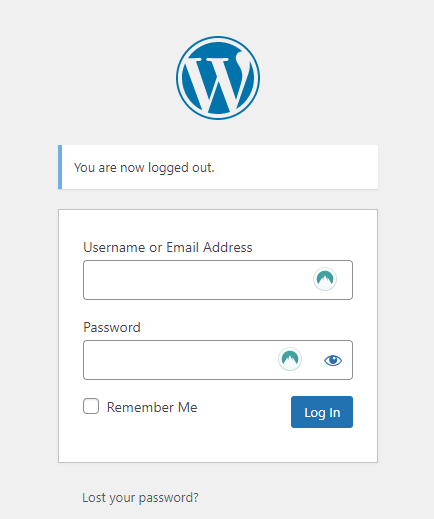
1. Login into your WordPress Dashboard. For login type https://domain.com/wp-admin
Replace domain.com with your domain name.
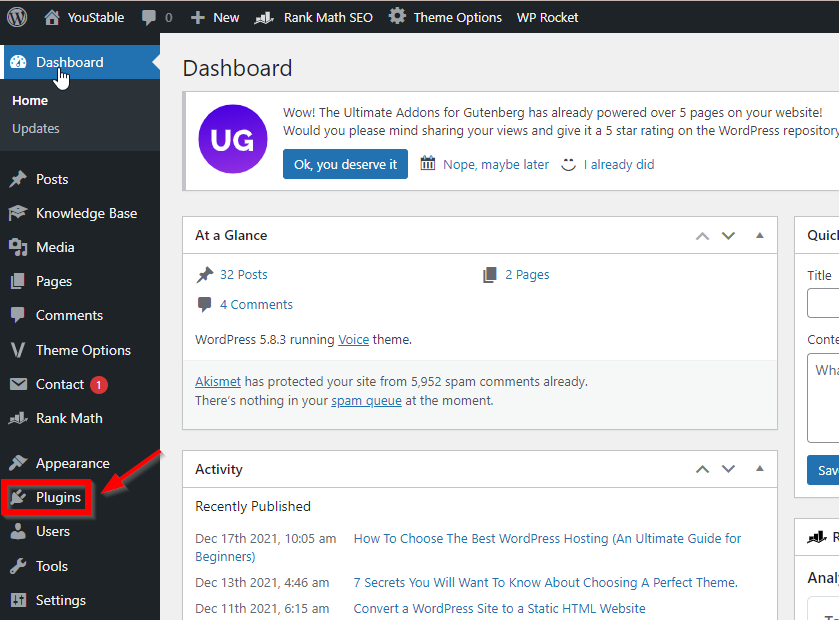
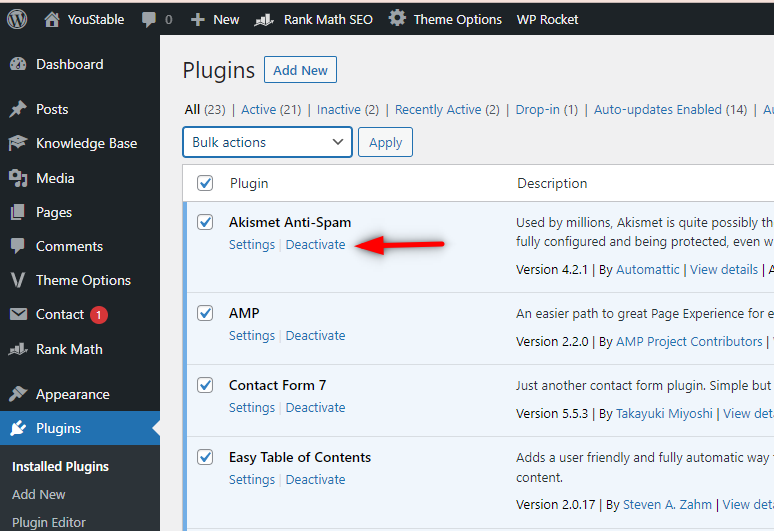
2. Click on the Plugins.
3. Click on the checkbox to select all the installed plugins.
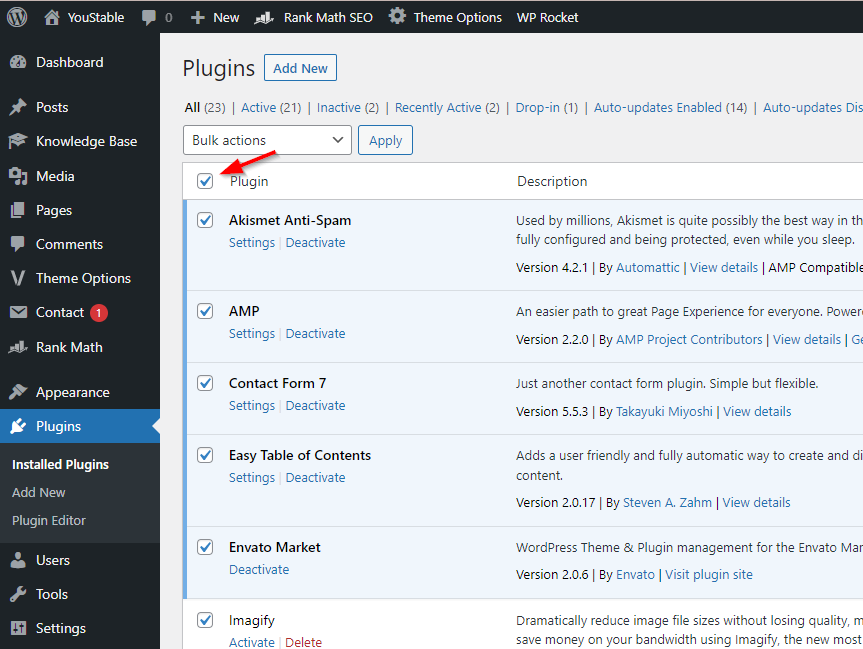
4. Click on the Bulk Action drop-down and select Deactivate. Click Apply.

5. All the plugins will be disabled after the page reload.
6. Alternatively, if you are sure about the plugin which you want to deactivate, click Deactivate just below the plugin.
How to Disable WordPress Plugins From File Manager
Here are steps to disable WordPress plugins from File Manager:
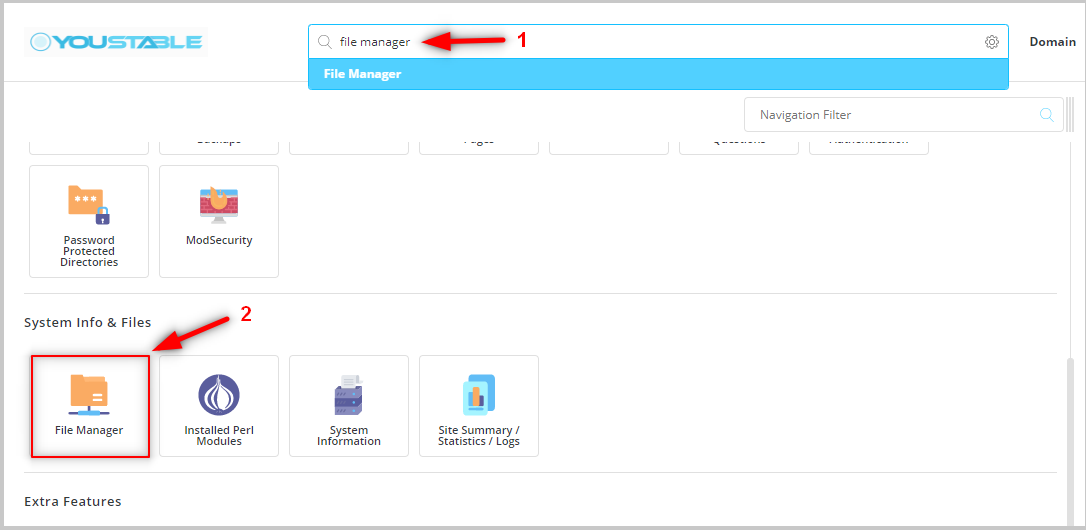
1. Login into the control panel. Here my control panel is DirectAdmin.
2. Type “file manager” in the search bar or scroll down and locate File Manager and click on it.
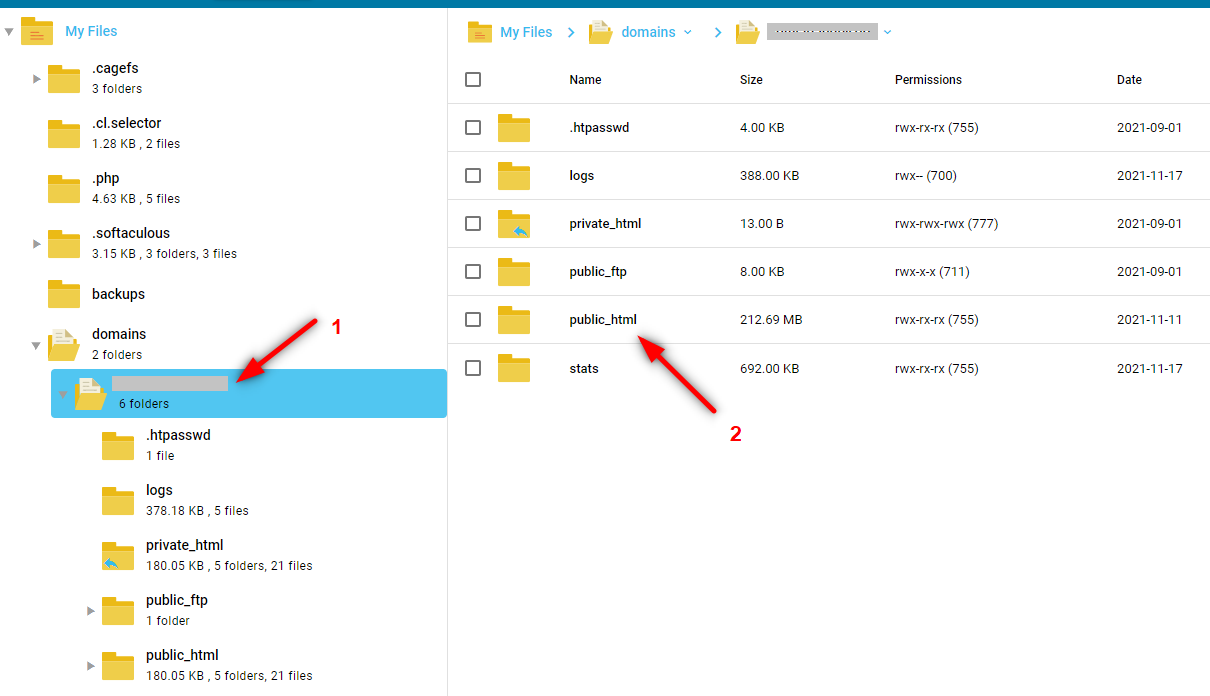
3. Click Domains –> your domain (for which you want to edit wp_config.php) –>public_html
4. Navigate to wp-content and plugins and rename the directory (folder). After renaming, all the plugins will be disabled.
How to Disable WordPress Plugins From FTP
Here are the steps to Disable WordPress Plugins From FTP are:
- Open FileZilla and connect your server via FTP.
- Enter Hostname: Enter your domain name or Server IP
- Username: Enter your FTP username.
- Password: Enter your FTP password
- Port: The default port for FTP is 21 and for SFTP it’s 22

- The “Directory listing Successful” message confirms that the login has been successful.
- Navigate to root/domains/yourdomain/pubic_html/wp-content directory.
- Right Click on the plugins and rename them.
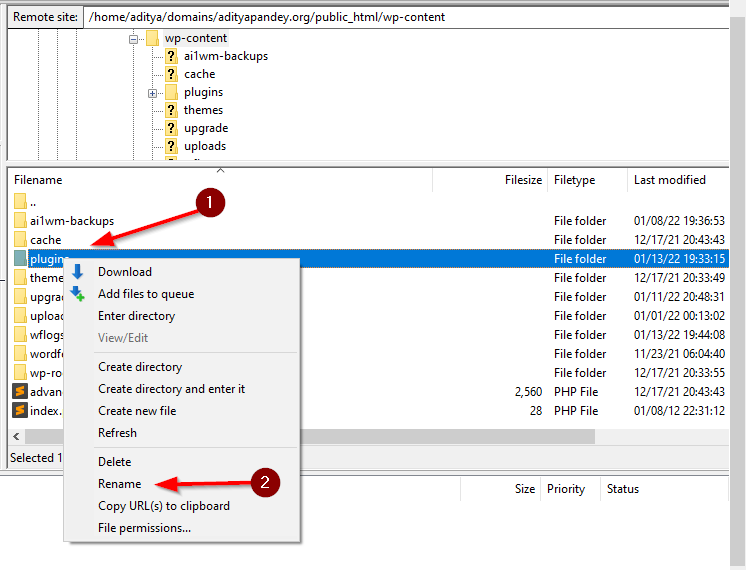
- All your plugins will be disabled
How to Disable WordPress Plugins From SSH
Here are the steps to disable WordPress plugins from SSH are:
- Connect your server via SSH
ssh root@serverIP
- Navigate to your website directory using the cd command
cd /home/username/domains/yourdomain/wp-content/
- Rename the /plugin folder using the mv command.
mv plugins plugins12
- All the plugins will be disabled after the rename.
- Alternatively, you navigate inside the /plugins directory and rename the plugins individually to disable them one by one.
You may also like: