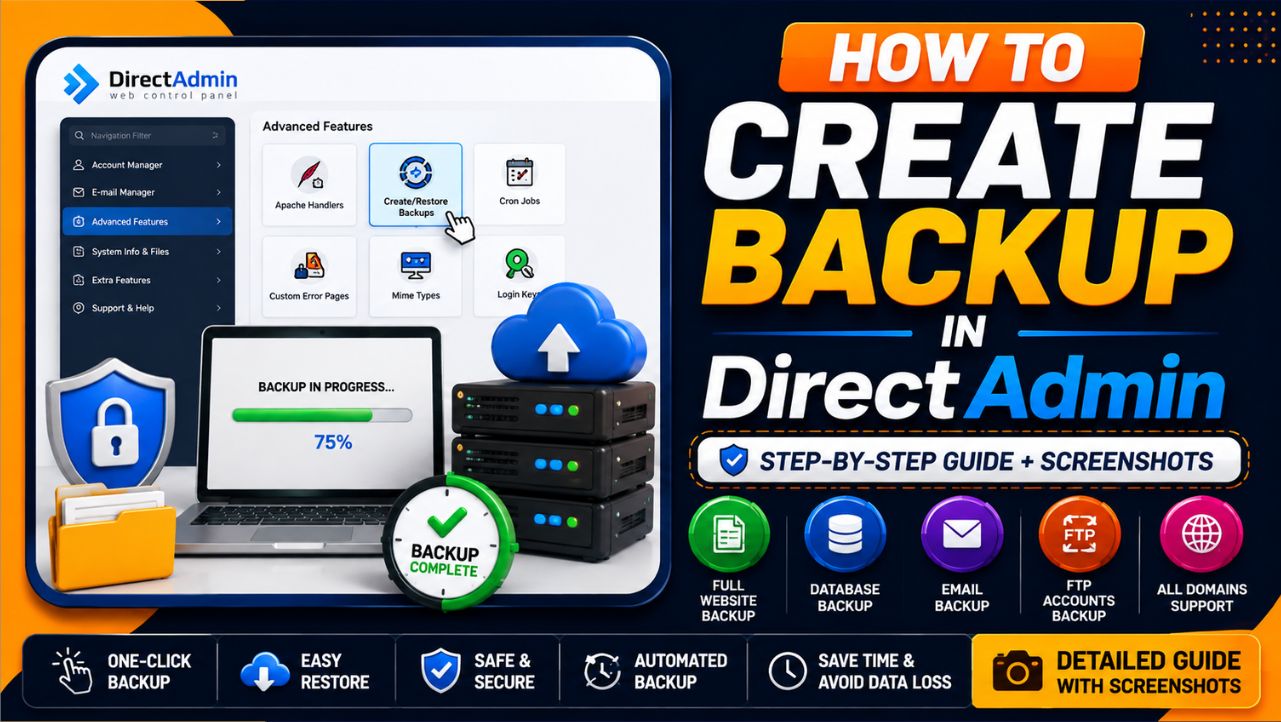
Our clients at YouStable at times are not able to create backups in DirectAdmin.
That’s why I brought this support article to guide you step by step how to create website backup in DirectAdmin with a screenshot for every single step.
You do not need any technical skill. Just follow the screenshots, click along, and you will have a full website backup ready in a few minutes.
Let’s get started.
How to Create Backup in DirectAdmin? Step-by-Step Guide
Follow these steps in order.
I have added a screenshot for every step, so you can simply match your screen with mine and click along. The full path we are going to follow is:
Step 1: Log In to Your DirectAdmin Account
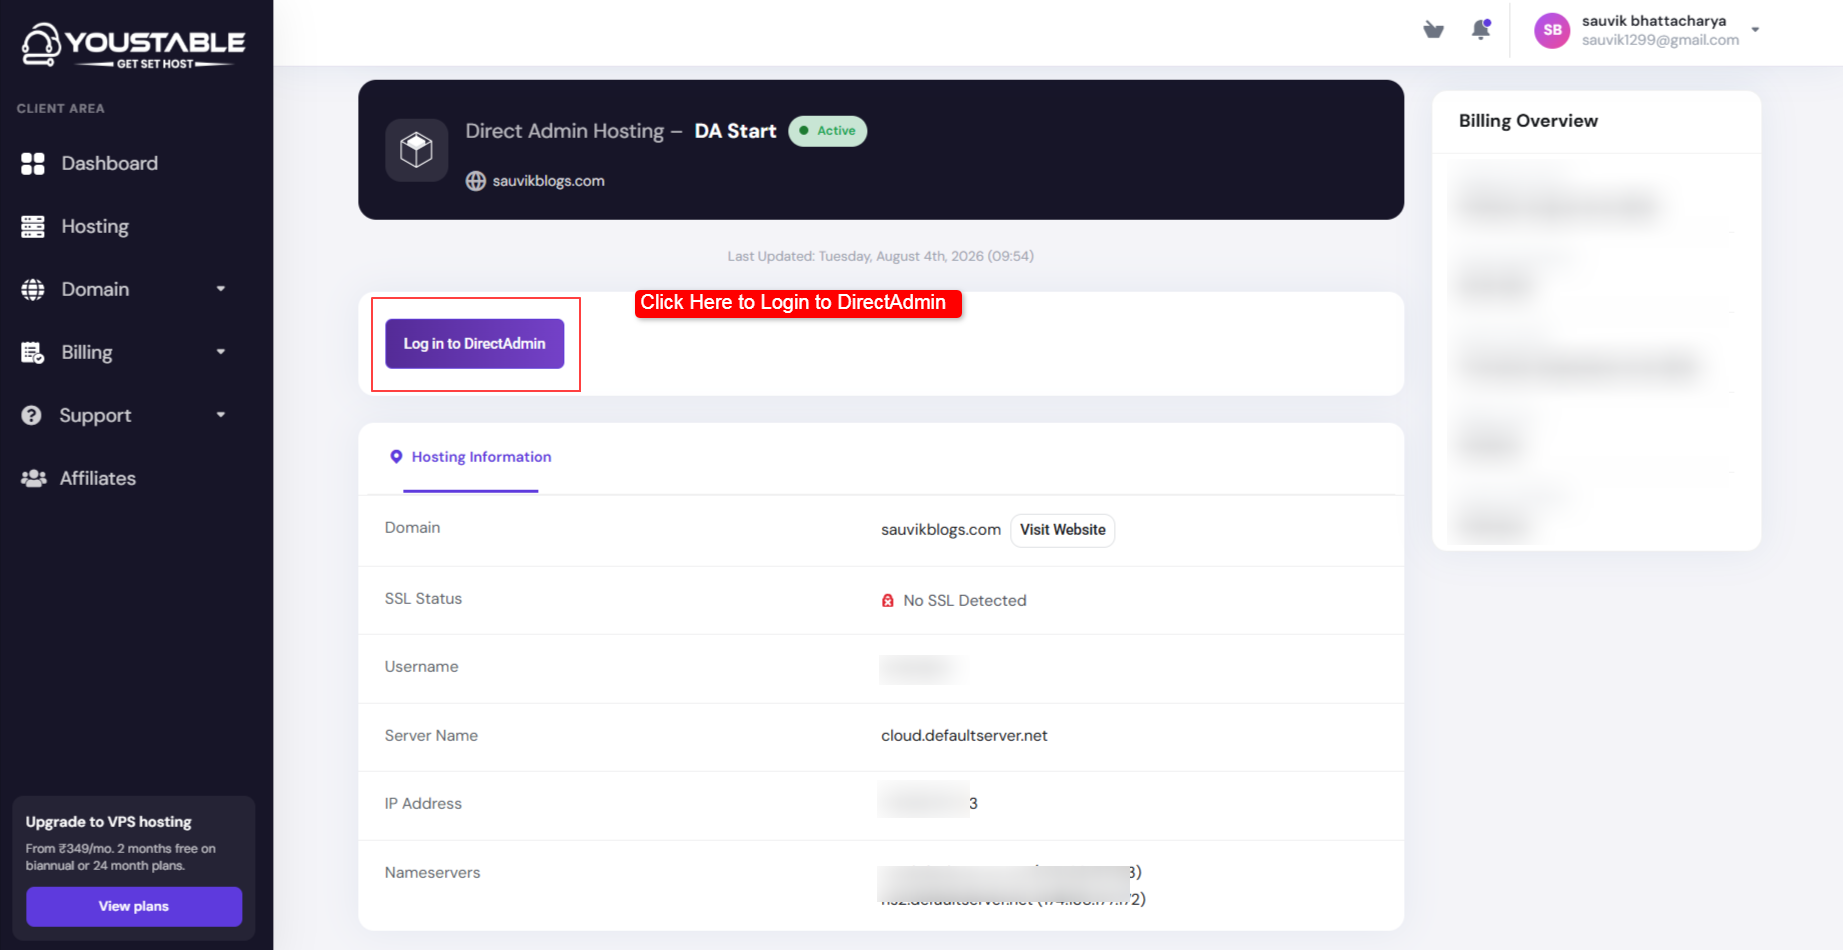
First, log in to your DirectAdmin panel using the username and password YouStable sent you >> Once you are inside, look at the Control Panel dashboard >> Click Log in to DirectAdmin button.
Step 2: Go to the Create/Restore Backups Section
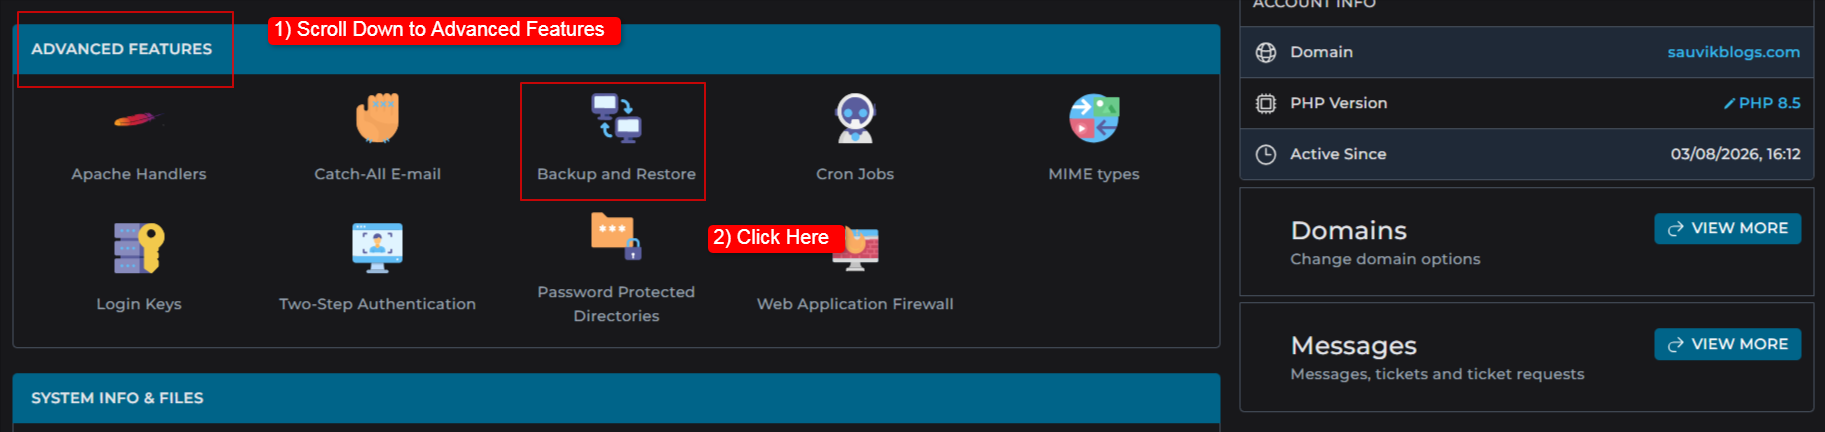
Now once you enter into the DirectAdmin dashboard >> Scroll down to Advanced Features and then click Create/Restore Backups >> This is the page where all the backup action happens.
Step 3: Select Backup Items and Create a Backup
Now DirectAdmin shows you a list of everything it can back up >> By default, all items are already selected, which is exactly what you want for a full backup >> Keep all the boxes checked for a complete backup >> Then simply click Create Backup.
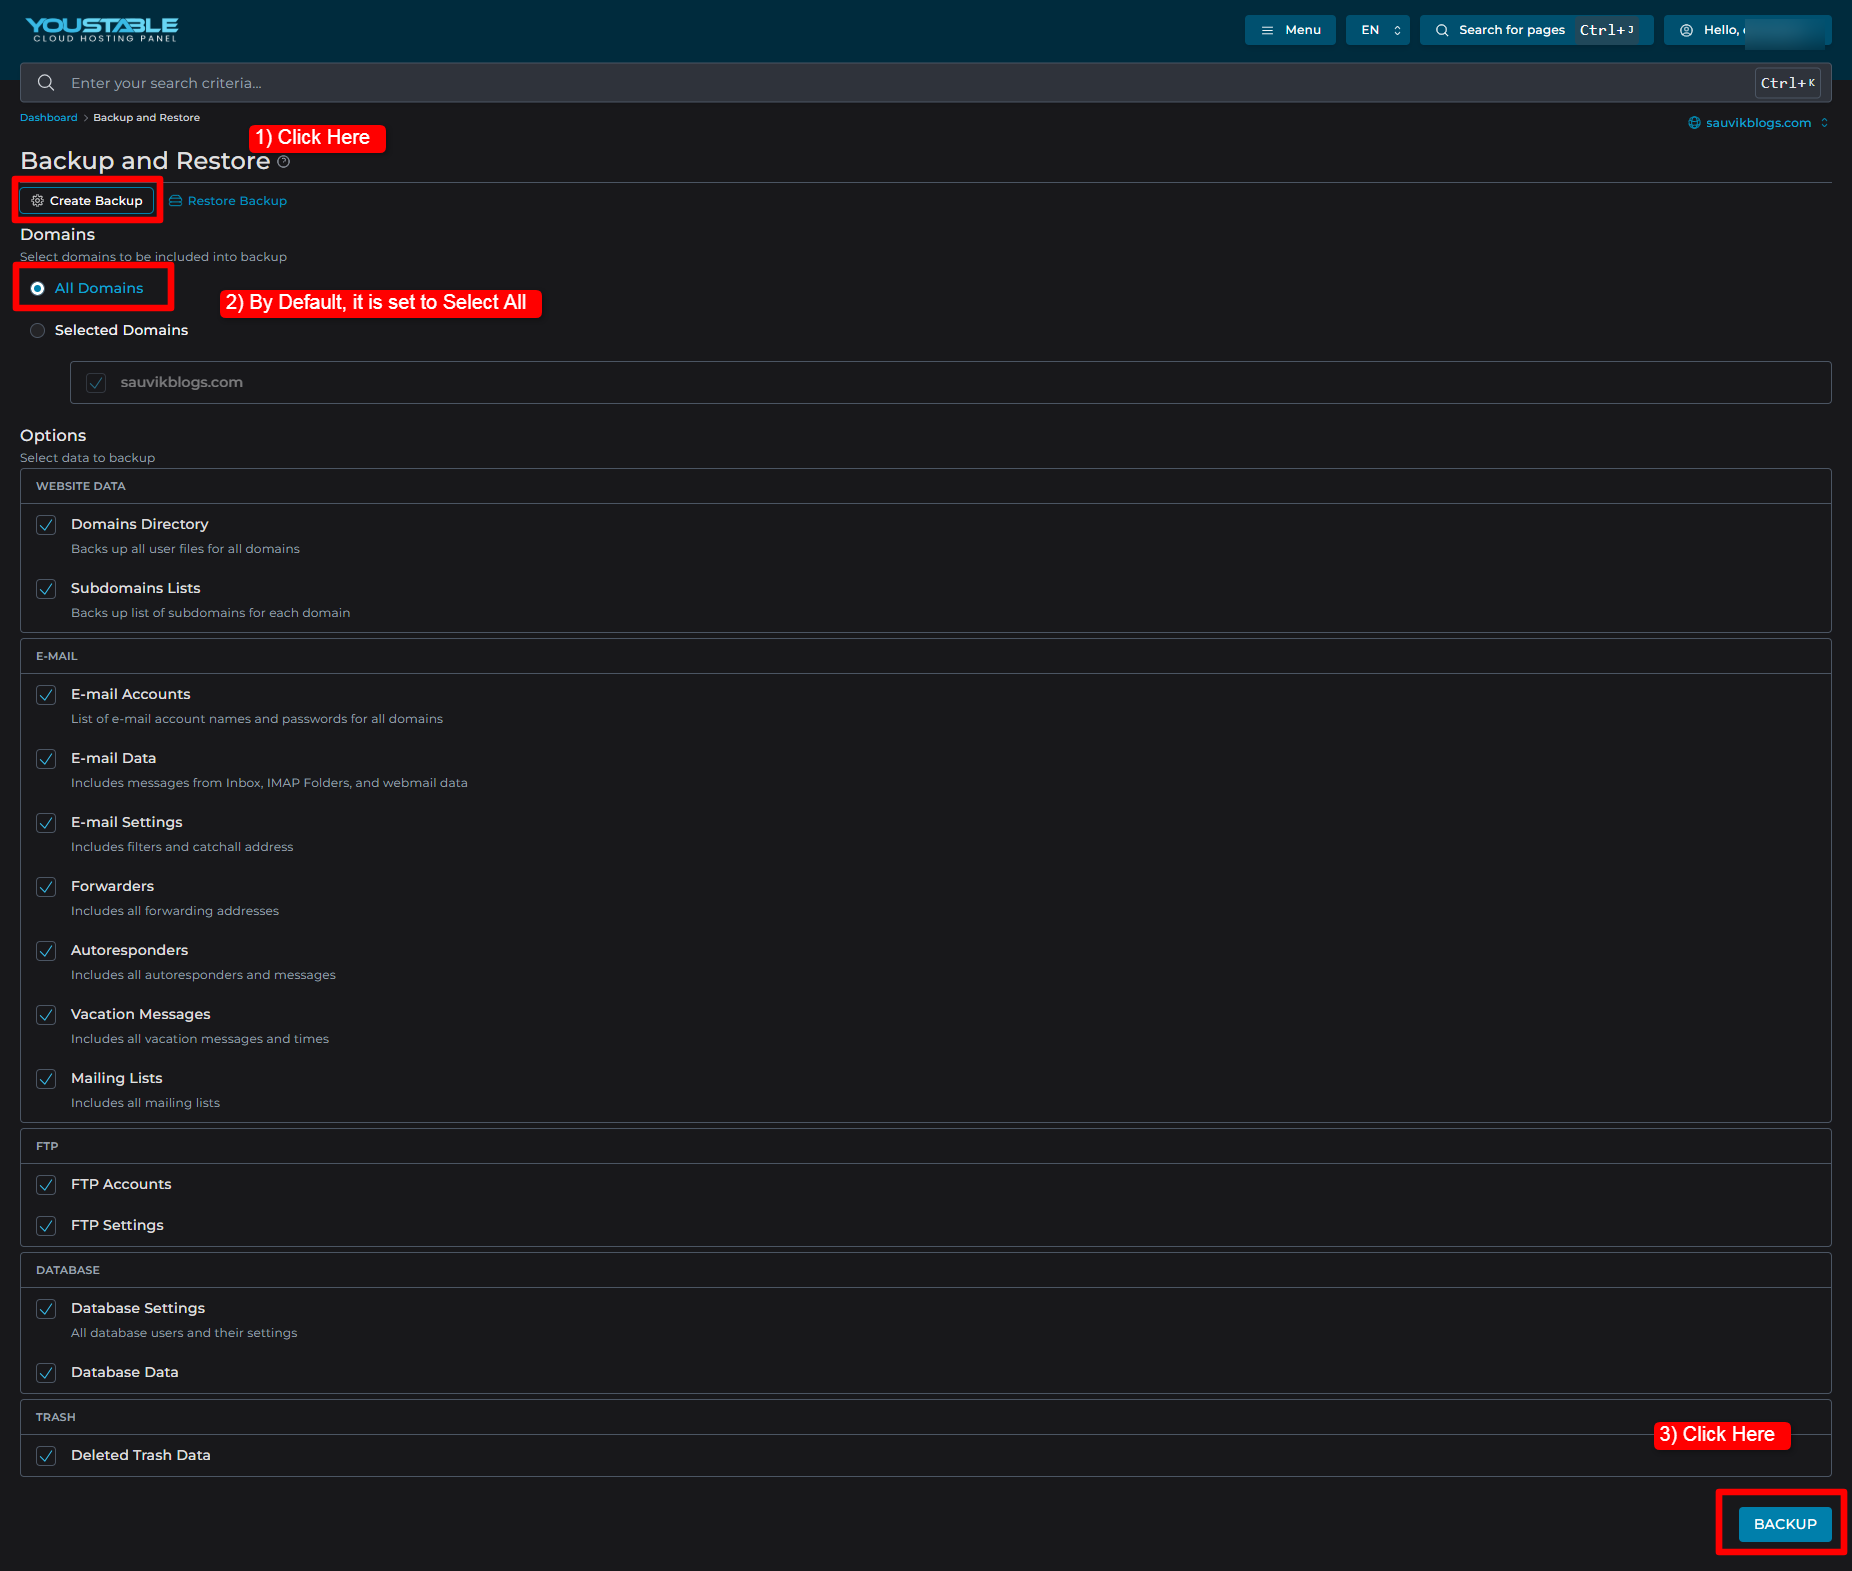
| If you want to save disk space, you can uncheck the items you do not need. For most users, I recommend leaving everything selected. |
Step 4: Wait for the Backup Process to Complete
Once you click Create Backup >> DirectAdmin adds your request to the process queue.
| Just look at the Message section >> Shown by a green message in your panel. DirectAdmin drops you a notification the moment your backup is complete. |
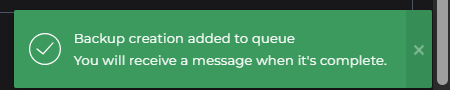
Bigger websites take a little longer time. A small site is usually done in just 10 seconds.
When you see the success message, congratulations. Your website backup is ready and safely stored on your hosting account.
Step 5: Open File Manager and Find Your Backup File
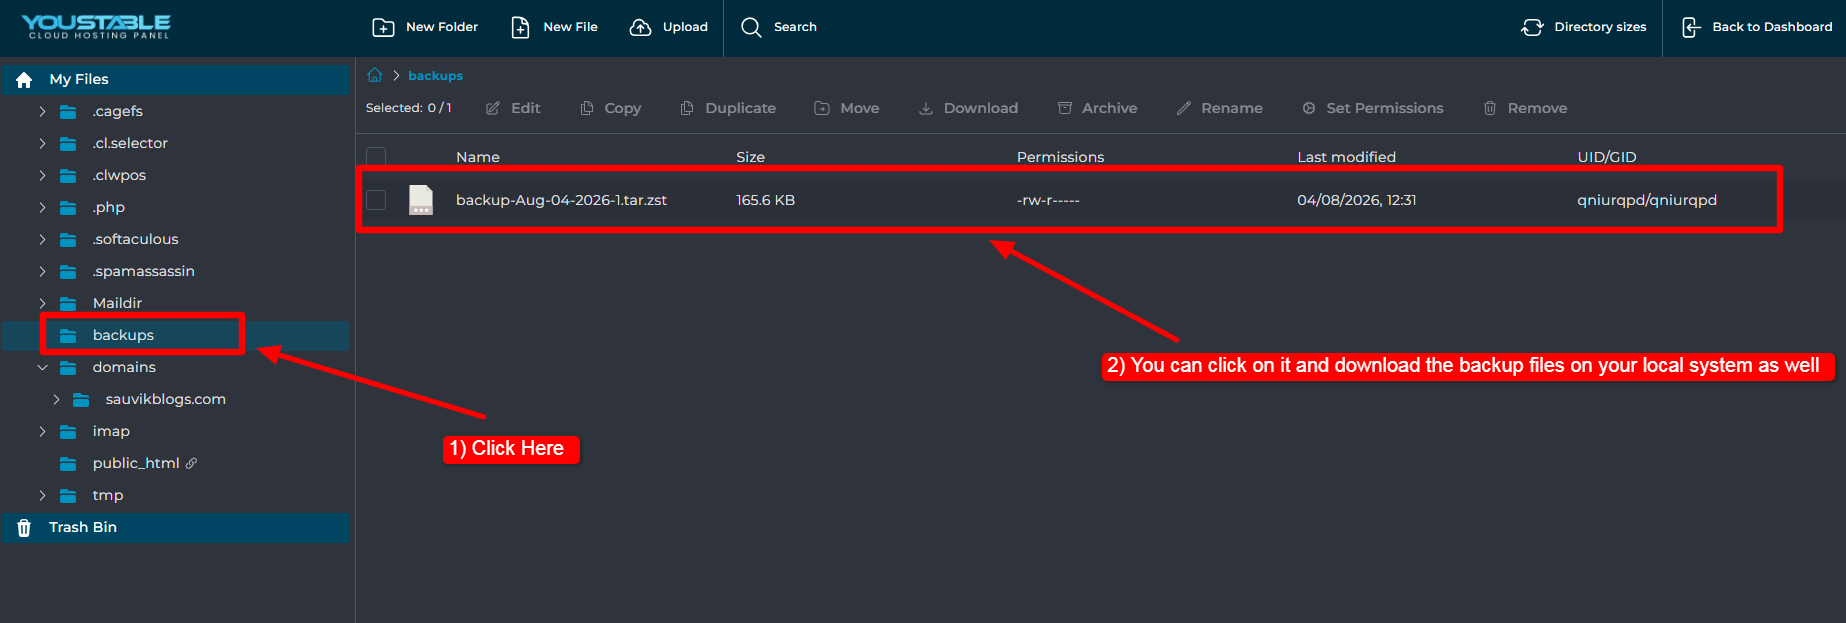
Your backup file is saved inside the backups folder in your File Manager. You can find it under System Info & Files >> File Manager >> Then go to backups.

Here, in the screenshot below you can see that your backup is created. You simply click on it to view your backup.
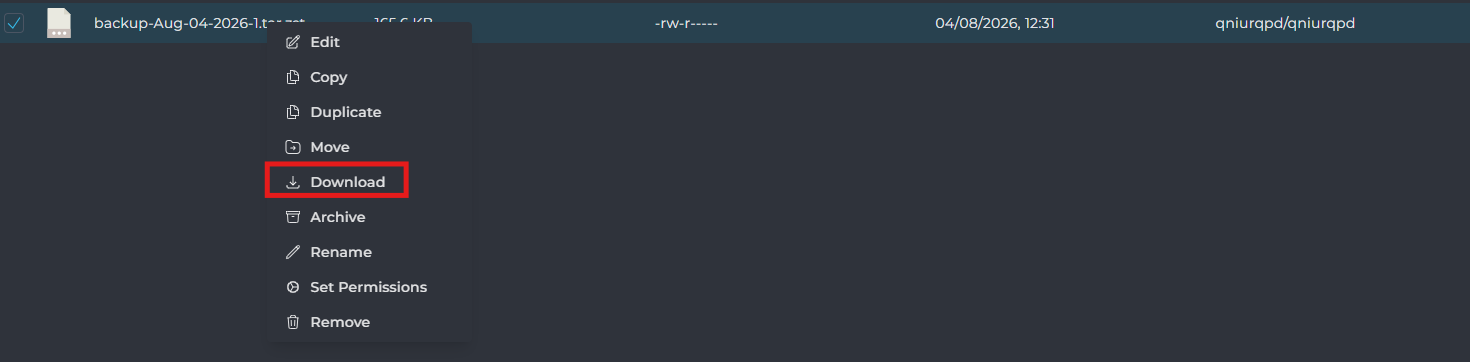
Step 6: Download Your Backup to Your Computer
You can even right click on it to download the backup files on your local system and even see the files in your free time.
And there you are!
I have helped you create your website backup and I’ve also helped you how you can access it and even download it on your local system as well.