Your WordPress site suddenly crashes during peak traffic hours because your current host can’t handle the load. You’ve poured hours into building it, only to watch visitors bounce away frustrated. What if switching to a reliable host like YouStable could fix that overnight, without losing a single post or plugin?
That’s the reality for thousands of site owners who decide to migrate a WordPress Website. It’s not as scary as it sounds think of it as packing up your digital home and moving to a better neighborhood.
YouStable offers fast servers, strong security, and easy tools that make your site run more smoothly. But why go manual? It gives you full control, helps you spot issues early, and saves money on migration services.
In this guide, we’ll walk through every step together. Whether you’re a blogger, small business owner, or developer, you’ll end up with a migrated site that’s optimized for speed and growth. Let’s turn that hosting headache into a success story.
Manually Migrating Your WordPress Site to YouStable – (Step-by-Step Guide)
Migrating your WordPress site manually to YouStable hosting ensures everything transfers safely. This method works best if you’re comfortable with basic tools like FTP and databases.
Always back up first to avoid data loss. We’ll break it down into clear, detailed steps. Follow along carefully, and pause if needed.
Step 1: Back Up Your Entire WordPress Site
Before touching anything, create a full backup. This includes files, databases, and themes/plugins.
- Log into your current hosting panel (like cPanel) and use the backup tool, or install a plugin like all in one plugin for an easy export.
- Download all files via FTP using a client like FileZilla. Connect to your old host’s server, navigate to the WordPress root folder (usually public_html), and copy everything to your computer.
- Export the database: Go to phpMyAdmin in your hosting panel, select your WordPress database, click “Export,” choose “Quick” method, and save as a .sql file.
- Why this matters: If something goes wrong, you can restore quickly. Store backups in multiple places, like your computer and cloud storage.
Step 2: Set Up Your New YouStable Hosting Account
Sign up for YouStable if you haven’t already. They offer shared, VPS, or dedicated plans tailored for WordPress.
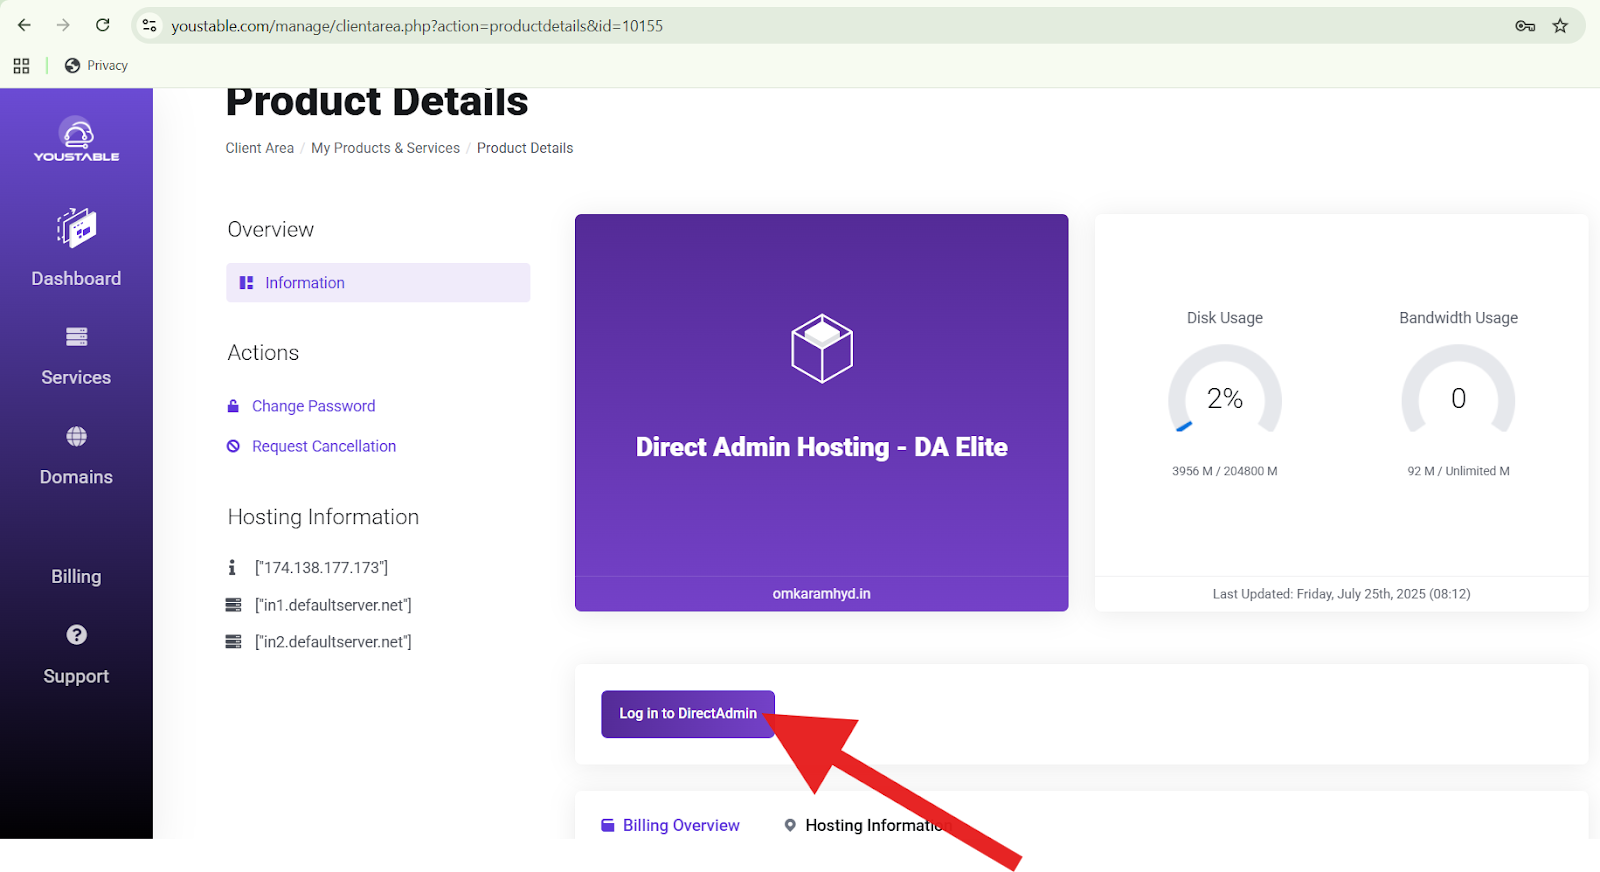
- After purchase, access your YouStable control panel. Install WordPress via their one-click installer, but don’t add content yet this is just for the framework.
- Note your new server’s details: FTP credentials, user, and password. You’ll find these in the email from YouStable or in the panel under “My Accounts.”
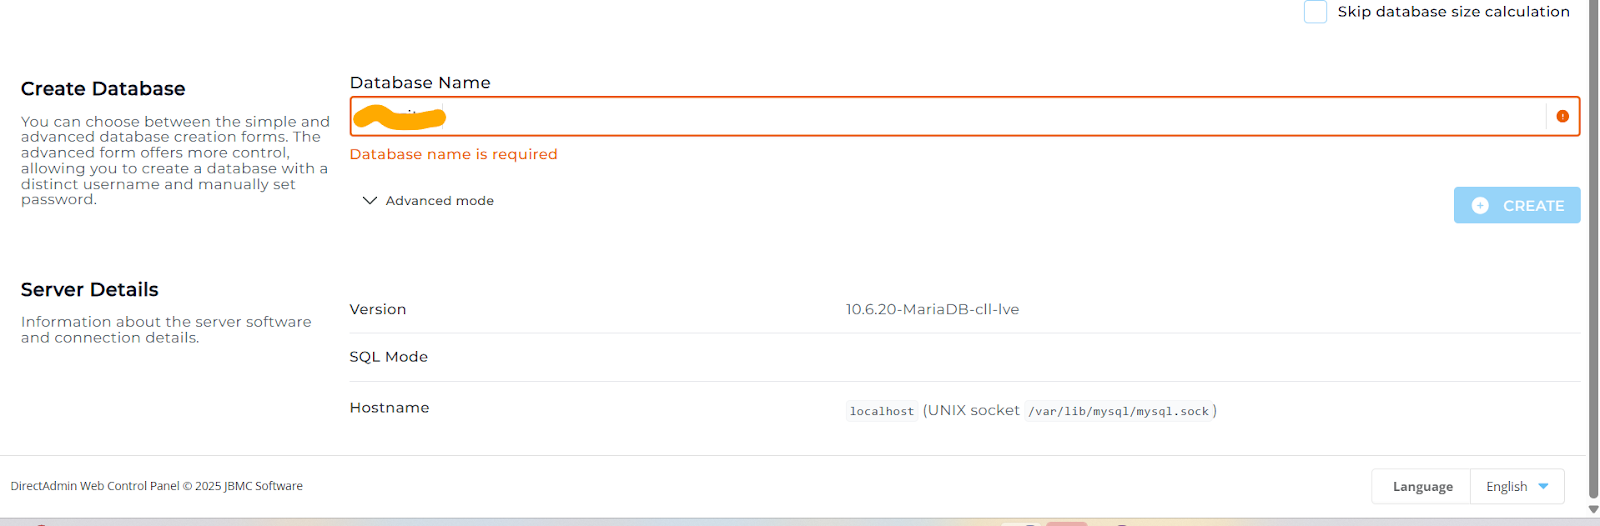
- Create a new database in YouStable’s cPanel: Go to “MySQL Databases,” make a new one, add a user with all privileges, and jot down the info.
- Test the connection: Upload a simple test file via FTP to ensure everything works.

Step 3: Upload Your WordPress Files to YouStable
Now, transfer the files from your old host to the new one.
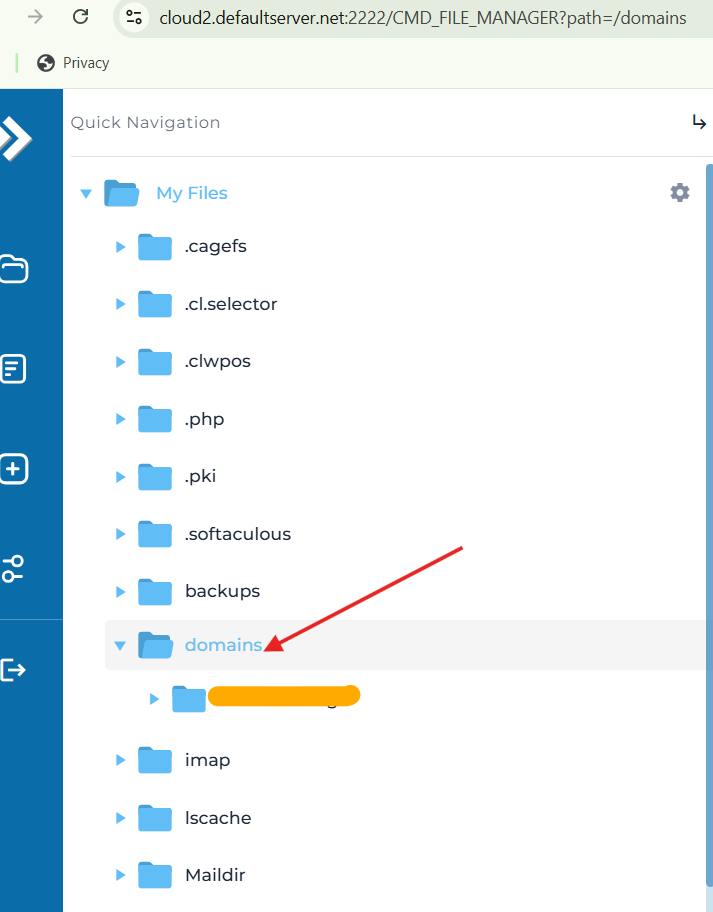
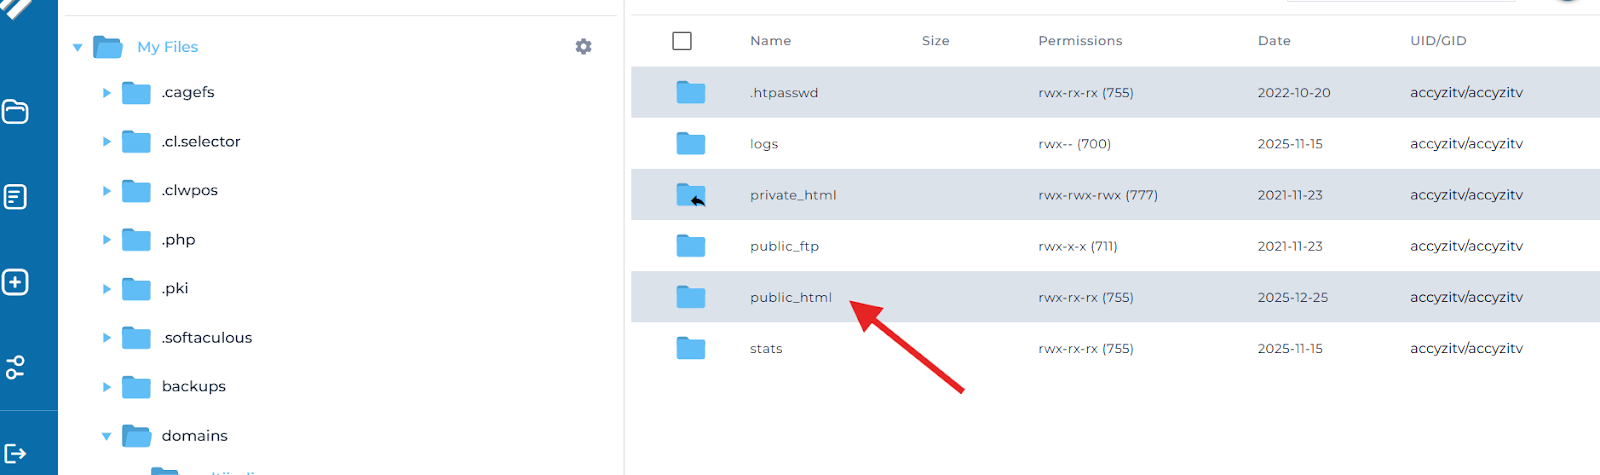
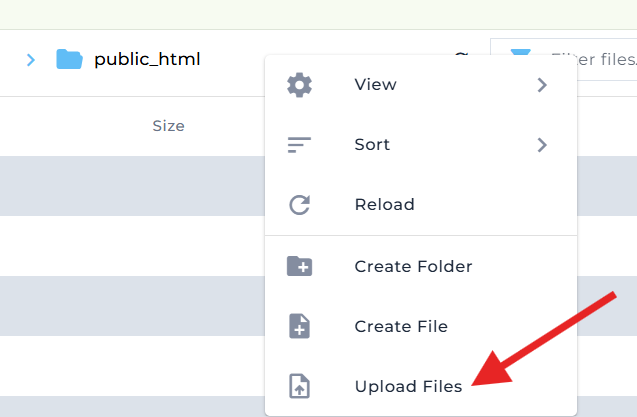
- Navigate to the public_html folder on YouStable and upload all files from your local backup. This might take time for large sites—use a wired connection for speed.
- Skip the wp-config.php file for now; we’ll edit it later. If you have custom folders (like uploads or plugins), ensure they match the structure.
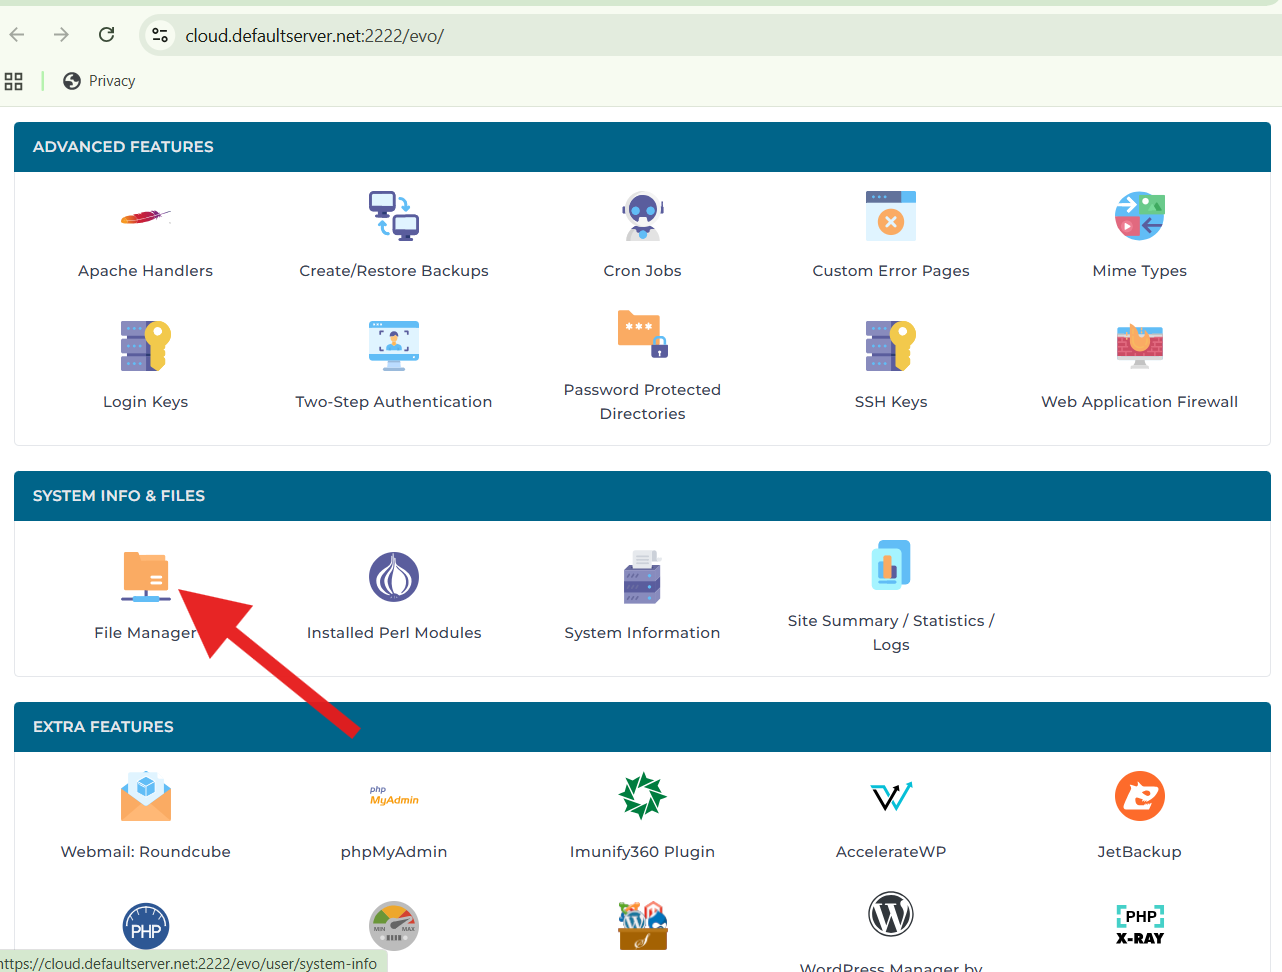
- Tip: Compress files into a .zip before uploading if your site is huge, then extract on the server via cPanel’s File Manager.
Step 4: Export and Import the Database
The database holds your site’s content, so handle it with care.
- From your old host’s phpMyAdmin, export the database as mentioned in Step 1.
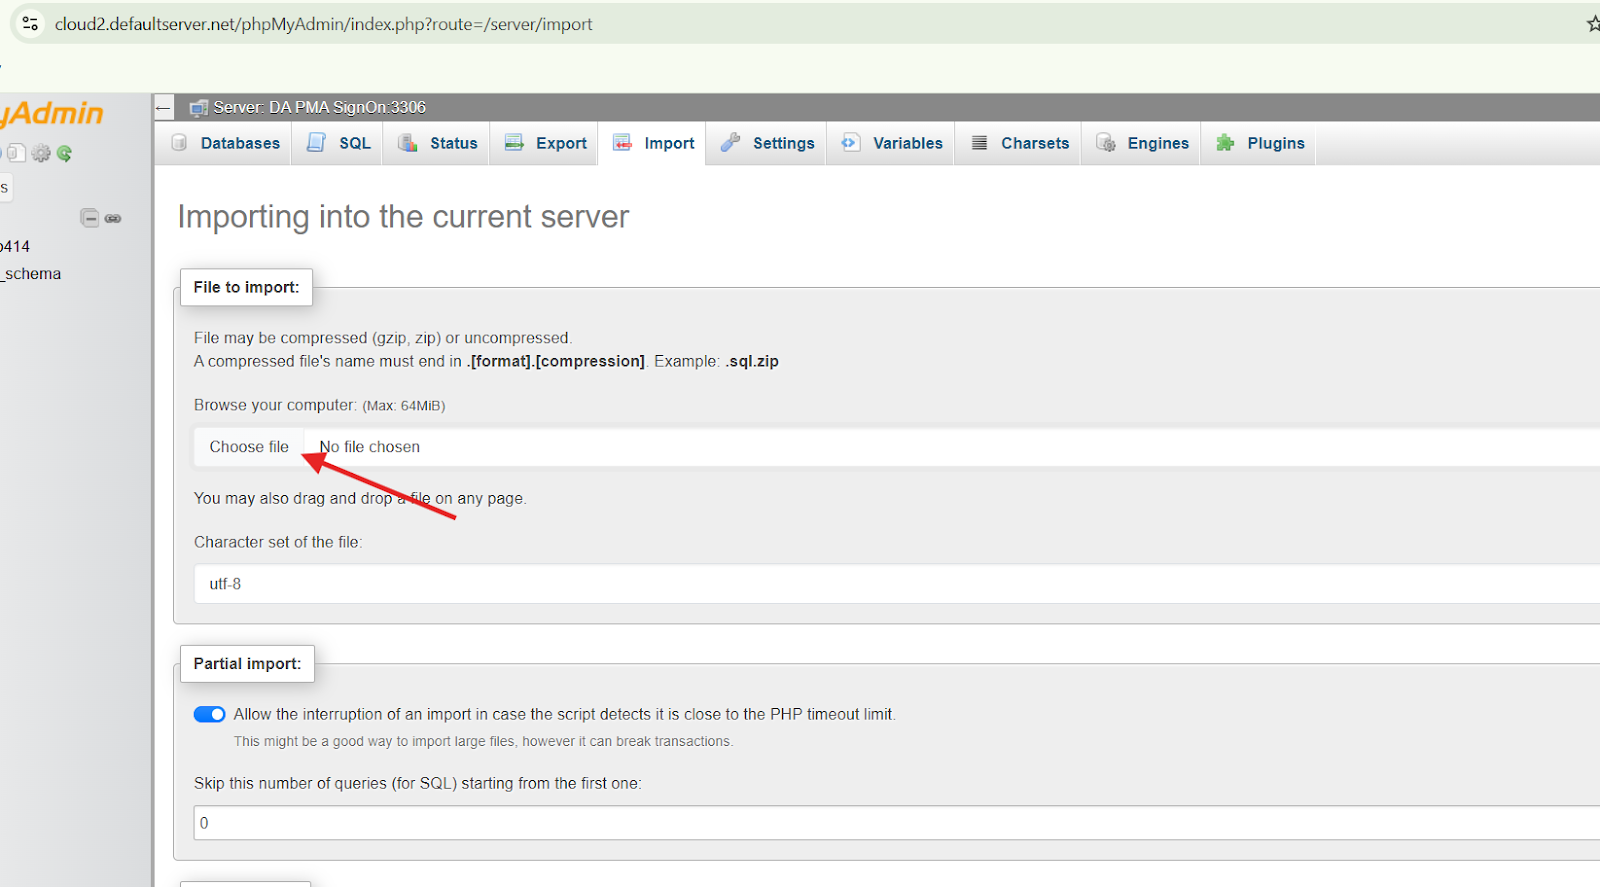
- On YouStable, open phpMyAdmin, select the new database you created, and click “Import.” Upload the .sql file and hit “Go.” If errors occur, check for file size limits—YouStable allows up to 256MB, but split large files if needed.
- Search and replace URLs: If your domain is changing, use a tool like Better Search Replace plugin (install it temporarily) or edit the .sql file in a text editor. Replace old URLs (e.g.,http://oldsite.com) with new ones (e.g.,http://newsite.com).
- Common issue: If import fails due to charset mismatches, ensure both databases use UTF-8.
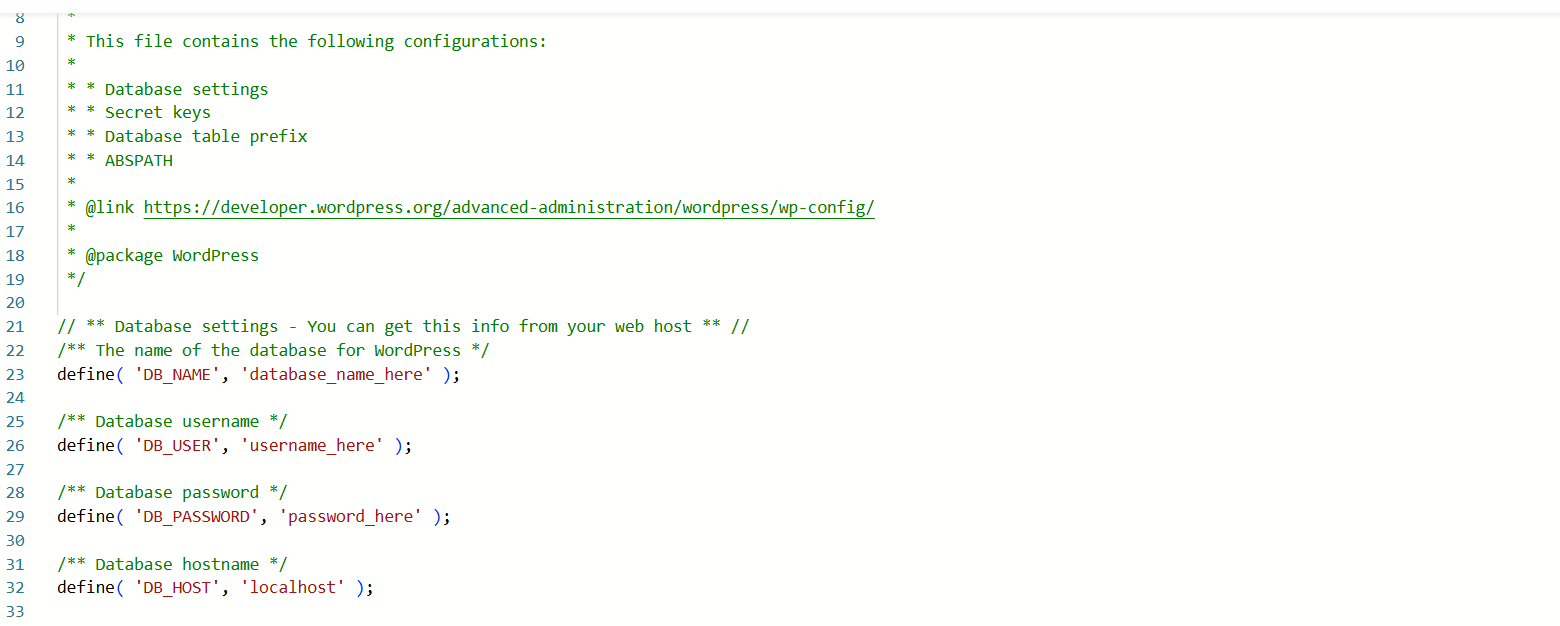
Step 5: Update the wp-config.php File
This file connects WordPress to your database.
- Download the wp config.php from your uploaded files, open it in a text editor like Notepad++.
- Edit the database details: Change DB_NAME, DB_USER, DB_PASSWORD, and DB_HOST to match YouStable’s info (DB_HOST is often ‘localhost’).
- If your site uses salts for security, generate new ones from WordPress.org’s API and replace the old keys.
- Upload the updated file back to the server. Clear your browser cache and test the sit it should load now.
Step 6: Update DNS and Test Thoroughly
Point your domain to YouStable.
- Log into your domain registrar (like GoDaddy), go to DNS settings, and update the nameservers to YouStable’s (they provide these, like ns1.youstable.com and ns2.youstable.com).
- Propagation takes 24-48 hours, so use a tool like what’smyip.org to check status.
- Test everything: Visit pages, submit forms, check plugins, and use tools like GTmetrix for speed. Fix broken links with a plugin like Broken Link Checker.
- If issues arise, roll back using your backup.
Step 7: Optimize and Secure Your Site on YouStable
Finalize the migration with tweaks.
- Install security plugins like Wordfence. Enable YouStable’s free SSL via cPanel for HTTPS.
- Clear caches if using plugins like WP Super Cache. Update permalinks in WordPress settings to refresh.
- Monitor performance: YouStable’s dashboard shows stats—aim for under 2-second load times.
- Bonus: Contact YouStable support if stuck; they’re WordPress friendly.
By following these steps, your site should be live on YouStable, faster and more reliable.
FAQs
How long does a manual WordPress migration to YouStable take?
It depends on your site’s size, but typically 1-4 hours for small sites. Large ones with big databases might take a day, including testing. Factor in DNS propagation time of up to 48 hours.
Do I need technical skills to migrate manually?
Basic knowledge of FTP, databases, and WordPress helps, but this guide is beginner-friendly. If you’re new, practice on a staging site first. YouStable’s support can assist if you hit roadblocks.
What if my site goes down during migration?
Minimize downtime by migrating during low traffic hours. Use a maintenance mode plugin like Coming Soon Page. If issues occur, restore from backup, YouStable offers daily backups on most plans.
Is there a risk of data loss in manual migration?
Yes, but backing up everything reduces it to near zero. Always double check database imports and file uploads. Tools like Duplicator plugin can simplify if manual feels risky.
Can I migrate without changing my domain?
Absolutely. Keep the same domain by just updating nameservers. No URL changes needed unless you’re rebranding.
Conclusion
Manually migrating your WordPress website to YouStable hosting puts you in the driver’s seat for a smoother, faster online presence. You’ve now got the tools to handle backups, file transfers, database moves, and final tweaks.
All while boosting your site’s performance. Remember, this process not only saves costs but also teaches you valuable skills for future updates.
If you’re ready for reliable hosting that supports growth, YouStable is a smart choice. Start today, and watch your traffic climb as your site loads quicker and stays secure. For more tips on WordPress optimization, explore our other guides.