
To install Let’s Encrypt on a Linux server, install Certbot (the ACME client), ensure ports 80 and 443 are open, run Certbot with your web server plugin (Apache or Nginx) to obtain and install the certificate, enable automatic renewal, and verify HTTPS. Most setups complete in 5–10 minutes with zero downtime.
In this guide, you’ll learn exactly how to install Let’s Encrypt on a Linux server using Certbot for Nginx, Apache, and custom stacks. We’ll cover prerequisites, OS-specific commands, DNS/wildcard options, auto-renewal, security hardening, and troubleshooting—so you can deploy a free, trusted SSL certificate and keep it renewing automatically.
What is Let’s Encrypt and How it Works?
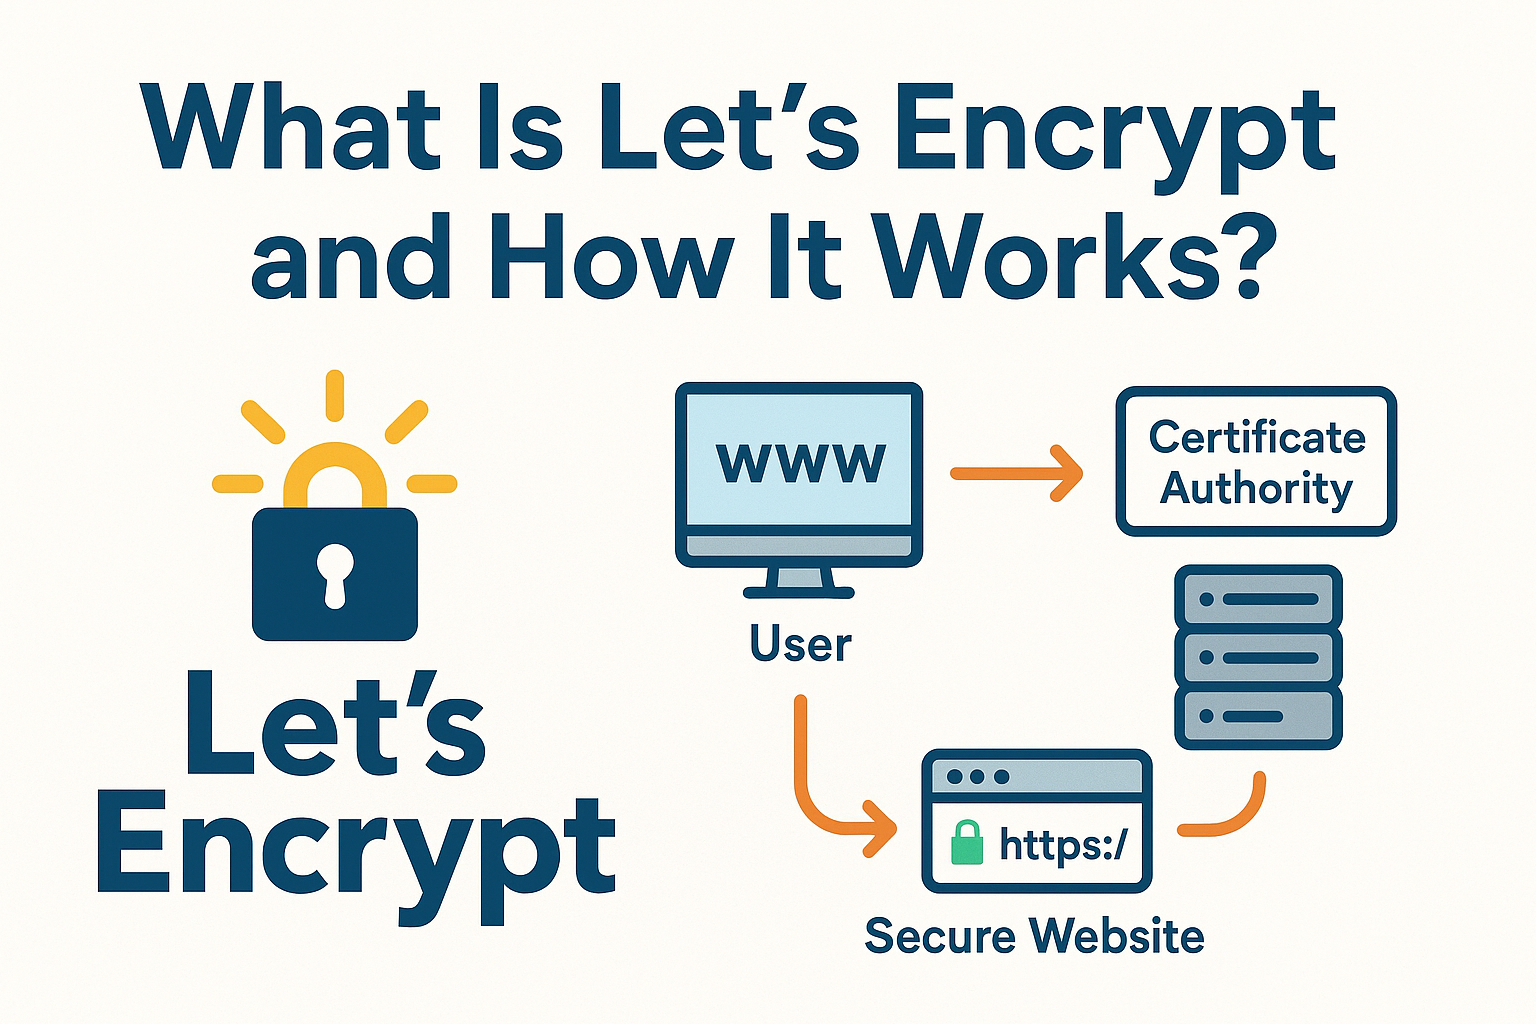
Let’s Encrypt is a free, automated, and open certificate authority (CA) that issues domain-validated SSL/TLS certificates. It uses the ACME protocol to prove domain control via challenges such as HTTP-01 (file served over port 80) or DNS-01 (TXT record). Certbot is the recommended tool that requests, installs, and renews certificates for you.
Before You Start: Prerequisites
- Public domain: Point your domain’s A/AAAA records to your server’s IP.
- Root or sudo access: You’ll run privileged commands.
- Web server ready: Nginx or Apache installed and serving your site.
- Open firewall: Ports 80 (HTTP) and 443 (HTTPS) must be open.
- System packages updated: Keep your OS up to date.
# Ubuntu/Debian firewall (UFW)
sudo ufw allow 80/tcp
sudo ufw allow 443/tcp

# RHEL/AlmaLinux/Rocky (firewalld)
sudo firewall-cmd --permanent --add-service=http
sudo firewall-cmd --permanent --add-service=https
sudo firewall-cmd --reload
How to Install Let’s Encrypt on a Linux Server (Step-by-Step)
The most reliable way today is Certbot via Snap, which gives you the latest features and security updates across most distributions. We’ll cover Snap first, then OS packages and alternative methods.
Step 1: Install Certbot via Snap (Recommended)
On Ubuntu 18.04+ and Debian 10+, Snap is straightforward. On RHEL-based systems, enable Snap first.
# Ubuntu/Debian
sudo apt update
sudo apt install snapd -y
sudo snap install core
sudo snap refresh core
sudo snap install --classic certbot
sudo ln -s /snap/bin/certbot /usr/bin/certbot
# RHEL/AlmaLinux/Rocky 8/9
sudo dnf install epel-release -y
sudo dnf install snapd -y
sudo systemctl enable --now snapd.socket
sudo ln -s /var/lib/snapd/snap /snap
sudo snap install core
sudo snap install --classic certbot
sudo ln -s /snap/bin/certbot /usr/bin/certbotStep 2A: Obtain and Install for Nginx
Make sure your Nginx virtual host is serving your domain and port 80 is reachable. Then run:
sudo certbot --nginx -d example.com -d www.example.comCertbot will locate your Nginx config, validate the domain, install the certificate, and optionally add a secure HTTP-to-HTTPS redirect.
Step 2B: Obtain and Install for Apache
Ensure your Apache virtual host resolves your domain. Then run:
sudo certbot --apache -d example.com -d www.example.comCertbot will edit your Apache vhost files, enable the certificate, and can configure automatic redirects if you choose.
Alternative: Webroot or Standalone (For Any Stack)
If you run Node.js, Tomcat, Docker, or another stack behind a reverse proxy, use webroot. It places the challenge file in your site’s document root, without restarting services.
# Replace with your actual webroot path
sudo certbot certonly --webroot -w /var/www/html -d example.com -d www.example.com
If nothing listens on port 80 or you prefer a temporary ACME server, use standalone. This runs a transient HTTP server for validation.
sudo systemctl stop nginx || sudo systemctl stop apache2 || sudo systemctl stop httpd
sudo certbot certonly --standalone -d example.com -d www.example.com
# Re-start your service after issuance
sudo systemctl start nginx || sudo systemctl start apache2 || sudo systemctl start httpd
Alternative: Install Certbot from OS Packages
Some distributions ship Certbot in their repositories. Versions may lag behind, but it’s an option.
# Debian/Ubuntu (may be older than Snap)
sudo apt update
sudo apt install certbot python3-certbot-nginx -y
# Or for Apache
sudo apt install certbot python3-certbot-apache -y

# RHEL/AlmaLinux/Rocky (via EPEL)
sudo dnf install epel-release -y
sudo dnf install certbot python3-certbot-nginx -y
# Or for Apache
sudo dnf install certbot python3-certbot-apache -y
Enable Auto-Renewal and Test It
Certbot installs a systemd timer or cron job that runs twice daily and renews certificates approaching expiry (Let’s Encrypt certs are valid for 90 days). Always dry-run renewal to confirm automation works.
# Dry-run renewal (no real changes)
sudo certbot renew --dry-run
If you used webroot or standalone with services that need reloads, add deploy hooks:
# Reload Nginx after any successful renewal
sudo crontab -e
# Add:
0 3 * * * certbot renew --quiet --deploy-hook "systemctl reload nginx"
Redirects and Basic TLS Hardening
Certbot plugins can set redirects, but you can also configure them manually. Here are safe defaults.
Nginx: Force HTTPS and Add HSTS
server {
    listen 80;
    server_name example.com www.example.com;
    return 301 https://$host$request_uri;
}

server {
    listen 443 ssl http2;
    server_name example.com www.example.com;

    ssl_certificate /etc/letsencrypt/live/example.com/fullchain.pem;
    ssl_certificate_key /etc/letsencrypt/live/example.com/privkey.pem;

    add_header Strict-Transport-Security "max-age=31536000; includeSubDomains" always;

    # your site config...
}
Apache: Force HTTPS and Add HSTS
<VirtualHost *:80>
    ServerName example.com
    ServerAlias www.example.com
    Redirect permanent / https://example.com/
</VirtualHost>

<VirtualHost *:443>
    ServerName example.com
    ServerAlias www.example.com
    SSLEngine on
    SSLCertificateFile /etc/letsencrypt/live/example.com/fullchain.pem
    SSLCertificateKeyFile /etc/letsencrypt/live/example.com/privkey.pem
    Header always set Strict-Transport-Security "max-age=31536000; includeSubDomains"
    # your site config...
</VirtualHost>
Tip: Only enable HSTS after you’ve confirmed HTTPS works across your site, including subdomains.
Wildcard Certificates and DNS-01 Challenge
Need a certificate for all subdomains (e.g., *.example.com)? Use DNS-01. This requires creating a TXT record during issuance. Manual DNS works, but provider plugins automate renewals.
# Manual DNS-01 (not automated)
sudo certbot -d example.com -d *.example.com --manual --preferred-challenges dns certonly

# You'll be prompted to create a TXT record like:
# _acme-challenge.example.com  TXT  <token>
For automation, use a DNS plugin (e.g., Cloudflare, Route 53). Install the appropriate Certbot DNS plugin and pass your API credentials securely via environment variables or a restricted credentials file.
Troubleshooting Common Errors
- Challenge failed (HTTP-01): Ensure DNS points to your server, port 80 is open and not blocked, and that the domain serves the challenge path. Proxies/CDNs must forward .well-known paths.
- Permission errors: Webroot paths must be correct and readable by the web server. For Nginx/Apache plugins, confirm configs are valid.
- Rate limits: Let’s Encrypt has limits on failed validations and issuances. Test with
--dry-run, stage environment, or group domains thoughtfully. - Mixed content warnings: Update hardcoded http URLs in HTML/CSS/JS to https, or use relative URLs.
- Renewal fails: Check
/var/log/letsencrypt/letsencrypt.log, confirm hooks, plugins, and DNS/API permissions (for DNS-01).
Verify Your SSL and Grade Your Setup
After installation, visit https://example.com and confirm the padlock. Then use an external scanner to catch configuration issues, protocol/cipher support, and HSTS. Aim for an A grade and ensure TLS 1.2/1.3 are enabled.
Real-World Tips from Hosting Experience
- Prefer Snap-based Certbot for the latest features and fewer edge cases.
- Keep port 80 open for HTTP-01 renewals, even if you force HTTPS globally.
- Use webroot for containerized stacks where reverse proxies terminate TLS.
- Automate wildcard with DNS plugins; avoid manual DNS for production renewals.
- Back up /etc/letsencrypt (private keys, certs) securely, and restrict permissions.
- Reload, don’t restart, services on renewal to avoid downtime.
When Managed Hosting Helps
If you’d rather not manage SSL, renewals, and hardening yourself, managed hosting can handle it for you. At YouStable, our teams provision free Let’s Encrypt SSL, set up redirects and security headers, and monitor renewals—so your sites stay secure without firefighting certificates.
Complete Quick-Start: Command Summary
- Install Certbot with Snap
sudo apt install snapd -y && sudo snap install --classic certbot
sudo ln -s /snap/bin/certbot /usr/bin/certbot- Get SSL for Nginx or Apache
# Nginx
sudo certbot --nginx -d example.com -d www.example.com

# Apache
sudo certbot --apache -d example.com -d www.example.com- Test renewal
sudo certbot renew --dry-runFAQs: Install Let’s Encrypt on Linux Server
Is Let’s Encrypt safe and trusted by browsers?
Yes. Let’s Encrypt is a widely trusted certificate authority. Its root and intermediates are included by all major browsers and operating systems. A Let’s Encrypt certificate provides the same encryption strength as paid DV certificates.
How do I install Let’s Encrypt on Ubuntu quickly?
Install Certbot via Snap, then run the plugin for your web server:sudo apt update && sudo apt install snapd -y
sudo snap install --classic certbot
sudo ln -s /snap/bin/certbot /usr/bin/certbot
sudo certbot --nginx -d example.com -d www.example.com # or --apache
How often do Let’s Encrypt certificates renew?
Every 90 days. Certbot sets up automatic renewal and checks twice daily. Use sudo certbot renew --dry-run to verify your setup. Many admins renew at 60 days for extra safety, which Certbot handles automatically.
Can I get a wildcard SSL certificate with Let’s Encrypt?
Yes, with DNS-01 validation. Use -d *.example.com -d example.com and either create TXT records manually or, better, automate with a DNS plugin for your provider (e.g., Cloudflare, Route 53) so renewals run hands-free.
Do I need to stop my web server when using Certbot?
No for Nginx/Apache plugins and webroot—they work without stopping services. Yes only for standalone mode, which briefly binds to port 80; stop your server, issue the cert, then start it again.
What if my site is behind a CDN or reverse proxy?
Use webroot or configure the proxy to pass through ACME challenges at /.well-known/acme-challenge/. Alternatively, use DNS-01 validation to avoid HTTP path issues entirely.
Do paid SSLs offer better security than Let’s Encrypt?
No for encryption strength—DV certificates, free or paid, use the same modern ciphers. Paid options may include warranty, support, or organization/extended validation, but they don’t encrypt “more.” For most sites, Let’s Encrypt DV is ideal.
With these steps, you can confidently install Let’s Encrypt on a Linux server, automate renewals, and harden your TLS. If you prefer a hands-off approach, YouStable can provision, secure, and monitor SSL for you as part of our managed hosting plans.


