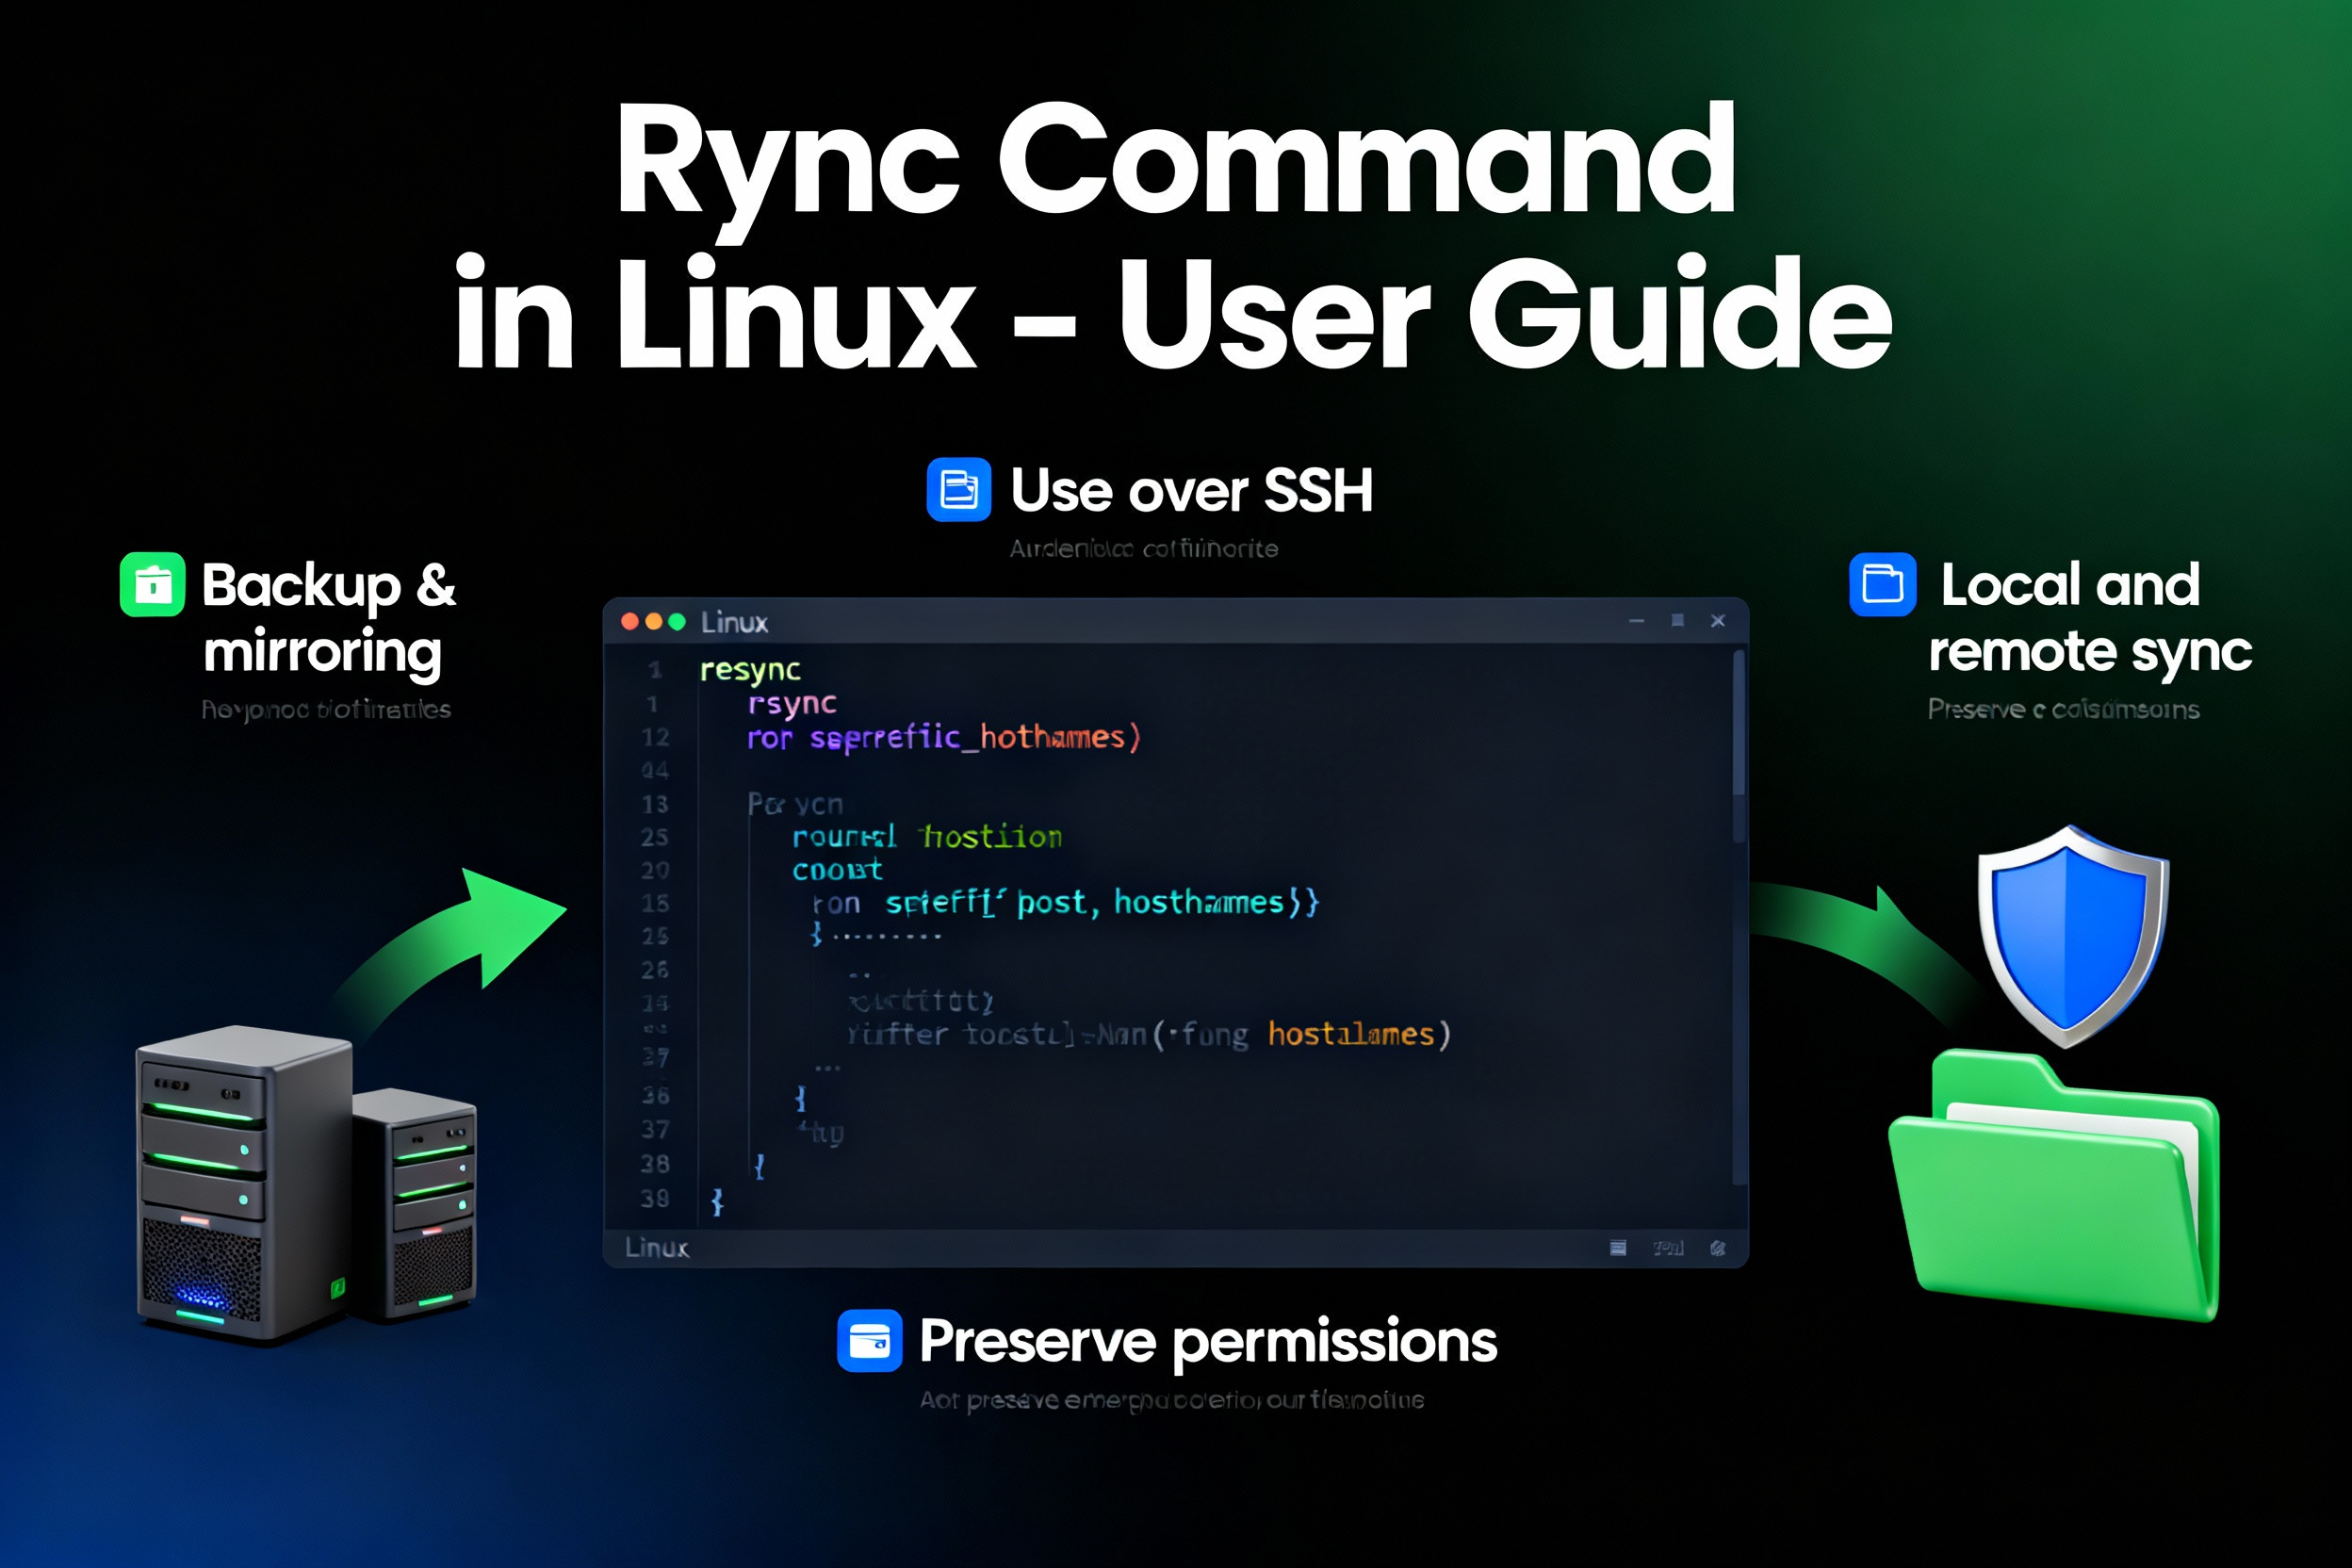
The rsync command in Linux is a fast, reliable file synchronization and backup utility that copies only changed data using a delta-transfer algorithm. It preserves permissions, ownerships, timestamps, and supports compression, encryption over SSH, exclusions, and mirroring. Admins use rsync for local and remote backups, server migrations, and efficient website deployments.
If you manage Linux servers or websites, mastering the rsync command in Linux is essential. In this user guide, you’ll learn exactly how rsync works, how to install it, core options, real examples, performance tuning, and best practices for secure, incremental backups—whether you’re syncing locally or to a remote server over SSH.
What is rsync and How it Works?
rsync (remote sync) is a differential file-copy tool. Instead of transferring entire files each time, rsync calculates differences and sends only changed blocks, dramatically reducing bandwidth and time. It supports local-to-local copies and local-to-remote (or remote-to-local) transfers via SSH or an rsync daemon, while preserving metadata and handling symbolic links, devices, and hard links.
Key capabilities:-
- Delta-transfer algorithm copies only changes
- Preserves permissions, ownership, and timestamps
- Works locally or over SSH/rsync daemon
- Supports exclude/include patterns and filelists
- Mirroring and pruning with
--delete - Compression (
-z) and progress output (-P/--info=progress2)
Install rsync on Linux
rsync is available in all major distributions. Use your package manager:
# Debian/Ubuntu
sudo apt update && sudo apt install rsync

# RHEL/CentOS/Rocky/Alma (RHEL 8+)
sudo dnf install rsync

# Fedora
sudo dnf install rsync

# Arch/Manjaro
sudo pacman -S rsync
Verify installation:
rsync --versionBasic Syntax and Quick Start
rsync syntax is simple:
rsync [OPTIONS] SOURCE DESTINATIONExamples:
# 1) Local directory to directory
rsync -av /home/user/Documents/ /mnt/backup/Documents/

# 2) Local to remote over SSH (port 22 by default)
rsync -av -e ssh /var/www/ user@server:/backups/www/

# 3) Remote to local download
rsync -av -e ssh user@server:/var/log/ /local/logs/
For safety, do a dry run before executing:
rsync -av --dry-run --delete /source/ /dest/Most-Used rsync Options Explained
Memorize these core flags to move fast and avoid mistakes:
-a(archive): Recursively copy and preserve permissions, ownership, timestamps, symlinks, and more.-v(verbose): Show more output. Combine with-aas-av.-z(compress): Compress data during transfer, ideal for WAN links.-P(progress + partial): Show progress and keep partial files to resume faster.--info=progress2: Single, cumulative progress bar for large runs.-e ssh: Use SSH as the transport for encryption and authentication.--delete: Remove files at destination that no longer exist at source (mirror).--exclude/--include: Skip or include specific files/patterns.--exclude-from=FILE: Load exclusion patterns from a file.--bwlimit=KBPS: Throttle bandwidth to avoid saturating links.--checksum: Compare by checksum rather than size/time (slower, more accurate).--partial: Keep partially transferred files if interrupted.--backup --backup-dir=DIR: Save modified/removed files to a backup directory.
Trailing Slash Behavior (Critical to Avoid Mistakes)
rsync treats a trailing slash on the source differently:
rsync -av /src/ /dst/means “copy the contents of/srcinto/dst”.rsync -av /src /dst/means “copy the directorysrcitself into/dst” (result:/dst/src/...).
When mirroring directory contents, add the trailing slash on the source.
Common rsync Use Cases with Real Examples
1) Local Backups with Archival Mode
Preserve attributes and copy only changed files:
rsync -av /home/user/Pictures/ /mnt/backup/Pictures/2) Secure Remote Sync over SSH
Use SSH for encryption and key-based authentication:
# Default SSH port (22)
rsync -avz -e ssh /var/www/ user@host:/data/www/

# Custom port (e.g., 2222)
rsync -avz -e "ssh -p 2222" /var/www/ user@host:/data/www/
3) Mirror a Directory (Add/Delete to Match Source)
Ensure destination is an exact mirror:
# Always dry-run first to confirm deletions
rsync -av --dry-run --delete /srv/files/ /srv/mirror/

# Then run for real
rsync -av --delete /srv/files/ /srv/mirror/
4) Exclude Files and Folders
Skip temporary files, caches, or large folders you don’t need:
rsync -av --exclude=".git" --exclude="node_modules" --exclude="*.tmp" \
/project/ /backup/project/
Use an exclude file for readability:
# exclude.txt
.git
node_modules
*.tmp
cache/
rsync -av --exclude-from=exclude.txt /project/ /backup/project/5) Incremental Backups with Versions
Store daily snapshots efficiently using hard links (--link-dest), saving space while retaining history:
# Prepare directories
sudo mkdir -p /backups/www
cd /backups/www

# Create a dated snapshot using link-dest to the latest one
DATE=$(date +%F)
rsync -a --delete \
  --link-dest=/backups/www/latest \
  /var/www/ /backups/www/$DATE/

# Update the "latest" symlink
rm -f /backups/www/latest
ln -s /backups/www/$DATE /backups/www/latest
This yields fast, space-efficient daily backups while allowing you to browse or restore any day.
6) Resume Interrupted Transfers
Use -P (or --partial --progress) to resume and see progress:
rsync -avP -e ssh /large/archive.iso user@host:/srv/archive/7) Verify Integrity with Checksums
When accuracy matters more than speed, force checksum comparison:
rsync -av --checksum /source/ /dest/Security Best Practices for rsync
- Prefer SSH transport (
-e ssh) with key-based auth and disable password logins on servers. - Use a restricted user account for backups (least privilege). Avoid running as root unless necessary.
- For remote pulls that need root-only files, consider
sudo rsyncwith a tightsudoersrule. - Limit SSH by IP and port, and use firewall rules; add 2FA or hardware keys for critical hosts.
- Avoid exposing rsync daemon directly on the internet unless you fully understand module ACLs and authentication.
On managed VPS or Dedicated Servers at YouStable, you can enable SSH key-only access and firewall policies from day one to secure rsync-based backups without hassle.
Performance Tuning Tips
- Compress over WAN:
-z. On fast LANs, compression can slow transfers—test both ways. - Show progress efficiently:
--info=progress2for large operations. - Choose transfer strategy:
--whole-filefavors LAN throughput;--inplaceavoids temporary files for very large updates. - Skip noise: Use
--excludepatterns to avoid logs, caches, and build artifacts. - Throttle if needed:
--bwlimit=20480limits to ~20 MB/s to protect production traffic. - Increase SSH ciphers performance: try
-e "ssh -c aes128-gcm@openssh.com"on modern OpenSSH for faster encryption.
Rsync Daemon Mode (Advanced)
rsync can run as a daemon (TCP 873) serving named modules. This can be efficient on trusted networks but requires careful ACLs and auth. Minimal example:
# /etc/rsyncd.conf
uid = nobody
gid = nogroup
use chroot = yes
read only = yes
hosts allow = 10.0.0.0/24

[files]
    path = /srv/exports/files
    comment = Files export
Start the daemon temporarily:
sudo rsync --daemon --config=/etc/rsyncd.confConnect from a client:
rsync -av rsync://server/files/ /local/dir/Troubleshooting Common rsync Errors
Permission denied
Cause: insufficient permissions or SSH auth issues. Fix: ensure correct user, file permissions, and key-based SSH. Try sudo where appropriate, or adjust ownership with chown.
Failed to set times/ownership
Cause: not running as a user with privileges. Fix: run rsync with sudo on the destination or avoid preserving ownership (--no-owner --no-group) when not needed.
mkstemp failed: Permission denied
Cause: destination directory writable restrictions. Fix: check directory permissions and free space; try --inplace if temporary files are blocked.
Protocol version mismatch
Cause: very old rsync on one side. Fix: update rsync on both endpoints. Using SSH transport usually avoids daemon protocol issues.
Rsync vs SCP vs Rclone: When to Use What
- rsync: Best for incremental syncs, mirroring, backups, and partial delta updates locally or over SSH. Rich exclude/include logic.
- SCP/SFTP: Simple file copy over SSH. No delta algorithm or advanced sync logic; good for ad hoc transfers.
- Rclone: Cloud-first syncing to S3, GCS, OneDrive, etc. If your target is object storage, rclone is ideal; for POSIX servers, rsync wins.
Real-World Hosting Workflows (WordPress, LAMP, and More)
Deploying a WordPress site
Sync theme and uploads safely:
# From staging to production, preserving permissions
rsync -avz -e ssh --exclude="wp-content/cache" \
/var/www/stage.example.com/ wpuser@prod:/var/www/example.com/
Pair this with a database export/import to complete the deployment. For zero-downtime migrations, place the site in maintenance mode, rsync files, sync DB, then lift maintenance.
Nightly server backups
Run a cron job that uses --link-dest to create dated snapshots. Store them on a separate disk or remote backup server. If you use YouStable’s VPS or Dedicated hosting, configure a secure offsite target and monitor bandwidth with --bwlimit for predictable backup windows.
Migrating a site between hosts
Use rsync over SSH to copy /var/www, configuration files in /etc (carefully), and user data. Perform a final delta sync during a scheduled cutover window to capture last-minute changes, then switch DNS.
Pro Tips from the Field
- Always run a dry run with
--dry-runbefore using--delete. - Use absolute paths in cron scripts to avoid surprises from changing working directories.
- Log output with
--log-file=/var/log/rsync-backup.logfor audits and troubleshooting. - Combine rsync with snapshots (LVM, ZFS, Btrfs) for consistent backups of live data.
- For databases, dump first (
mysqldumporpg_dump), then rsync the dump files.
FAQs: rsync Command in Linux
Is rsync faster than scp?
Yes, for repeated transfers or large directories, rsync is typically faster because it copies only changed data. scp always transfers entire files. On a first full copy, speeds may be similar; rsync shines on subsequent runs.
Does rsync do incremental backups automatically?
rsync always transfers only changed portions, but for versioned snapshots you must use --link-dest or --backup --backup-dir. This stores incremental history while keeping space usage low via hard links.
How do I exclude multiple patterns cleanly?
Create a file with one pattern per line (e.g., exclude.txt) and use --exclude-from=exclude.txt. This is more maintainable than chaining many --exclude flags in scripts.
Which port does rsync use?
Over SSH, rsync uses the SSH port (default 22). In daemon mode, it uses TCP 873. For internet-facing setups, prefer SSH and restrict access via firewall and keys.
Why are file permissions different at the destination?
Make sure you use -a to preserve metadata and run with sufficient privileges at the destination. Filesystems mounted with restrictive options or remote users lacking ownership rights can prevent proper preservation.
How can I speed up rsync on a high-speed LAN?
Disable compression (--no-compress or omit -z) and consider --whole-file. Increase SSH cipher performance and exclude unnecessary files. Use SSDs on both ends to remove I/O bottlenecks.
Is rsync safe for live websites?
Yes, especially for static assets. For dynamic sites (WordPress), place the site in maintenance mode during final syncs, and dump/sync databases atomically. Use snapshots or maintenance windows for transactional consistency on busy servers.