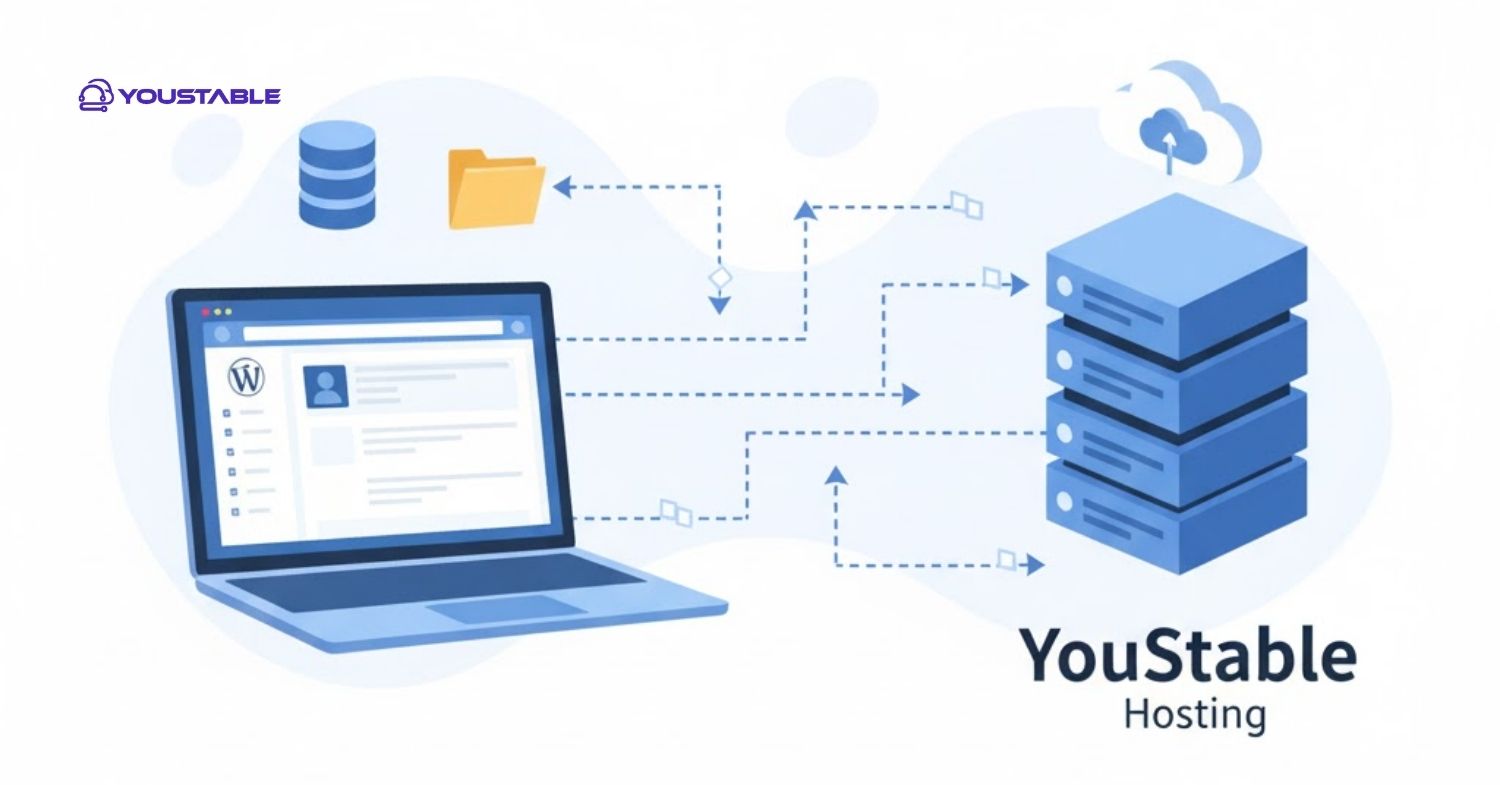
Migrate a WordPress Website can seem daunting, but it’s a common task for site owners looking to switch hosting providers or improve performance. Often, website downtime, plugin conflicts, or database errors can complicate migration if not handled properly. Many users face issues such as broken links, missing images, or slow loading after a migration because the process wasn’t executed carefully. Manually migrating your website ensures full control over each step, reducing risks and maintaining the integrity of your content, themes, and plugins during the transfer.

In this guide, we’ll cover how to migrate a WordPress website to YouStable Hosting manually. You’ll learn how to backup your files and database, configure your new hosting environment, and ensure your website runs smoothly without downtime or errors. By following this guide, you’ll gain confidence in handling website migrations yourself.
Steps to Manually Migrate a WordPress Website to YouStable Hosting
Manually migrating a WordPress website requires careful handling of both files and databases. Here’s a step-by-step guide to help you move your site to YouStable Hosting safely and efficiently.
1. Backup Your WordPress Files and Database
Start by backing up all your WordPress files, including themes, plugins, and uploads. You can use FTP clients like FileZilla to download everything from your current hosting server to your local computer. This ensures that even if something goes wrong during the migration, your website data remains safe.
Next, export your WordPress database using phpMyAdmin or a similar database management tool. This will include all your posts, pages, settings, and user information. Make sure to save the SQL file securely, as it will be essential for restoring your website on YouStable Hosting.
2. Create a New Database on YouStable Hosting
Log in to your YouStable Hosting control panel and navigate to the MySQL Databases section. Create a new database, along with a database user and a strong password. Make a note of the database name, username, and password as you’ll need them later to connect WordPress to the new database.
After setting up the database, import your previously exported SQL file into this new database using phpMyAdmin. This will transfer all your website content and settings to your new hosting environment, laying the foundation for a successful migration.
3. Upload WordPress Files to YouStable Hosting
Using an FTP client, upload all your WordPress files from your local backup to the public_html directory of your YouStable Hosting account. Ensure that you maintain the same folder structure as in your previous hosting to prevent broken links or missing files.
Once the upload is complete, verify that all files are present. Double-check directories such as wp-content, wp-admin, and wp-includes. Correct file permissions if needed to ensure WordPress functions properly. This step is critical to make sure your website runs smoothly after the migration.
4. Update the wp-config.php File
Open the wp-config.php file in your WordPress root directory and update the database name, username, and password to match the new database credentials you created on YouStable Hosting. This allows WordPress to connect to the database correctly.
Also, verify that the database host is set correctly (usually localhost). Save the changes and upload the updated wp-config.php file to your server. This step ensures that WordPress can retrieve content from your database, completing the essential connection between your files and database.
5. Test Your Website and Update DNS
Before updating your domain’s DNS, test your website using a temporary URL provided by YouStable Hosting. Check for broken links, missing images, or plugin errors. Make necessary adjustments to themes, plugins, or database entries to ensure everything works as expected.
Finally, update your domain’s nameservers to point to YouStable Hosting. It may take a few hours for the DNS changes to propagate globally. Once complete, your WordPress website will be fully migrated and operational on the new hosting provider.
Conclusion
Manually migrating a WordPress website may seem challenging, but by following the steps outlined above, you can move your site to YouStable Hosting safely and efficiently. You learned how to backup your WordPress files and database, create a new database, upload your files, update the wp-config.php file, and test your site before switching DNS.
Performing these steps carefully ensures minimal downtime, prevents data loss, and keeps your website running smoothly. If you encounter issues during the process, YouStable’s support team can assist you. Take action today and confidently migrate a WordPress website to your new hosting environment.


