N8N is a powerful, open-source workflow automation tool that enables you to visually connect applications, services, and APIs to automate tasks and processes without writing
complex code. It’s often described as a self-hosted alternative to Zapier or Make.com, offering more
flexibility and control over your data.

Why Developers Love n8n (and Why You Should Too)
If you’re a developer, you know how painful it is to juggle between multiple tools, APIs, and logic just to get basic automation running. That’s where n8n comes in—and believe me, once you get your hands on it, there’s no turning back.
I’ve seen devs fall in love with n8n for one simple reason: it gives them superpowers.
You’re not just automating tasks—you’re building full-blown backend logic, workflow pipelines, and business automation… without writing 1,000 lines of code. And the best part? It’s open-source, self-hostable, and scalable.
Why Host N8N on YouStable?
YouStable is a developer-first hosting platform offering optimised environments for self-hosted
applications like N8N. Here’s why N8N developers prefer YouStable:
- Pre-installed Docker & Docker Compose on all VPS plans
- Affordable NVMe SSD VPS Hosting
- Root Access with Full Control over Infrastructure
- Free SSL, Automated Backups & Dedicated IP Support
- Developer-Support Ready 24/7 for your automation stack
Whether you’re a solo dev, a growing SaaS founder, or managing enterprise workflows, YouStable
empowers your automation journey.
Installing N8N Step By Step Guide {Docker Method}
Step 1: Deploy Ubuntu VM (20.04 or 22.04)
Get started from the YouStable N8N VPS Hosting page and choose a plan. Launch your instance with
root access.
Step 2: Connect your VM with SSH
If you are using a Windows machine, download PuTTY. If you are using it like me, use this command in your terminal to access your VM.
ssh root@your-server-ip
Step 3: Install Docker & Docker Compose
apt update && apt install docker.io docker-compose -y
Step 4: Create a docker-compose.yml file
version: "3"
services:
n8n:
image: n8nio/n8n
restart: always
ports:
- "5678:5678"
environment:
- DB_TYPE=sqlite
- N8N_BASIC_AUTH_USER=admin
- N8N_BASIC_AUTH_PASSWORD=YourSecurePassword
volumes:
- ./n8n_data:/home/node/.n8n
Step 5: Launch and Test N8N Setup
docker-compose up -d
Now you can access your N8N Dashboard with http://your-vm-ip:5678 on your Google Chrome or any browser of your choice.
Setup N8N with Node.Js {No Docker}
If you prefer not to use Docker or are using a standard KVM VPS from a hosting provider other than YouStable, then follow these simple steps to deploy your n8n project without Docker.
Step 1: Install Node.Js and npm
apt update && apt install curl -y
curl -fsSL https://deb.nodesource.com/setup_18.x | bash -
apt install -y nodejs build-essential
Step 2: Add a system user for N8N
adduser --disabled-password --gecos "" n8nuser
usermod -aG sudo n8nuser
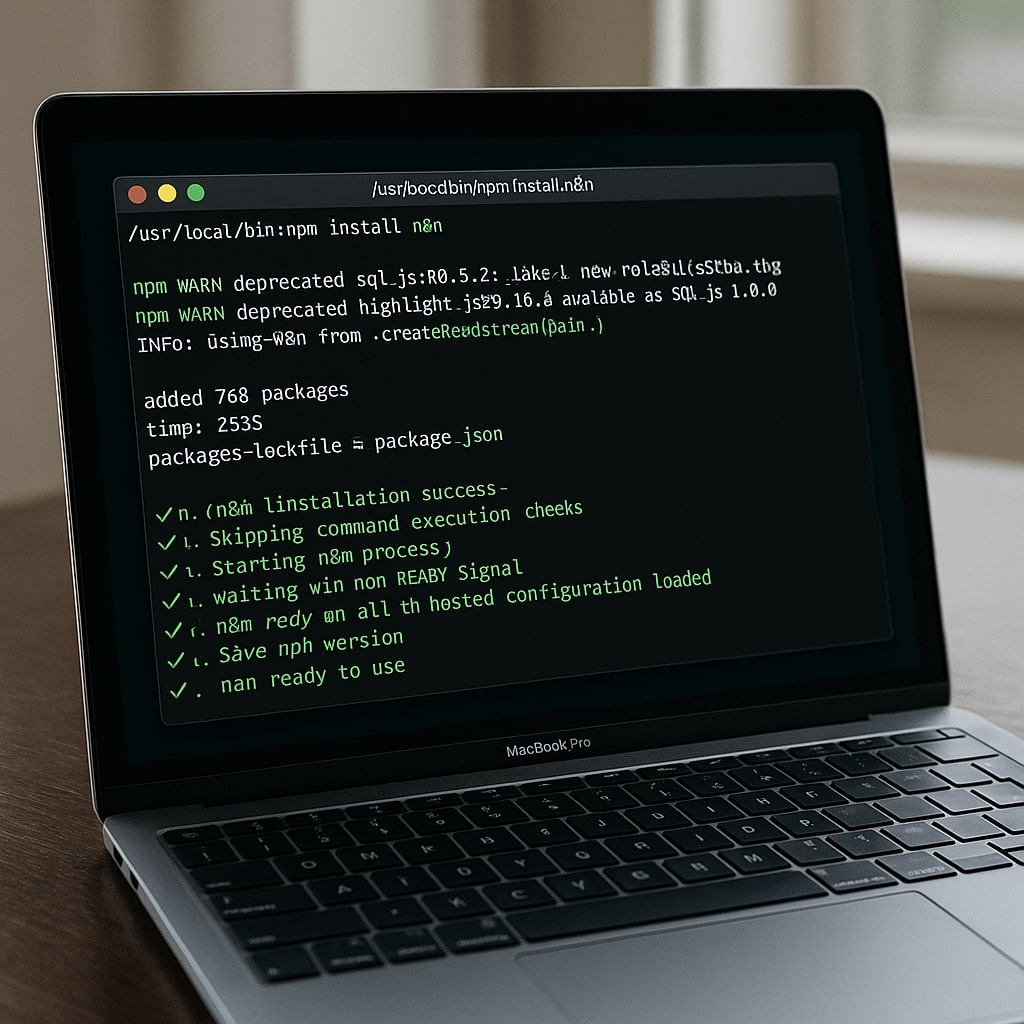
Step 3: Installing N8N
su - n8nuser
npm install n8n -g
Step 4: Start N8N
n8n
Now you have set up your N8N without using a docket on port number 5678, to keep it running, you’ll need to consider using PM2.
npm install pm2 -g
pm2 start n8n
pm2 startup && pm2 save
Final Step: Add your Domain & SSL (Optional)
Set A Record for n8n.yourdomain.com to your VPS IP
Install NGINX or Caddy as Reverse Proxy
Use Let’s Encrypt for SSL
YouStable can configure your reverse proxy & SSL for FREE on request.
Whether you’re deploying via Docker Compose or going manual with Node.js, YouStable’s KVM VPS
gives you full control, scalability, and peace of mind. It’s the perfect choice for developers, automation
Pros, agencies, and startups are ready to take ownership of their workflows.