To install Nginx on a Linux server, update your packages, install the nginx package, start and enable the service, open ports 80/443 in your firewall, and verify the default welcome page. On Ubuntu/Debian use apt; on RHEL/CentOS/AlmaLinux use dnf. Then configure a server block, enable HTTPS with Let’s Encrypt, and reload Nginx.
In this guide, you’ll learn how to install Nginx on a Linux server the right way—securely, reliably, and with production-ready settings. As a senior technical writer at YouStable, I’ll walk you through distro-specific commands, server block configuration, HTTPS with Let’s Encrypt, reverse proxying, performance tuning, and troubleshooting.
What Is Nginx and Why Use It?
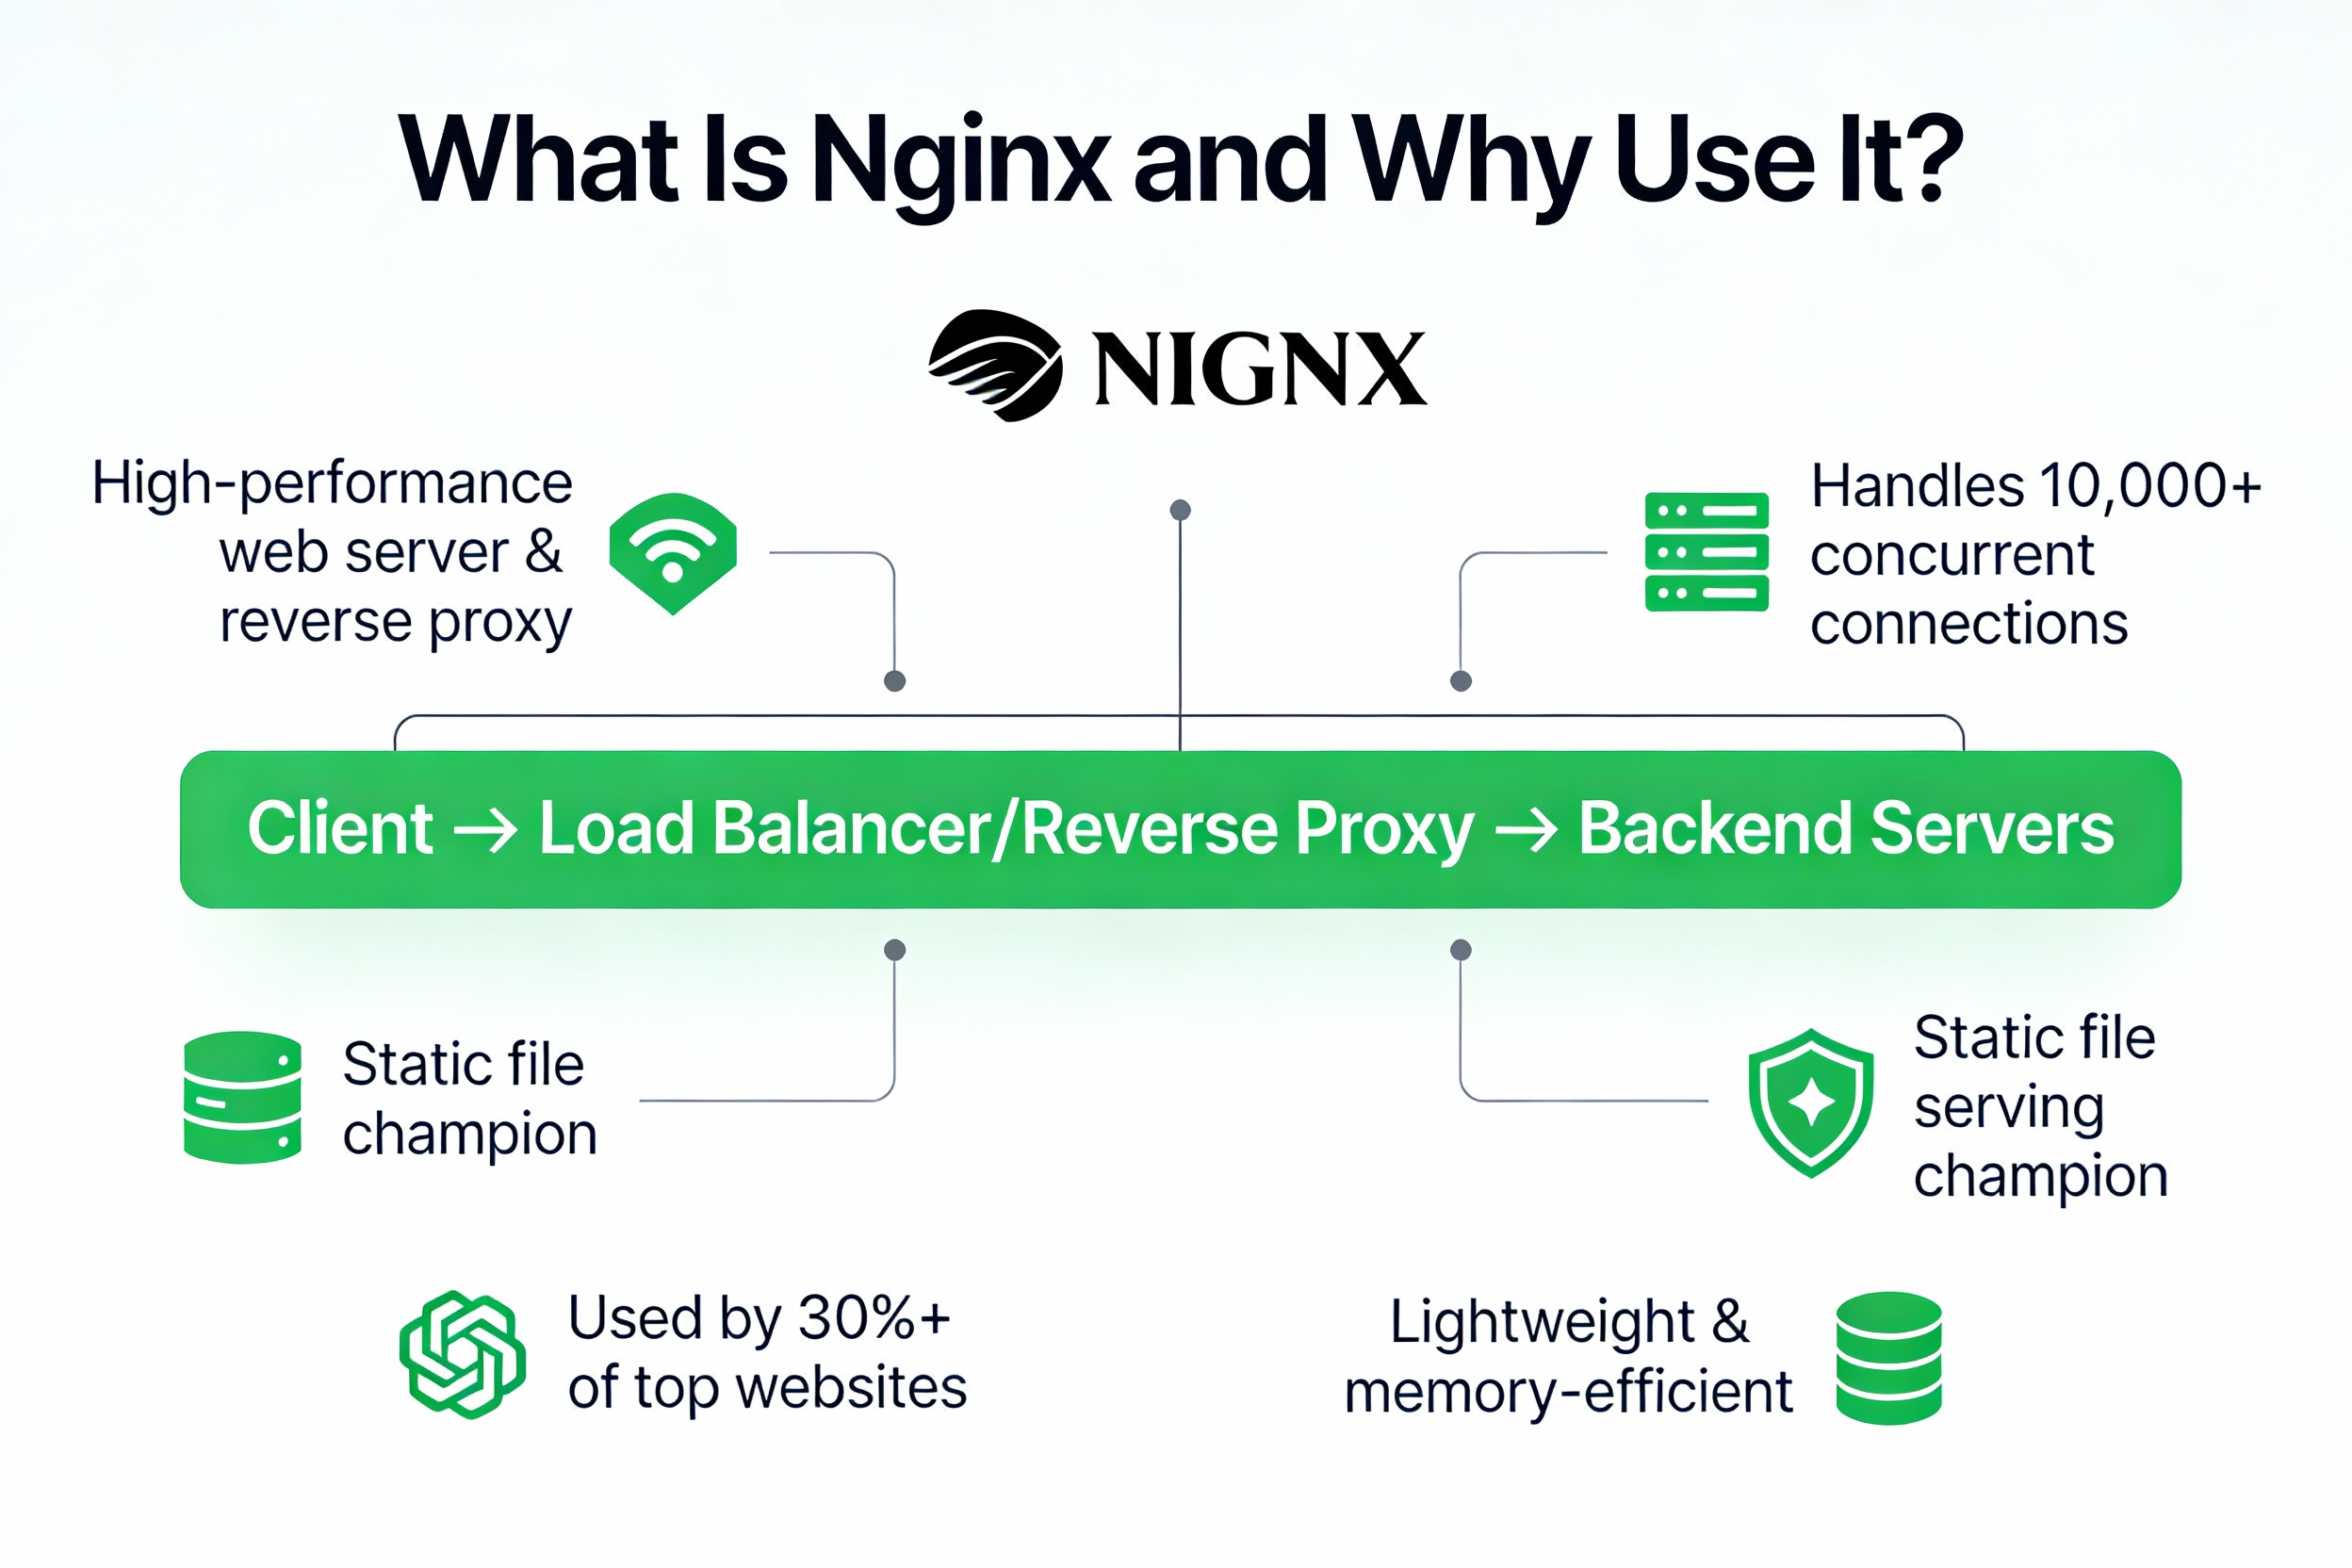
Nginx is a high‑performance web server and reverse proxy known for low memory usage and the ability to handle thousands of concurrent connections. It’s ideal for serving static files, load balancing, acting as an SSL terminator, or proxying to app servers like Node.js, Python (Gunicorn/Uvicorn), PHP-FPM, and Ruby.
Prerequisites and Quick Checklist
Before you install Nginx on Linux, make sure you have:
- A supported OS: Ubuntu 22.04/24.04, Debian 12, RHEL/CentOS/AlmaLinux/Rocky 8/9, or Amazon Linux.
- Root or sudo access to the server’s shell.
- Firewall access to open ports 80 (HTTP) and 443 (HTTPS).
- Optional: A domain pointing to your server’s public IP via DNS A/AAAA records.
- Time synchronization (chrony or systemd-timesyncd) for TLS certificates.
Install Nginx on Ubuntu/Debian
Use apt on Ubuntu and Debian to install Nginx from official repositories.
Step 1: Update and Install
sudo apt update
sudo apt install -y nginx
sudo systemctl enable --now nginx
Step 2: Open Firewall (UFW)
sudo ufw allow 'Nginx Full'
sudo ufw status
If UFW isn’t enabled, you can skip this step or enable it with care.
Step 3: Verify Nginx
systemctl status nginx --no-pager
curl -I http://YOUR_SERVER_IP
# Or visit http://YOUR_SERVER_IP in a browser
You should see a 200 OK and the default Nginx welcome page.
Install Nginx on RHEL, CentOS, AlmaLinux, Rocky, and Amazon Linux
On RHEL-family systems, use dnf (or yum) to install Nginx.
Step 1: Install and Start
# RHEL/CentOS/AlmaLinux/Rocky 8/9
sudo dnf install -y nginx
sudo systemctl enable --now nginx

# Amazon Linux 2023
sudo dnf install -y nginx
sudo systemctl enable --now nginx

# Amazon Linux 2 (if needed)
# sudo amazon-linux-extras install nginx1 -y
# sudo systemctl enable --now nginx
Step 2: Open Firewall (firewalld)
sudo firewall-cmd --permanent --add-service=http
sudo firewall-cmd --permanent --add-service=https
sudo firewall-cmd --reload
If SELinux is enforcing and you plan to proxy to local apps or use custom web roots, set the right contexts/booleans:
# Allow Nginx to connect to network services (for reverse proxy)
sudo setsebool -P httpd_can_network_connect 1

# Label a custom web root directory for Nginx
sudo chcon -R -t httpd_sys_content_t /var/www/example.com/html
Create a Server Block (Virtual Host)
Server blocks let you host multiple domains or apps. Below is a simple, production-safe HTTP configuration that serves static content for example.com. Adjust paths and domain names as needed.
Step 1: Prepare Directories and Permissions
sudo mkdir -p /var/www/example.com/html
echo "<h1>It works!</h1>" | sudo tee /var/www/example.com/html/index.html

# Give ownership to your user or the web user
sudo chown -R $USER:$USER /var/www/example.com
sudo find /var/www/example.com -type d -exec chmod 755 {} \;
Step 2: Add Nginx Server Block
On Ubuntu/Debian, create a file in sites-available and enable it. On RHEL families, put it in conf.d.
# Ubuntu/Debian
sudo nano /etc/nginx/sites-available/example.com

# RHEL/CentOS/AlmaLinux/Rocky/Amazon Linux
sudo nano /etc/nginx/conf.d/example.com.conf
server {
listen 80;
listen [::]:80;
server_name example.com www.example.com;
root /var/www/example.com/html;
index index.html index.htm;
access_log /var/log/nginx/example.com.access.log;
error_log /var/log/nginx/example.com.error.log warn;
location / {
try_files $uri $uri/ =404;
}
}Enable the site and reload Nginx:
# Ubuntu/Debian only
sudo ln -s /etc/nginx/sites-available/example.com /etc/nginx/sites-enabled/example.com

# All distros: test and reload
sudo nginx -t
sudo systemctl reload nginx
Enable HTTPS with Let’s Encrypt (Certbot)
HTTPS is essential for security, SEO, and browser trust. Certbot can automatically request and install certificates, configure TLS, and set up renewals.
Install Certbot
# Ubuntu/Debian
sudo apt install -y certbot python3-certbot-nginx

# RHEL/CentOS/AlmaLinux/Rocky/Amazon Linux
sudo dnf install -y certbot python3-certbot-nginx
Request and Install a Certificate
sudo certbot --nginx -d example.com -d www.example.com
# Follow prompts to enable redirect (HTTP to HTTPS)
Certbot sets up auto-renewal via a systemd timer or cron. Verify it:
sudo systemctl status certbot.timer
sudo certbot renew --dry-run
Ensure port 443 is open in your firewall and DNS A/AAAA records point to your server before running Certbot.
Use Nginx as a Reverse Proxy (Node.js, Python, PHP-FPM)
Nginx excels at proxying traffic to app servers. Below is a basic reverse proxy configuration with WebSocket support, ideal for Node.js or Python apps listening on localhost:3000.
server {
    listen 80;
    server_name app.example.com;

    location / {
        proxy_pass http://127.0.0.1:3000;
        proxy_http_version 1.1;

        # Forward client details
        proxy_set_header Host $host;
        proxy_set_header X-Real-IP $remote_addr;
        proxy_set_header X-Forwarded-For $proxy_add_x_forwarded_for;
        proxy_set_header X-Forwarded-Proto $scheme;

        # WebSocket
        proxy_set_header Upgrade $http_upgrade;
        proxy_set_header Connection "upgrade";
    }
}
On SELinux-enabled systems, allow network connections for the web server if proxying to upstream apps:
sudo setsebool -P httpd_can_network_connect 1Performance Tuning and Security Hardening
Once you install Nginx on Linux, apply these practical optimizations for speed and safety.
Gzip and HTTP/2
# /etc/nginx/conf.d/performance.conf (create this file)
gzip on;
gzip_comp_level 5;
gzip_min_length 256;
gzip_types text/plain text/css application/json application/javascript application/xml text/xml image/svg+xml;
gzip_vary on;
HTTP/2 is enabled automatically on TLS listeners (listen 443 ssl http2;). Certbot’s nginx installer typically adds this directive for you.
Strong TLS and Security Headers
# /etc/nginx/conf.d/security.conf
server_tokens off;                    # Hide Nginx version
client_max_body_size 20m;             # Adjust for your uploads

# Basic security headers (tune CSP to your app)
add_header X-Frame-Options "SAMEORIGIN" always;
add_header X-Content-Type-Options "nosniff" always;
add_header Referrer-Policy "strict-origin-when-cross-origin" always;
add_header Content-Security-Policy "default-src 'self'" always;
Rate Limiting (DDoS/Brute-Force Mitigation)
Define a shared memory zone in the http context and apply it per location:
# In /etc/nginx/nginx.conf (http block) or /etc/nginx/conf.d/limits.conf
limit_req_zone $binary_remote_addr zone=perip:10m rate=10r/s;

# In a server/location block
location /login {
    limit_req zone=perip burst=20 nodelay;
    proxy_pass http://127.0.0.1:3000;
}
Manage Nginx with Systemd and Logs
Use these commands daily for safe changes, restarts, and debugging.
# Validate syntax before reload
sudo nginx -t

# Reload without dropping connections
sudo systemctl reload nginx

# Start/Stop/Status
sudo systemctl start nginx
sudo systemctl stop nginx
sudo systemctl status nginx

# Recent logs
sudo journalctl -u nginx --since "1 hour ago" --no-pager
tail -f /var/log/nginx/error.log
tail -f /var/log/nginx/access.log
Troubleshooting Common Issues
- Port already in use: Check listeners with sudo ss -tulpn | grep :80 or :443. Stop conflicting services (e.g., Apache) or change ports.
- 403 Forbidden: Fix directory ownership/permissions and SELinux contexts. Ensure the root path exists and is readable.
- 404 Not Found: Verify server_name, DNS, and try_files in your location block.
- 502 Bad Gateway: The upstream app is down or blocked by SELinux. Start the app, check proxy_pass, and enable httpd_can_network_connect.
- Certbot failures: Confirm DNS records, open ports 80/443, and no forced HTTP blocks by firewalls or CDNs during validation.
Cleanly Uninstall or Reinstall Nginx
On Ubuntu/Debian:
# Remove binaries but keep configs
sudo apt remove nginx nginx-common

# Full purge (removes configs)
sudo apt purge nginx nginx-common
sudo rm -rf /etc/nginx /var/www/example.com
On RHEL-family systems:
sudo dnf remove nginx
# Optionally remove /etc/nginx and any custom web roots with care
Real-World Tips from 15+ Years Managing Nginx
- Version pinning: In production, test upgrades on staging. Pin versions via your package manager to avoid surprise changes.
- Zero-downtime reloads: Always run sudo nginx -t before reloading. Use reload (not restart) to keep connections alive.
- Separate configs: Keep site configs in sites-available/sites-enabled (Debian style) or conf.d per domain for cleanliness.
- Log rotation: Ensure logrotate is configured for Nginx to prevent disk bloat.
- Backups: Track changes with Git and back up /etc/nginx and TLS material (/etc/letsencrypt) regularly.
Why Install Nginx on a YouStable Server
If you prefer to skip the heavy lifting, YouStable’s SSD-backed VPS and Cloud Servers ship with modern Linux, full root access, and optional managed support. We’ll pre-harden your stack, configure Nginx with HTTPS, optimize for your CMS or application, and monitor uptime—so you focus on your business, not server plumbing.
FAQs: Install Nginx on Linux Server
What is Nginx used for?
Nginx is a web server and reverse proxy. It serves static websites, proxies requests to backend apps (Node.js, Python, PHP-FPM), terminates TLS, load balances upstream servers, and acts as a caching layer for performance.
How do I check if Nginx is running?
Use systemctl status nginx or ps aux | grep nginx to confirm processes. You can also test locally with curl -I http://127.0.0.1 and check logs at /var/log/nginx/.
Nginx vs Apache: which should I choose?
Nginx shines with high concurrency, static assets, and reverse proxy use cases. Apache offers deep .htaccess integration and rich modules. Many teams place Nginx in front of Apache or app servers for the best of both worlds.
Where are Nginx configuration files?
Global config is typically /etc/nginx/nginx.conf. Site configs live in /etc/nginx/sites-available and sites-enabled on Ubuntu/Debian, or /etc/nginx/conf.d on RHEL-like systems.
How do I restart or reload Nginx safely?
Validate first with sudo nginx -t, then reload with sudo systemctl reload nginx to apply changes without dropping connections. Use restart only when necessary.
How do I uninstall Nginx completely?
On Ubuntu/Debian run sudo apt purge nginx nginx-common and remove /etc/nginx. On RHEL-like systems run sudo dnf remove nginx and clean up /etc/nginx and web roots if no longer needed.
How do I enable HTTPS on Nginx?
Install Certbot and the Nginx plugin, then run sudo certbot –nginx -d yourdomain -d www.yourdomain. Certbot will obtain certificates, configure TLS, and set up automatic renewals.
Conclusion
You now know how to install Nginx on a Linux server, open firewalls, configure server blocks, enable HTTPS, reverse proxy to apps, and harden for production. Follow best practices—test configs, reload gracefully, and monitor logs—to keep uptime high. Want a faster start? Let YouStable provision, secure, and optimize Nginx for you.