
How to set up DNS on a Linux server: install and configure BIND (named), create authoritative forward and reverse zones, open port 53, and test with dig. Register glue records at your registrar and delegate your domain to your nameservers. This step-by-step guide covers Ubuntu/Debian and RHEL based systems, caching-only mode, and DNSSEC basics.
In this beginner-friendly guide, you’ll learn how to set up DNS on a Linux server using BIND (named). We’ll cover authoritative and caching roles, create forward and reverse zones, harden security, and verify with dig. The steps work on Ubuntu/Debian and RHEL/CentOS/AlmaLinux.
What Is DNS and Which Server Role Do You Need?
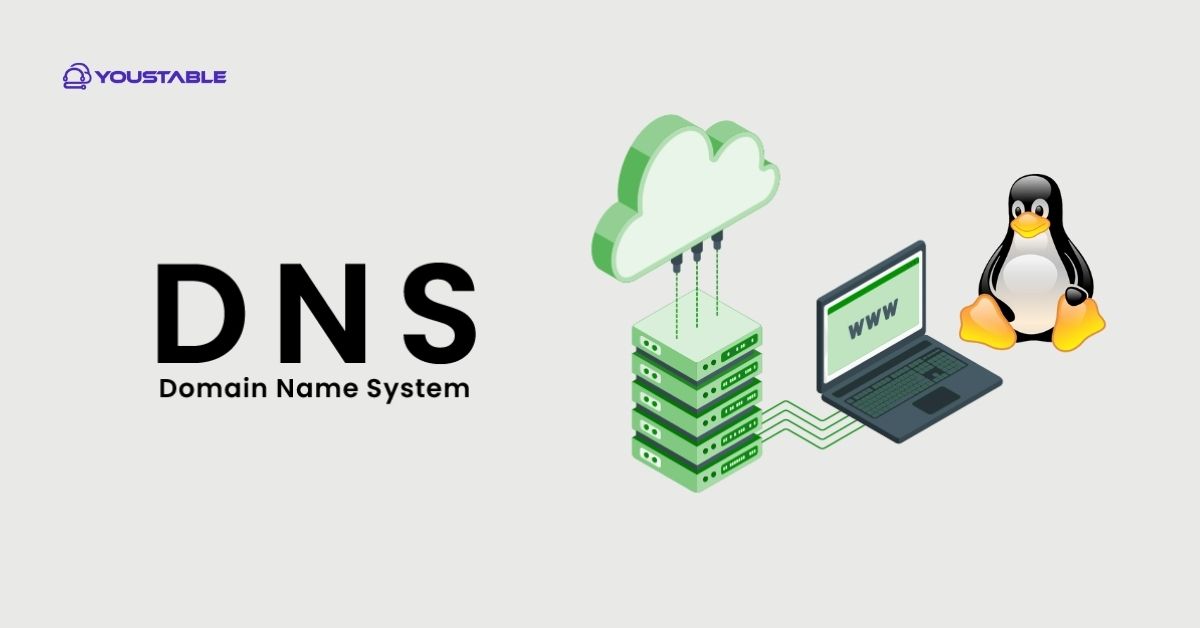
Domain Name System (DNS) translates human-friendly domains into IP addresses. On Linux, you typically run either:
- Authoritative DNS server: Answers for your domains (hosts your zone files). No recursion.
- Caching/recursive resolver: Resolves any domain for clients, caches results. No authoritative zones.
- Hybrid: Authoritative for your zones and recursive for internal clients (use access controls).
This tutorial focuses on authoritative DNS for a public domain and shows a secure recursive configuration when needed.
Prerequisites
- A Linux server (Ubuntu/Debian or RHEL/CentOS/AlmaLinux) with a public IP
- Root or sudo access
- A registered domain (e.g., example.com)
- Firewall access to open UDP/TCP 53
- Basic command line familiarity
Install BIND (named)
BIND is the most widely used DNS server on Linux. Package names differ by distro.
Ubuntu/Debian
sudo apt update
sudo apt install bind9 bind9-utils bind9-dnsutils
# Optional on Ubuntu: ensure systemd-resolved won't bind :53 if you run a local resolver
# sudo systemctl disable --now systemd-resolved
RHEL/CentOS/AlmaLinux/Rocky
sudo dnf install bind bind-utils
# On older CentOS: sudo yum install bind bind-utils
Plan Your Zone and Nameserver Hostnames
Decide nameserver hostnames and IPs. For best resiliency, use at least two:
- ns1.example.com → 203.0.113.10
- ns2.example.com → 198.51.100.20
If ns1 and ns2 are within your domain, you must create glue records at your registrar. We’ll come back to this after the server is running.
Authoritative DNS: Configure BIND
Global options
Set safe defaults, disable recursion for public authoritative servers, and add upstream forwarders only for a resolver role.
Ubuntu/Debian: /etc/bind/named.conf.options
options {
    directory "/var/cache/bind";

    // Authoritative only: no recursion
    recursion no;

    // Listen on all IPv4/IPv6
    listen-on-v6 { any; };
    listen-on { any; };

    // Hide version
    version "not disclosed";

    // For resolvers only (commented here):
    // forwarders { 1.1.1.1; 8.8.8.8; };
    // allow-recursion { 127.0.0.1; 10.0.0.0/8; 192.168.0.0/16; };

    // Security
    dnssec-enable yes;
    dnssec-validation auto;
};
RHEL-based: /etc/named.conf
options {
    directory "/var/named";
    recursion no;
    listen-on port 53 { any; };
    listen-on-v6 { any; };
    allow-query { any; };
    dnssec-enable yes;
    dnssec-validation auto;
    // forwarders { 1.1.1.1; 8.8.8.8; }; // only for resolvers
};

// Include zones in a separate file if you like
include "/etc/named.conf.local";
Define your zones
Create zone stanzas for your domain and reverse DNS. On Ubuntu, use /etc/bind/named.conf.local. On RHEL, use /etc/named.conf.local (and include it from named.conf).
zone "example.com" IN {
    type master;
    file "/etc/bind/db.example.com"; // Ubuntu path
    // RHEL alternative: "/var/named/db.example.com";
    allow-transfer { 198.51.100.20; }; // ns2 IP for AXFR
    also-notify { 198.51.100.20; };
};

zone "113.0.203.in-addr.arpa" IN {
    type master;
    file "/etc/bind/db.203.0.113.rev"; // reverse zone for 203.0.113.0/24
    allow-transfer { 198.51.100.20; };
    also-notify { 198.51.100.20; };
};
Create the forward zone file
Build a minimal but production-ready db.example.com with SOA, NS, A/AAAA, MX, and TXT records.
$TTL 3600
@   IN SOA ns1.example.com. admin.example.com. (
        2025010101 ; serial (YYYYMMDDnn)
        3600       ; refresh
        900        ; retry
        1209600    ; expire
        300 )      ; negative TTL

; Nameservers
@       IN NS   ns1.example.com.
@       IN NS   ns2.example.com.

; Nameserver addresses
ns1     IN A    203.0.113.10
ns2     IN A    198.51.100.20

; Web and root records
@       IN A    203.0.113.10
www     IN CNAME @

; Mail
@       IN MX 10 mail.example.com.
mail    IN A    203.0.113.11

; IPv6 (optional)
@       IN AAAA 2001:db8::10
ns1     IN AAAA 2001:db8::10

; TXT (SPF/verification)
@       IN TXT  "v=spf1 a mx -all"
_dmarc  IN TXT  "v=DMARC1; p=none; rua=mailto:dmarc@example.com"
default._domainkey IN TXT "v=DKIM1; k=rsa; p=YOUR_DKIM_PUBLIC_KEY"
Create the reverse zone file
This maps IPs back to names with PTR records. Use the last octet for IPv4.
$TTL 3600
@   IN SOA ns1.example.com. admin.example.com. (
        2025010101 3600 900 1209600 300 )
    IN NS  ns1.example.com.
    IN NS  ns2.example.com.

10  IN PTR ns1.example.com.
11  IN PTR mail.example.com.
12  IN PTR example.com.
Check Configuration and Start BIND
# Validate configs and zones
sudo named-checkconf
sudo named-checkzone example.com /etc/bind/db.example.com
sudo named-checkzone 113.0.203.in-addr.arpa /etc/bind/db.203.0.113.rev

# Enable and start service
# Ubuntu/Debian
sudo systemctl enable --now bind9

# RHEL-based
sudo systemctl enable --now named

# View logs if something fails
sudo journalctl -u bind9 -e   # Debian/Ubuntu
sudo journalctl -u named -e   # RHEL
Open Firewall and Network Ports
UFW (Ubuntu)
sudo ufw allow 53/tcp
sudo ufw allow 53/udp
sudo ufw reload
firewalld (RHEL-based)
sudo firewall-cmd --permanent --add-service=dns
sudo firewall-cmd --reload
If SELinux is enforcing and you store zones in non-default paths, fix contexts:
sudo restorecon -Rv /var/named
# Or label a custom path:
# sudo semanage fcontext -a -t named_zone_t "/opt/zones(/.*)?"
# sudo restorecon -Rv /opt/zones
Test with dig
Use dig to query your server directly and confirm authoritative answers.
# Query A record
dig @203.0.113.10 example.com +noall +answer +authority

# Query NS and MX
dig @203.0.113.10 NS example.com +short
dig @203.0.113.10 MX example.com +short

# Reverse lookup
dig @203.0.113.10 -x 203.0.113.11 +noall +answer

# Check DNSSEC chain if enabled
dig +dnssec example.com
Delegate Your Domain and Add Glue
At your domain registrar, register host records (glue) for ns1.example.com and ns2.example.com with their IPs. Then set your domain’s nameservers to ns1.example.com and ns2.example.com. DNS propagation can take from minutes up to 48 hours depending on TTLs.
Optional: Caching-Only Resolver (Local or Internal)
For a recursive resolver, allow recursion for trusted networks, add forwarders, and block public recursion.
acl "trusted" { 127.0.0.1; 10.0.0.0/8; 192.168.0.0/16; };

options {
    recursion yes;
    allow-recursion { trusted; };
    allow-query { trusted; };
    forwarders { 1.1.1.1; 8.8.8.8; };
    listen-on { 127.0.0.1; 10.0.0.1; };
    listen-on-v6 { any; };
};
Update resolv.conf on clients to point at your resolver’s IP. On systemd-resolved hosts, configure via /etc/systemd/resolved.conf and enable DNSStubListener as needed.
Security Hardening and Best Practices
- Disable public recursion on authoritative servers: recursion no;
- Restrict zone transfers with allow-transfer and TSIG keys for secondaries.
- Rate-limit responses to reduce abuse: response-policy or RRL (if supported by your build).
- Minimize version leakage: version “not disclosed”;
- DNSSEC: sign zones with dnssec-signzone and publish DS at the registrar.
- Least privilege: keep zone files owned by the named user/group and proper permissions.
- Logging and monitoring: enable query/error logs and watch with journalctl or an external SIEM.
- Backups: back up zone files, keys, and configs regularly.
- Change control: use serial numbers in YYYYMMDDnn format and document changes.
Example: TSIG for secure zone transfers
# Generate a TSIG key
sudo tsig-keygen -a hmac-sha256 sec-xfer.example.com > /etc/bind/tsig.key
# Include the key on both primary and secondary
include "/etc/bind/tsig.key";

# Restrict transfers in named.conf.local
server 198.51.100.20 {
    keys { sec-xfer.example.com; };
};

zone "example.com" {
    type master;
    file "/etc/bind/db.example.com";
    allow-transfer { key sec-xfer.example.com; };
    also-notify { 198.51.100.20 key sec-xfer.example.com; };
};
Troubleshooting Common Errors
- named-checkconf fails: A missing semicolon or bad include path is common.
- Servfail/NXDOMAIN: Check SOA/NS records and that zone files load; inspect journalctl logs.
- Timeouts: Verify firewall allows UDP/TCP 53 and that the service is listening on public IPs.
- Reverse lookups fail: Confirm you created the correct in-addr.arpa zone and PTR entries.
- Registrar not accepting DS: Ensure zone is signed and you’re pasting the correct DS tag/alg/digest.
Operational Tips from the Field
- Use two diverse nameservers in different DCs/ASNs for resiliency.
- Set sensible TTLs: 300–600 seconds for frequently changing records, 3600–14400 for stable ones.
- Staging first: Validate new zones on a staging server; switch NS only after tests pass.
- Split-horizon DNS if you need different answers inside vs outside; implement with BIND views.
- Automation: Track changes in Git and deploy via CI to reduce human error.
When to Use Managed DNS
Running authoritative DNS in-house gives control, but you shoulder uptime, DDoS resilience, and 24/7 monitoring. If you prefer a managed route, YouStable’s hosting stack and managed DNS services can provision redundant anycast nameservers, set up DNSSEC, and monitor changes so your applications stay reachable.
Quick Reference: End-to-End Steps
- Install BIND and utilities.
- Set options: disable recursion on authoritative servers.
- Create forward and reverse zone files.
- Validate with named-checkconf and named-checkzone.
- Open UDP/TCP 53 in the firewall; fix SELinux contexts as needed.
- Start and enable the service.
- Test with dig for A/NS/MX and PTR records.
- Register glue and delegate nameservers at the registrar.
- Optional: sign zones with DNSSEC; restrict transfers with TSIG.
FAQs: How to Setup DNS on Linux Server
What’s the difference between authoritative DNS and a caching resolver?
An authoritative DNS server hosts and answers for your own zones (example.com) and should not perform recursion. A caching resolver finds answers for any domain on behalf of clients, caches results, and should not host public zones. Many organizations run both, separated and access-controlled.
How do I point my domain to my Linux DNS server?
Create working NS, A/AAAA, and zone files on your server. At your registrar, register host (glue) records for ns1/ns2 with their IPs, then set your domain’s nameservers to ns1.example.com and ns2.example.com. Wait for DNS propagation based on your TTLs.
How can I secure BIND against abuse?
Disable public recursion, restrict zone transfers with TSIG, set minimal version exposure, enable DNSSEC, open only UDP/TCP 53, and consider response rate limiting. Monitor logs and keep packages patched. Use views to segregate internal vs external answers safely.
How do I test my DNS after setup?
Use named-checkconf and named-checkzone to validate syntax. Query your server directly with dig for A, NS, MX, and PTR records. Use third-party tools like zonemaster or intoDNS for external checks and to verify glue, SOA, and delegation health.
Should I run my own DNS or use managed DNS?
If you need full control and have ops maturity, self-hosting works well. If you want global anycast, built-in DDoS protection, and 24/7 monitoring without maintenance overhead, managed DNS from providers like YouStable is faster to deploy and easier to scale.
Conclusion
You’ve learned how to set up DNS on a Linux server using BIND, from installing packages to creating forward and reverse zones, securing transfers, and validating with dig. Whether you self-host or choose managed DNS from YouStable, a reliable, secure DNS layer is essential for uptime and performance.

