To configure Kubernetes on a Linux server, install a container runtime (containerd), disable swap, enable required kernel modules, install kubeadm/kubelet/kubectl from the official Kubernetes repository, initialize the control plane with kubeadm init, apply a CNI plugin (e.g., Calico), and join worker nodes with kubeadm join. Verify cluster health with kubectl and harden firewall/RBAC.
If you’re learning how to configure Kubernetes on a Linux server in 2026, this step-by-step guide walks you through a modern, production-ready kubeadm setup. We’ll cover prerequisites, installation, networking, security, and validation with real commands that work on popular distributions like Ubuntu, Debian, and Rocky/AlmaLinux.
What is Kubernetes (K8s) and Why Configure it on Linux?
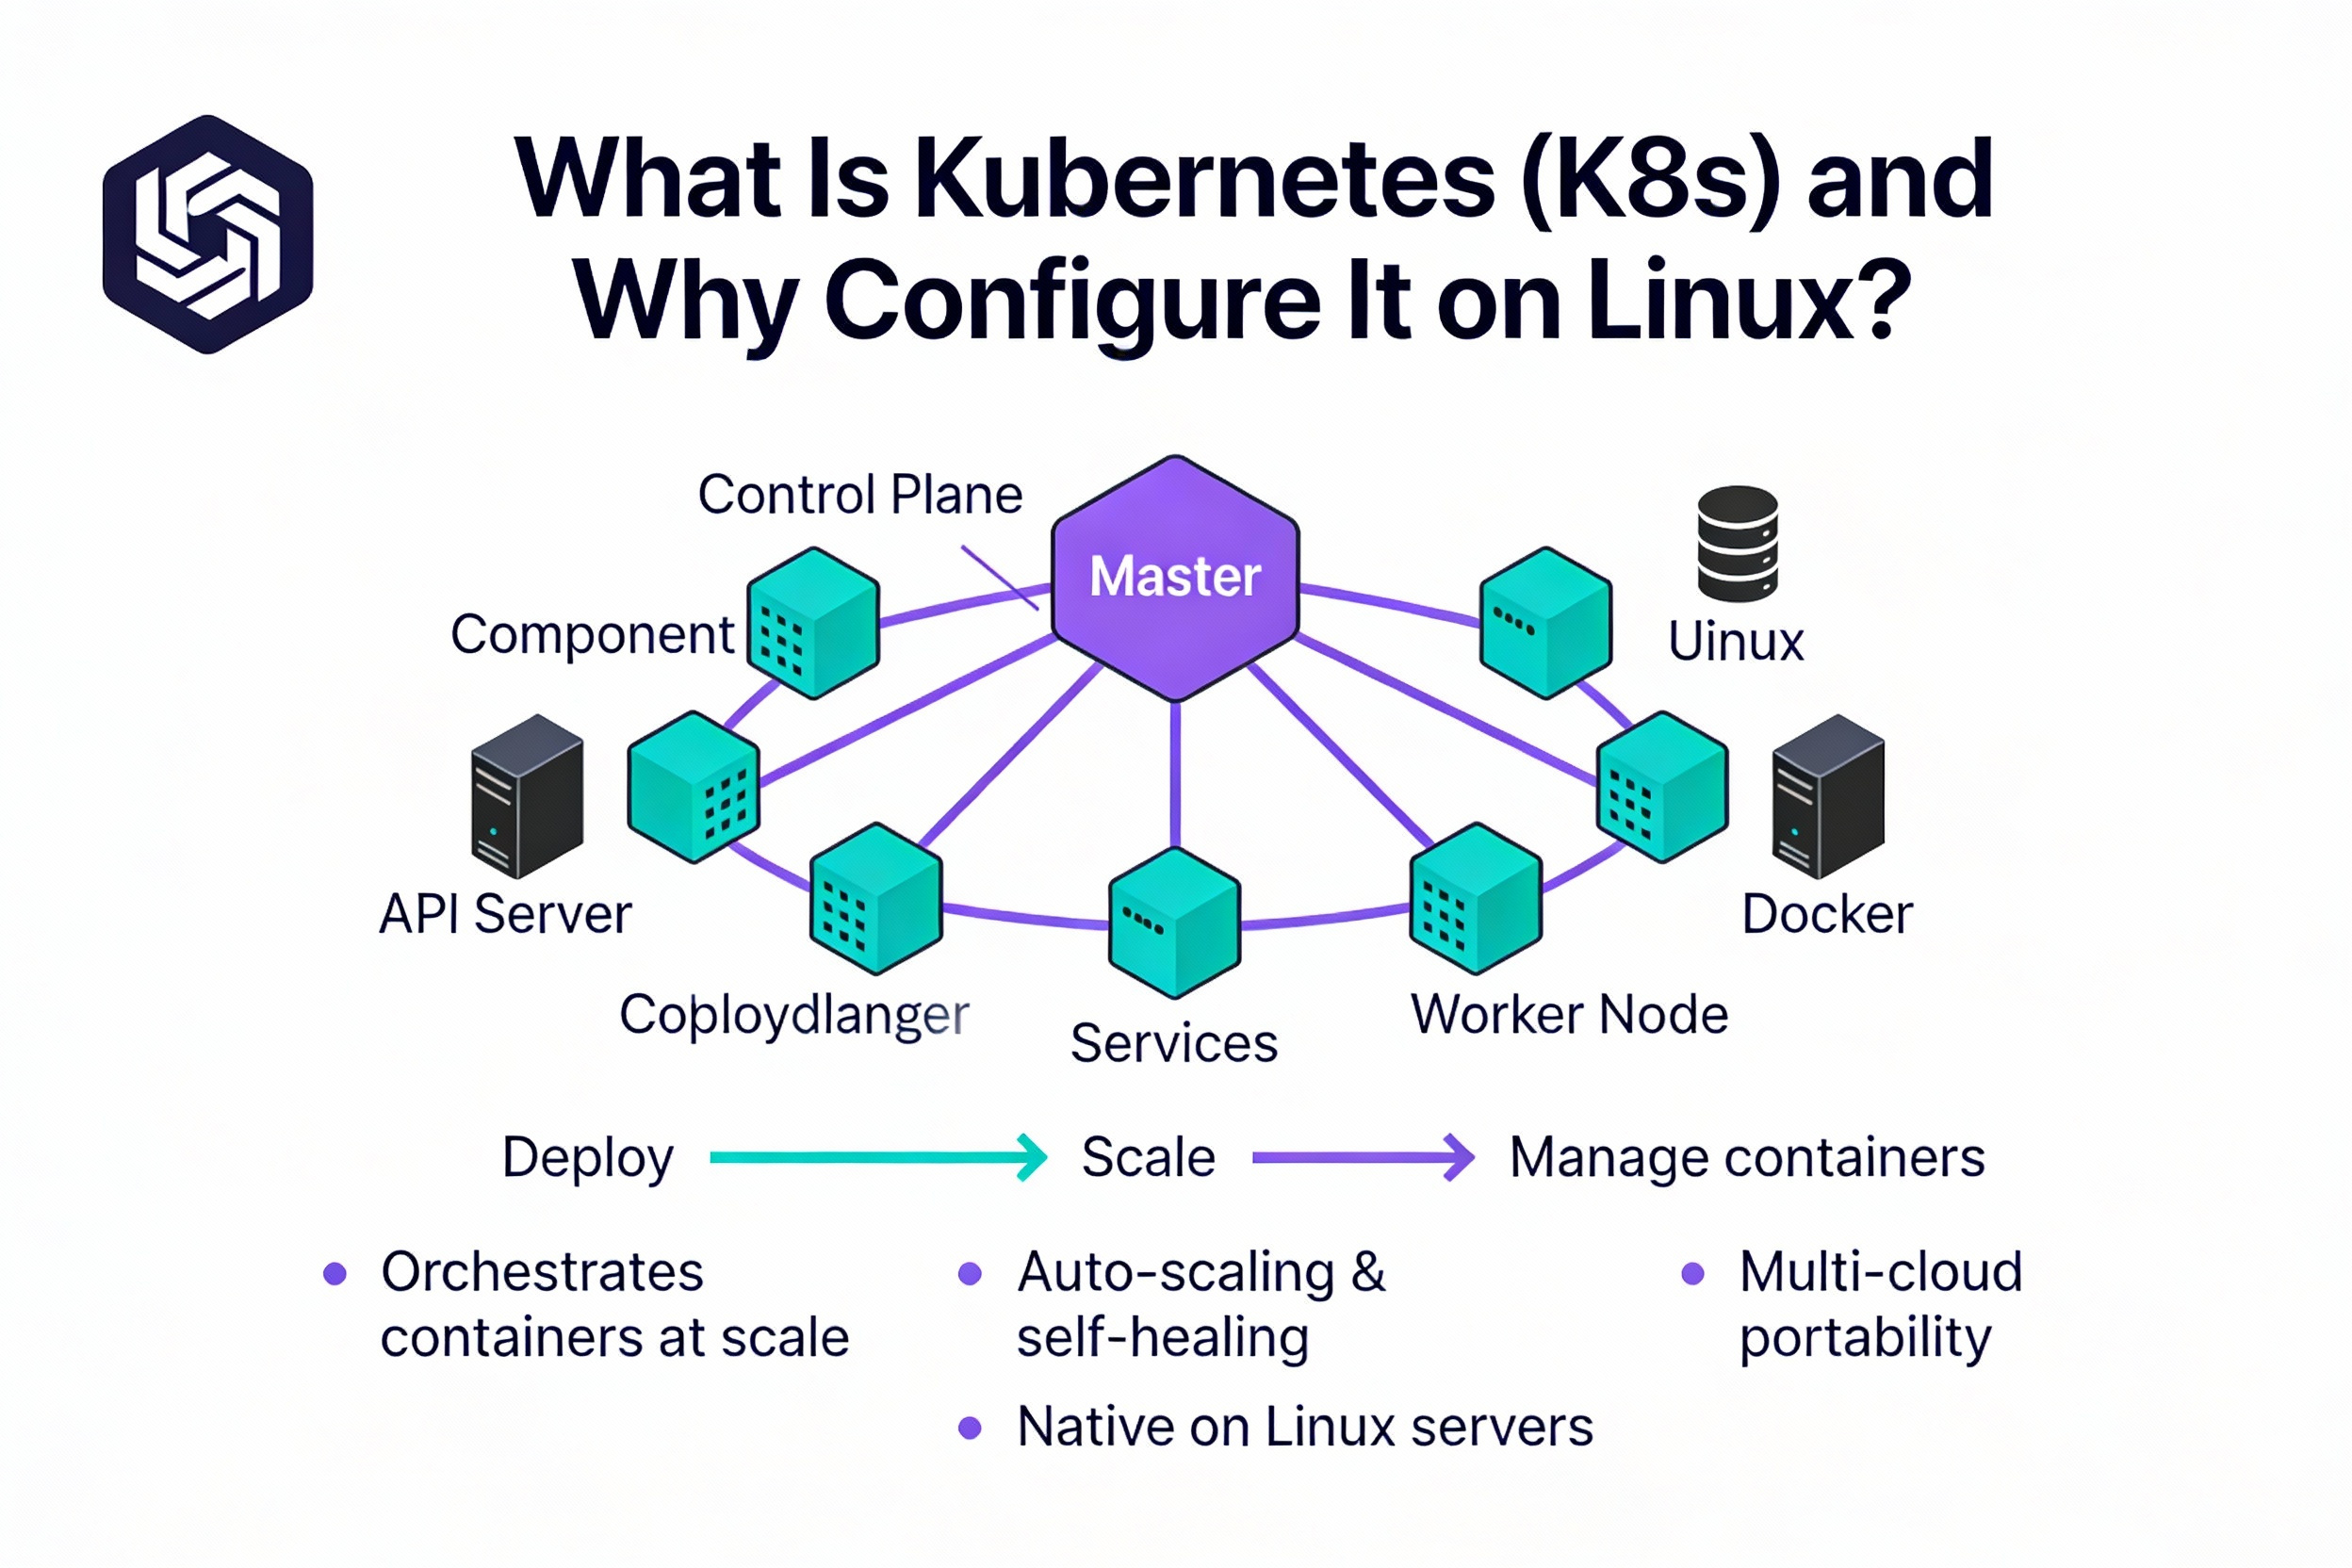
Kubernetes is an open-source orchestration platform that automates deployment, scaling, and management of containerized applications. Running Kubernetes on Linux gives you full control over compute resources, networking, security, and costs—ideal for DevOps teams, homelabs, and production workloads that need portability across on-prem and cloud.
Search Intent and What You’ll Learn
This tutorial targets “how to configure Kubernetes on Linux server” with hands-on steps. You’ll plan the cluster, install prerequisites, bring up a control plane, add workers, apply a CNI, open firewall ports, and validate workloads. You’ll also learn common fixes, upgrade tips, and optional production hardening.
Prerequisites and Planning
Supported Linux and Sizing
- Distributions: Ubuntu 22.04/24.04 LTS, Debian 12, Rocky/AlmaLinux 9 (or equivalents).
- Control plane (single node): 2–4 vCPU, 4–8 GB RAM, 40+ GB disk.
- Workers: 2+ vCPU, 4+ GB RAM (scale with workload), 40+ GB disk.
- Time sync: Enable NTP/chrony on all nodes.
Networking and Hostnames
- Each node needs a static IP or DHCP reservation and unique hostname.
- Open required ports between nodes (API server, etcd, kubelet, NodePort range).
- Decide a Pod CIDR for the CNI (e.g., 192.168.0.0/16 for Calico, 10.244.0.0/16 for Flannel).
Container Runtime
Use containerd for the runtime interface (CRI). It’s lightweight, upstream-supported, and stable for production. Docker Engine can still work with cri-dockerd, but containerd is simpler in 2026.
Step-by-Step: Configure Kubernetes with kubeadm
Step 1: Prepare Servers (All Nodes)
# Set hostnames (example)
sudo hostnamectl set-hostname cp-1   # control plane
# sudo hostnamectl set-hostname worker-1  # on worker nodes

# Optional: Map hostnames in /etc/hosts (use your actual IPs)
echo "10.0.0.10 cp-1" | sudo tee -a /etc/hosts
echo "10.0.0.11 worker-1" | sudo tee -a /etc/hosts

# Update system
sudo apt-get update && sudo apt-get -y upgrade || true
sudo dnf -y update || true
Step 2: Disable Swap and Configure Kernel (All Nodes)
# Disable swap (required)
sudo swapoff -a
sudo sed -i.bak '/\sswap\s/d' /etc/fstab

# Load required kernel modules
cat <<'EOF' | sudo tee /etc/modules-load.d/k8s.conf
overlay
br_netfilter
EOF
sudo modprobe overlay
sudo modprobe br_netfilter

# System networking params for Kubernetes
cat <<'EOF' | sudo tee /etc/sysctl.d/99-kubernetes-cri.conf
net.bridge.bridge-nf-call-iptables  = 1
net.bridge.bridge-nf-call-ip6tables = 1
net.ipv4.ip_forward                 = 1
EOF
sudo sysctl --system
Step 3: Install and Configure containerd (All Nodes)
# Ubuntu/Debian
sudo apt-get install -y ca-certificates curl gnupg lsb-release
sudo apt-get install -y containerd
sudo mkdir -p /etc/containerd
containerd config default | sudo tee /etc/containerd/config.toml >/dev/null
# Use systemd cgroups for kubelet compatibility
sudo sed -i 's/SystemdCgroup = false/SystemdCgroup = true/' /etc/containerd/config.toml
sudo systemctl enable --now containerd

# RHEL/Rocky/Alma
sudo dnf install -y containerd
sudo mkdir -p /etc/containerd
containerd config default | sudo tee /etc/containerd/config.toml >/dev/null
sudo sed -i 's/SystemdCgroup = false/SystemdCgroup = true/' /etc/containerd/config.toml
sudo systemctl enable --now containerd
If you previously installed Docker, ensure cri-dockerd is configured or fully remove Docker to avoid conflicts. Stick with containerd for simplicity.
Step 4: Install kubeadm, kubelet, kubectl (All Nodes)
Use the official Kubernetes repositories from pkgs.k8s.io. Replace v1.30 with your desired minor version if needed.
# Ubuntu/Debian
sudo mkdir -p /etc/apt/keyrings
curl -fsSL https://pkgs.k8s.io/core:/stable:/v1.30/deb/Release.key | sudo gpg --dearmor -o /etc/apt/keyrings/kubernetes-apt-keyring.gpg
echo "deb [signed-by=/etc/apt/keyrings/kubernetes-apt-keyring.gpg] https://pkgs.k8s.io/core:/stable:/v1.30/deb/ /" | sudo tee /etc/apt/sources.list.d/kubernetes.list
sudo apt-get update
sudo apt-get install -y kubelet kubeadm kubectl
sudo apt-mark hold kubelet kubeadm kubectl
sudo systemctl enable --now kubelet

# RHEL/Rocky/Alma
cat <<'EOF' | sudo tee /etc/yum.repos.d/kubernetes.repo
[kubernetes]
name=Kubernetes
baseurl=https://pkgs.k8s.io/core:/stable:/v1.30/rpm/
enabled=1
gpgcheck=1
gpgkey=https://pkgs.k8s.io/core:/stable:/v1.30/rpm/repodata/repomd.xml.key
EOF
sudo dnf install -y kubelet kubeadm kubectl
sudo systemctl enable --now kubelet
Step 5: Initialize the Control Plane (Control Node Only)
# Example with Calico pod CIDR
sudo kubeadm init --pod-network-cidr=192.168.0.0/16 --kubernetes-version stable

# Configure kubectl for your user
mkdir -p $HOME/.kube
sudo cp -i /etc/kubernetes/admin.conf $HOME/.kube/config
sudo chown $(id -u):$(id -g) $HOME/.kube/config
The output will include a kubeadm join command. Copy it—you’ll run it on worker nodes. If you need it later, generate it with:
kubeadm token create --print-join-commandStep 6: Install a CNI Plugin (Networking)
Pick a CNI that matches your Pod CIDR:
- Calico (feature-rich, policy): CIDR 192.168.0.0/16 (default in examples)
- Flannel (simple VXLAN): CIDR 10.244.0.0/16
- Cilium (eBPF, advanced networking/security): custom CIDR
# Calico (example)
kubectl apply -f https://raw.githubusercontent.com/projectcalico/calico/v3.26.1/manifests/calico.yaml

# Flannel (example)
# kubectl apply -f https://raw.githubusercontent.com/flannel-io/flannel/master/Documentation/kube-flannel.yml
Wait until all CoreDNS and CNI pods are Running:
kubectl get pods -A -wStep 7: Join Worker Nodes
On each worker, run the join command from Step 5. Example:
sudo kubeadm join 10.0.0.10:6443 --token <token> \
  --discovery-token-ca-cert-hash sha256:<hash>
Step 8: Validate the Cluster
# View nodes
kubectl get nodes -o wide

# Deploy a test workload
kubectl create deployment hello --image=nginx --port=80
kubectl expose deployment hello --type=NodePort --port=80
kubectl get svc hello -o wide
Use a node’s IP and the NodePort to test in a browser or with curl. All nodes should show Ready status before testing.
Firewall Rules and Security Hardening
Open Required Ports
- Control plane: TCP 6443 (API), 2379–2380 (etcd), 10257 (controller-manager), 10259 (scheduler), 10250 (kubelet)
- Workers: TCP 10250 (kubelet), 30000–32767 (NodePort)
- CNI specific: e.g., UDP 4789 (Flannel VXLAN), TCP/UDP 179 or 5473 for Calico features as applicable
# UFW example (control plane)
sudo ufw allow 6443/tcp
sudo ufw allow 2379:2380/tcp
sudo ufw allow 10250/tcp
sudo ufw allow 10257/tcp
sudo ufw allow 10259/tcp

# UFW example (workers)
sudo ufw allow 10250/tcp
sudo ufw allow 30000:32767/tcp

# firewalld example
sudo firewall-cmd --add-port=6443/tcp --permanent
sudo firewall-cmd --add-port=2379-2380/tcp --permanent
sudo firewall-cmd --add-port=10250/tcp --permanent
sudo firewall-cmd --add-port=10257/tcp --permanent
sudo firewall-cmd --add-port=10259/tcp --permanent
sudo firewall-cmd --add-port=30000-32767/tcp --permanent
sudo firewall-cmd --reload
RBAC, Kubeconfig, and Accounts
- Use role-based access control: create Roles/ClusterRoles with least privilege.
- Store kubeconfig securely; rotate tokens/certs regularly.
- Limit ssh access; use sudo policies and MFA on bastion hosts.
Production Considerations
High Availability (HA)
- Use 3+ control plane nodes with stacked etcd or separate etcd cluster.
- Place an external load balancer in front of API servers (TCP 6443).
- Distribute nodes across failure domains/availability zones.
Storage, Ingress, and TLS
- Storage: Deploy a CSI driver (Rook-Ceph on-prem, EBS/GCE Persistent Disk in cloud).
- Ingress: Use NGINX or HAProxy Ingress; automate certificates with cert-manager + ACME.
- Images: Use a private registry and enable imagePullSecrets where needed.
Monitoring, Logging, and Backups
- Observability: Prometheus + Grafana, node-exporter, kube-state-metrics.
- Logging: Loki/ELK stack; centralize logs for audit/compliance.
- Backups: Regular etcd snapshots; backup cluster manifests and Helm releases.
Upgrades and Maintenance
- Plan minor upgrades sequentially (e.g., 1.29 → 1.30). Test in staging.
- Drain and cordon nodes before upgrading kubelet.
- Use kubeadm upgrade plan to assess paths and runbooks.
# Control plane
kubectl drain cp-1 --ignore-daemonsets --delete-emptydir-data
sudo kubeadm upgrade plan
sudo kubeadm upgrade apply v1.30.x
kubectl uncordon cp-1

# Workers (per node)
kubectl drain worker-1 --ignore-daemonsets --delete-emptydir-data
# Update kubelet/kubectl to target version
# ... then:
kubectl uncordon worker-1
Troubleshooting: Common Errors and Fixes
- Nodes NotReady: Ensure CNI installed and Pod CIDR matches kubeadm init; check kubectl get pods -n kube-system.
- cgroup mismatch: Set SystemdCgroup=true in /etc/containerd/config.toml; restart containerd and kubelet.
- Swap issues: Confirm swapoff -a and /etc/fstab has swap entries removed.
- Networking drops: Verify br_netfilter enabled and sysctl parameters applied.
- DNS failures: Check CoreDNS logs (kubectl logs -n kube-system deploy/coredns -f) and node resolv.conf.
- Firewall blocks: Open ports 6443, 10250, etc., and NodePort range on internal networks.
Performance and Cost Tips
- Choose VM sizes that match workload requests/limits; avoid CPU throttling.
- Use containerd, disable unused kernel modules, and prefer eBPF CNIs (like Cilium) for scale.
- Right-size NodePort/Ingress patterns; prefer LoadBalancer/Ingress where available.
- Automate node autoscaling and use horizontal pod autoscaling for efficiency.
When to Choose Managed or Assisted Kubernetes
Self-managing Kubernetes is powerful but time-intensive. If you’d like expert help with K8s-ready VPS/cloud servers, kernel tuning, private networking, and 24×7 support, YouStable can provision Linux servers optimized for kubeadm, containerd, and popular CNIs—so you can focus on apps, not plumbing.
FAQs: Configure Kubernetes on Linux Server
Can I use Docker instead of containerd for Kubernetes in 2026?
Yes, but you need cri-dockerd as a CRI shim. The simpler, recommended route is containerd because it’s lighter and well-integrated with kubelet. If you must keep Docker, install cri-dockerd, point kubelet to it, and test thoroughly before production.
Which Linux distro is best for Kubernetes?
Ubuntu LTS and Rocky/AlmaLinux are the most common choices due to long support windows and wide community documentation. Debian is also stable. Priority is kernel compatibility, predictable networking, and good package repos.
How do I reset a failed kubeadm setup?
Run sudo kubeadm reset -f, remove CNI state (sudo rm -rf /etc/cni/net.d /var/lib/cni), and clear iptables rules if needed. Then re-run kubeadm init or join. Only do this in non-production or as part of a controlled rebuild.
How do I add or remove worker nodes safely?
Add nodes with kubeadm join. To remove, drain and cordon the node (kubectl drain <node>), delete it from the cluster (kubectl delete node <node>), then deprovision at the OS or hypervisor level. Move any local PVs first.
Is kubeadm production-grade?
Yes. kubeadm is a standard, upstream-supported way to bootstrap and manage clusters. For production, add HA control planes, robust storage (CSI), backups, monitoring, and secure RBAC. Many enterprises run kubeadm with these best practices.
Final Thoughts
You now know how to configure Kubernetes on a Linux server using kubeadm: prepare the OS, install containerd, deploy core components, apply a CNI, join workers, and verify workloads. Follow the hardening and upgrade tips to stay secure and reliable. Need a faster start? YouStable can provision Kubernetes-ready Linux servers on request.