
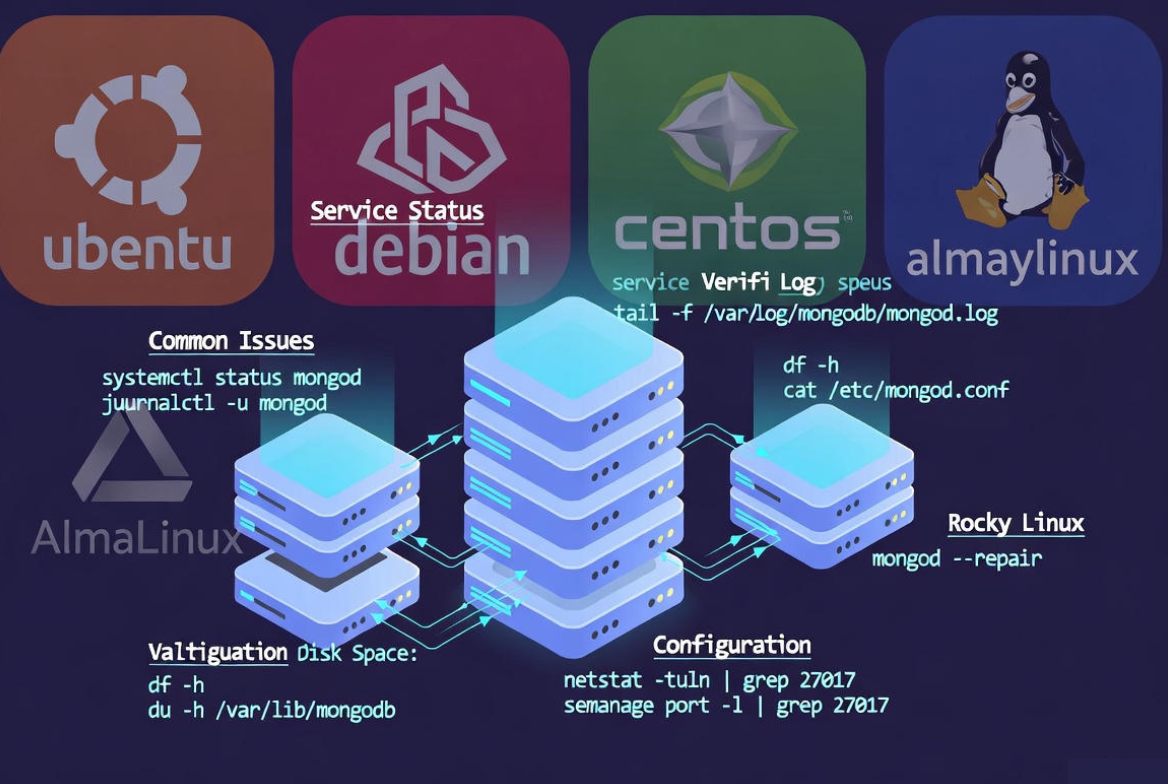
To fix MongoDB on a Linux server, start by checking the service status and logs, verify disk space and permissions, validate mongod.conf, and resolve port, SELinux/AppArmor, or auth issues.
If data is corrupted, restore from backup or carefully use –repair. Follow the guided steps below to diagnose and resolve most MongoDB errors safely. If you’re wondering how to fix MongoDB on Linux server environments (Ubuntu, Debian, CentOS, AlmaLinux, Rocky), this step by step guide walks you through the exact checks and commands I use in production.
We’ll diagnose startup failures, permission errors, WiredTiger issues, port conflicts, replication/auth problems, and performance bottlenecks using safe, proven methods.
Before You Begin: Safety and Context
MongoDB issues range from simple service misconfigurations to storage corruption. Always prioritize data safety.
- Have a recent backup or snapshot before repair or upgrade steps.
- Know your install source (MongoDB official packages vs distro community packages).
- Service name is usually
mongod; config file often lives at/etc/mongod.conf; data lives in/var/lib/mongo.
Step 1: Check Service Status and Logs
Start with systemd and MongoDB logs. Most “MongoDB failed to start” problems are explained there.
# Status and last errors
sudo systemctl status mongod --no-pager
sudo journalctl -u mongod -xe --no-pager

# MongoDB's own log (path may vary per config)
sudo tail -n 200 /var/log/mongodb/mongod.log
# or
sudo tail -n 200 /var/log/mongod/mongod.log
Note any errors such as “EADDRINUSE” (port in use), “Permission denied,” WiredTiger messages, or configuration parsing failures.
Step 2: Verify Environment Basics
Disk Space, Memory, and File Descriptors
df -h
free -m
ulimit -n
# Increase temporarily for current shell if too low (< 64000 often problematic)
ulimit -n 64000
MongoDB needs adequate disk space, memory, and open files. Low resources can prevent startup or cause crashes.
Confirm Version and Binaries
mongod --version
mongo --version  # or mongosh --version
Mixed versions between binaries and data files or partial upgrades can break startup. If using the official MongoDB repo, the package is typically mongodb-org.
Step 3: Validate mongod.conf
One mis typed value in /etc/mongod.conf can prevent MongoDB from starting. Confirm YAML syntax, paths, and networking settings.
# Common locations
sudo nano /etc/mongod.conf

# Typical fields
# storage:
#   dbPath: /var/lib/mongo
#   journal:
#     enabled: true
# systemLog:
#   destination: file
#   path: /var/log/mongodb/mongod.log
#   logAppend: true
# net:
#   port: 27017
#   bindIp: 127.0.0.1,10.0.0.5
# security:
#   authorization: enabled
# replication:
#   replSetName: rs0
- dbPath exists and owned by the MongoDB user.
- bindIp includes the correct IPs. For remote access, add your server’s private/public IP cautiously.
- port is not conflicting.
- authorization matches your user setup.
- replication set name is consistent across nodes.
Step 4: Fix File and Directory Permissions
# Ubuntu/Debian often uses user:group 'mongodb'
sudo chown -R mongodb:mongodb /var/lib/mongo /var/log/mongodb
sudo chmod 700 /var/lib/mongo
sudo chmod 640 /var/log/mongodb/mongod.log

# RHEL/CentOS/Alma/Rocky often uses 'mongod'
sudo chown -R mongod:mongod /var/lib/mongo /var/log/mongodb
Permission errors are frequent. Ensure the database and log directories are writable by the MongoDB service user.
Step 5: Resolve Port and Socket Conflicts
If port 27017 is already in use, MongoDB won’t start.
sudo ss -ltnp | grep 27017
# or
sudo netstat -ltnp | grep 27017

# Kill stale processes carefully:
sudo kill -9 <PID>
Alternatively, change net.port in mongod.conf and update firewall rules accordingly.
Step 6: Check Firewall, SELinux, and AppArmor
Firewall Rules
# firewalld (RHEL family)
sudo firewall-cmd --add-port=27017/tcp --permanent
sudo firewall-cmd --reload

# UFW (Ubuntu/Debian)
sudo ufw allow 27017/tcp
Use allowlists: restrict remote access to internal IPs or trusted hosts.
SELinux (RHEL family)
# Temporarily set permissive (for testing only)
sudo setenforce 0

# Properly label data path and allow port
sudo semanage port -a -t mongod_port_t -p tcp 27017 || true
sudo chcon -R -t mongod_var_lib_t /var/lib/mongo
AppArmor (Ubuntu)
If AppArmor blocks file access, adjust the profile for mongod or temporarily disable it for testing. Re-enable with correct allowances afterward.
Step 7: Handle WiredTiger and Data Corruption Safely
Errors like “WiredTiger.turtle is not valid” or “corruption detected” suggest storage issues. Your safest path is restoring verified backups or resyncing from a healthy replica set member.
- Best practice: Restore from backup or resync from another node.
- Last resort: Use
--repairon a stopped service (can be slow and may result in data loss).
# Stop service
sudo systemctl stop mongod

# Run repair with the same dbPath
sudo -u mongodb mongod --config /etc/mongod.conf --repair
# or
sudo -u mongod mongod --config /etc/mongod.conf --repair

# Start service
sudo systemctl start mongod
If repair fails repeatedly, restore from backup or perform initial sync in a replica set.
Step 8: Fix Authentication and KeyFile Problems
When authorization: enabled, you must have an admin user. For replica sets with keyFile, the file must exist and have strict permissions (600).
# Example: create admin user (do this only once, when you can auth locally)
mongosh --port 27017
use admin
db.createUser({ user: "siteAdmin", pwd: "STRONG_PASSWORD", roles: ["root"] })

# KeyFile permissions (replica sets)
sudo chown mongod:mongod /etc/mongod.keyfile
sudo chmod 600 /etc/mongod.keyfile
Step 9: Repair Common Configuration Pitfalls
- Wrong bindIp: Use
127.0.0.1for local only; add server IP for remote access. Avoid0.0.0.0on public servers without firewall rules. - Invalid paths: Ensure
dbPathand log path exist and match permissions. - ReplicaSet mismatch: All nodes must use the same
replSetNameand be able to reach each other over the network. - YAML indentation: One space error can break parsing. Validate with
yamllintif needed.
Step 10: Reinstall or Upgrade Without Losing Data
If packages are broken, reinstall from the official MongoDB repository without touching the data directory. Always back up before package changes.
# Ubuntu/Debian: Add MongoDB official repo (example for 6.0; adjust for your distro)
# See mongodb.com/docs/manual/tutorial/install-mongodb-on-ubuntu/

# Install/repair packages
sudo apt-get update
sudo apt-get install -y mongodb-org

# RHEL/CentOS/Alma/Rocky
sudo yum install -y mongodb-org
# or
sudo dnf install -y mongodb-org

# After reinstall, start and enable
sudo systemctl enable --now mongod
Upgrading across major versions may require a specific upgrade path. Review the MongoDB release notes for compatibility and backup before proceeding.
Also Read: Fix Docker on Linux Server – Docker Recovery Guide
Troubleshooting by Symptom
“mongod failed to start”
- Check
journalctl -u mongodandmongod.logfor a precise error string. - Verify permissions on
/var/lib/mongoand/var/log/mongodb. - Confirm YAML syntax and values in
/etc/mongod.conf. - Ensure port 27017 is free, firewall allows traffic, and SELinux/AppArmor permits access.
- Validate disk space and RAM availability.
“EADDRINUSE” (Port in use)
- Find the conflicting process with
ssornetstatand stop it, or change MongoDB’s port. - Remove stale lock/socket files in
/tmpif applicable after ensuring no running instance remains.
WiredTiger Corruption
- Prefer restore or replica resync over
--repair. - If you must repair, stop the service and run
mongod --repairwith the correct config.
Authentication Failures
- Ensure the admin user exists and you’re using correct credentials.
- For replica sets, the keyFile must exist on all nodes with identical content and mode 600.
Performance Slowness or High I/O
- Check slow queries using the profiler and add appropriate indexes.
- Ensure adequate IOPS on storage and enough RAM for your working set.
- Increase
ulimit -n, disable Transparent Huge Pages (THP), and consider NUMA settings.
Example: Clean, Minimal mongod.conf
storage:
  dbPath: /var/lib/mongo
  journal:
    enabled: true
systemLog:
  destination: file
  path: /var/log/mongodb/mongod.log
  logAppend: true
processManagement:
  fork: false
net:
  port: 27017
  bindIp: 127.0.0.1
security:
  authorization: enabled
# replication:
#   replSetName: rs0
Start locally with loopback only, verify it runs, then add external IPs and replication settings as needed with proper firewalling.
When to Escalate or Seek Help
If logs indicate persistent corruption, repeated crashes, or complex replica set issues, consider professional help. At YouStable, our Linux and database engineers can audit your stack, fix MongoDB at the OS and configuration level, restore performance, and set up backups and monitoring, so your workloads stay reliable.
Pro Tips from Real World Operations
- Always read the first fatal error in mongod.log. Later errors often cascade.
- Automate backups and test restores monthly. Especially before upgrades.
- Keep OS and MongoDB on supported versions. Old kernels or filesystems can trigger odd failures.
- Separate data and logs onto performant disks. Filesystem latency kills throughput.
- Monitor with alerts. Use metrics for disk, RAM, connections, replication lag, and opcounters.
Final Checklist: Quick Fix Flow
- systemctl and logs: identify the exact error.
- Disk, memory, ulimit: ensure adequate resources.
- Permissions and paths: fix dbPath/log ownership.
- Config: validate YAML, bindIp, port, auth, replSetName.
- Network: firewall, SELinux/AppArmor rules.
- Data integrity: prefer restore/resync; use
--repaircautiously. - Reinstall/upgrade from official repos if packages are broken.
FAQ
Why does MongoDB fail to start after reboot?
Common causes include missing disk mounts, changed permissions on /var/lib/mongo, port conflicts, or SELinux/AppArmor re-enforcing policies. Check systemctl status mongod, journalctl -u mongod, verify mounts and permissions, and confirm firewall/SELinux settings survived the reboot.
How do I check MongoDB logs on Linux?
Use journalctl -u mongod -xe for service-level messages and tail MongoDB’s own log, typically /var/log/mongodb/mongod.log. The exact path is configured in /etc/mongod.conf under systemLog.path.
Is it safe to run mongod –repair?
Only as a last resort. --repair can be slow and may discard data. Prefer restoring from backups or resyncing from a healthy replica set member. If you proceed, stop the service, back up the data directory, and run repair with the correct config.
How do I fix “Unauthorized” after enabling authentication?
Create an admin user first before enabling authorization: enabled, or temporarily disable auth to create it. Then connect with admin credentials. In replica sets, ensure keyFile is present on all nodes with mode 600 and identical content.
What’s the quickest way to open MongoDB to a remote app securely?
Add your app server’s IP to bindIp, allow TCP 27017 only from that IP via firewall, keep authentication enabled, and use strong user credentials with least privilege roles. Avoid exposing 27017 to the entire internet.


