To fix Fail2ban on a Linux server, confirm the service and jails are running, inspect /var/log/fail2ban.log for errors, verify each jail’s logpath and backend (journald or file) per distro, test filters with fail2ban-regex, ensure firewall actions match iptables/nftables/UFW/firewalld, then reload or restart Fail2ban and re-test bans.
If you’re troubleshooting how to fix Fail2ban on Linux server environments, this guide walks you through quick diagnostics and precise fixes.
You’ll learn how Fail2ban detects attacks, why jails fail to ban, and the exact steps to repair filters, logpaths, and firewall actions so your server blocks brute-force attempts again.
How Fail2ban Works (Quick Primer)
Fail2ban protects Linux servers by reading logs (files or journald), matching malicious patterns via filters, and applying actions (e.g., firewall rules) to ban IPs. Its core pieces:
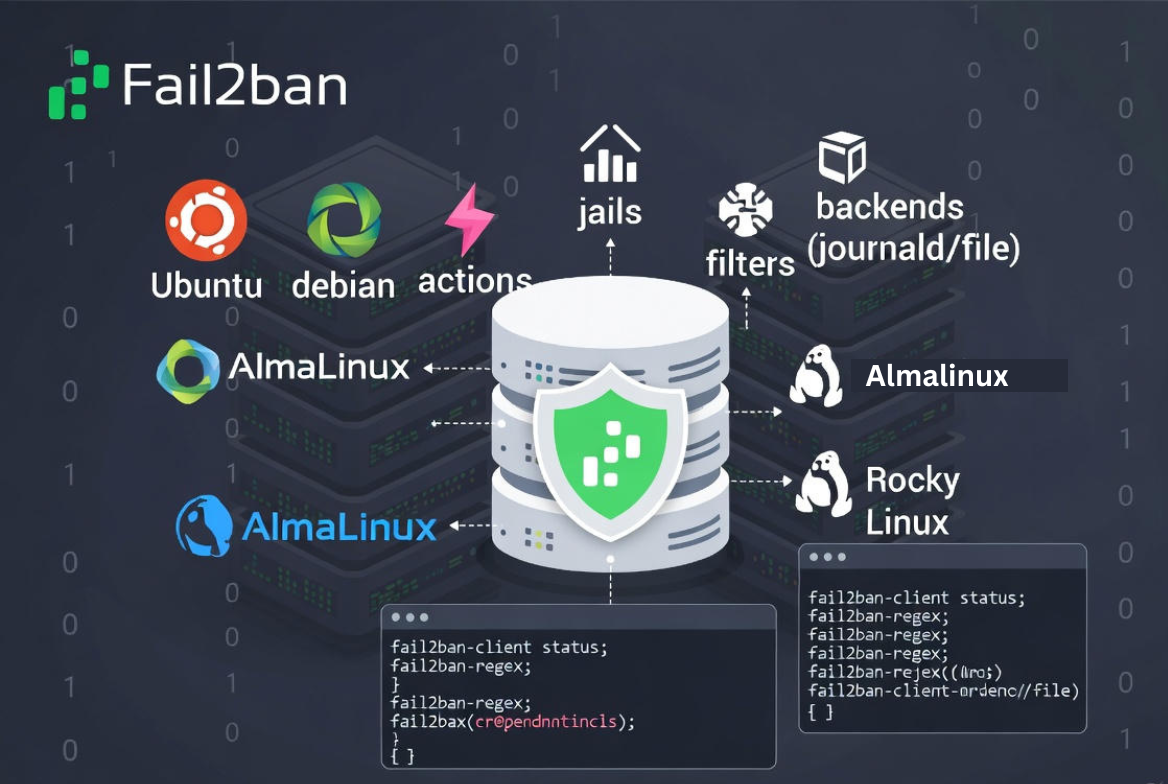
- Jails: Enable protection for a service (e.g., sshd).
- Filters: Regex rules that detect suspicious log entries.
- Actions: What happens on a match (ban/unban via firewall).
- Backend: Where logs are read from (file or systemd/journald).
Search Intent: Quick Fix Checklist
When Fail2ban isn’t banning, the culprit is usually one of these:
- Fail2ban service/jails not running or misconfigured.
- Wrong logpath or backend (journald vs file logs).
- Filter regex doesn’t match your logs.
- Firewall action incompatible with iptables/nftables/UFW/firewalld.
- Parameters too strict/loose: bantime, findtime, maxretry, ignoreip.
- Conflicts with cloud firewalls or custom network policies.
How to Fix Fail2ban on Linux Server (Step-by-Step)
1) Verify the service and jail status
First, ensure Fail2ban is installed, enabled, and the jails you expect are active.
# Service health
sudo systemctl status fail2ban
sudo systemctl enable fail2ban

# See what Fail2ban thinks is running
sudo fail2ban-client ping
sudo fail2ban-client status
sudo fail2ban-client status sshd   # replace sshd with your jail name
If the jail you need isn’t listed, it isn’t enabled. You enable jails in jail.local (not jail.conf).
2) Read Fail2ban logs and enable debug temporarily
Fail2ban tells you why it didn’t ban in its own log. Look for errors like “Unable to read log file,” “No failure-ID found,” or “action start command returned error.”
# Primary log
sudo tail -n 200 /var/log/fail2ban.log

# Temporarily increase verbosity (revert after fix)
sudo sed -i 's/^loglevel.*/loglevel = DEBUG/' /etc/fail2ban/fail2ban.conf
sudo systemctl restart fail2ban
sudo tail -f /var/log/fail2ban.log
Once fixed, set loglevel back to INFO and restart to avoid noisy logs.
3) Fix logpath and backend mismatches
Most banning failures come from wrong log sources. Linux distributions differ:
- Debian/Ubuntu: SSH logs in
/var/log/auth.logby default. - RHEL/CentOS/AlmaLinux/Rocky: SSH logs in
/var/log/secure. - Pure journald setups: Use
backend = systemd(no logpath needed for some jails).
# Example: choose one depending on your system
[DEFAULT]
# If you use classic log files
backend = auto

# OR for journald systems
# backend = systemd
Check your jail’s logpath matches your OS. If rsyslog is disabled and logs only go to journald, set backend = systemd in [DEFAULT] or that specific jail.
4) Validate filters with fail2ban-regex
Filters may not match local log formats, especially after version upgrades or custom log formats. Test the filter against your logs.
# For file-based logs
sudo fail2ban-regex /var/log/auth.log /etc/fail2ban/filter.d/sshd.conf

# For RHEL-like
sudo fail2ban-regex /var/log/secure /etc/fail2ban/filter.d/sshd.conf

# Print matches to confirm
sudo fail2ban-regex --print-all-matched /var/log/auth.log /etc/fail2ban/filter.d/sshd.conf
If there are zero matches despite obvious failures in the log, your filter or logpath is wrong. Update the filter (or pick the correct one) and retest.
5) Make firewall actions compatible (iptables, nftables, UFW, firewalld)
Fail2ban must use an action that matches your firewall stack. Wrong actions lead to “ban succeeded = no” or restore errors.
- iptables (legacy):
action = iptables-multiport - nftables:
action = nftables-multiport(Fail2ban 0.11+) - UFW:
action = ufw - firewalld:
action = firewallcmd-rich-rules
# Example per-jail override
[sshd]
enabled = true
port    = ssh
filter  = sshd
backend = auto
logpath = /var/log/auth.log
maxretry = 5
findtime = 10m
bantime  = 1h

# Pick the action that matches your firewall
# action = iptables-multiport
# action = nftables-multiport
# action = ufw
# action = firewallcmd-rich-rules
Also confirm no cloud firewall (e.g., AWS Security Groups) or upstream WAF conflicts with local bans. Cloud firewalls don’t block outbound, so local bans still matter.
6) Use jail.local, not jail.conf (and restart correctly)
Never edit /etc/fail2ban/jail.conf; it’s overwritten by updates. Put your changes in /etc/fail2ban/jail.local or /etc/fail2ban/jail.d/*.conf. After changes, reload or restart the service.
# Safer reload (keeps bans)
sudo fail2ban-client reload

# Full restart (drops state)
sudo systemctl restart fail2ban
7) Working SSH jail examples (Ubuntu/Debian and RHEL family)
# /etc/fail2ban/jail.local
[DEFAULT]
ignoreip = 127.0.0.1/8 ::1
bantime  = 1h
findtime = 10m
maxretry = 5
backend  = auto
# For pure journald setups you can use:
# backend = systemd

[sshd]
enabled = true
port    = ssh
filter  = sshd

# Ubuntu/Debian
logpath = /var/log/auth.log

# RHEL/CentOS/AlmaLinux/Rocky (use this instead)
# logpath = /var/log/secure

# Choose an action compatible with your firewall
# action = nftables-multiport
# action = iptables-multiport
# action = ufw
# action = firewallcmd-rich-rules
After saving, reload and verify:
sudo fail2ban-client reload
sudo fail2ban-client status sshd
sudo tail -f /var/log/fail2ban.log
8) Tune ban logic: bantime, findtime, maxretry, ignoreip, recidive
Too-loose settings miss offenders; too-strict settings may ban legitimate users.
- bantime: How long an IP stays banned (e.g., 1h, 24h, -1 for permanent).
- findtime: Window to count failures (e.g., 10m).
- maxretry: Number of failures within findtime before ban (e.g., 5).
- ignoreip: CIDRs never banned (your office/VPN; avoid 0.0.0.0/0 by mistake).
- recidive: A jail that bans repeat offenders longer. Enable by including the provided recidive jail and using a long bantime.
# Example: enable recidive for chronic attackers
[recidive]
enabled  = true
filter   = recidive
logpath  = /var/log/fail2ban.log
bantime  = 7d
findtime = 1d
maxretry = 5
# action must match your firewall stack
9) SELinux/AppArmor and permissions
Fail2ban runs as root and typically can read logs. If you see permission errors, validate log file permissions and SELinux denials. On SELinux systems, check /var/log/audit/audit.log for AVCs. Adjust rsyslog/journal permissions or temporarily set permissive mode just for testing (not recommended in production).
# Check SELinux denials
sudo ausearch -m avc -ts recent

# Temporarily permissive (testing only)
# sudo setenforce 0
# sudo setenforce 1  # turn back enforcing
10) Reload, restart, and enable on boot
When you’ve fixed configuration, reload to apply changes without dropping existing bans. Enable the service on boot.
sudo fail2ban-client reload
sudo systemctl restart fail2ban   # if needed
sudo systemctl enable fail2ban
sudo fail2ban-client status
Common Errors and Fast Fixes
- “No such file or directory” for logpath: Correct the
logpathto your OS’s log file or switch tobackend = systemd. - iptables-restore or nft errors: Switch to the appropriate action (
iptables-multiportvsnftables-multiport) or install the firewall package. - Jail not found: The jail isn’t enabled in
jail.localor the file injail.dhas syntax errors. - No matches in fail2ban-regex: Your filter doesn’t match the log format; update the filter or point to the correct log.
- Ban appears but traffic still passes: Another firewall chain, cloud firewall, or network path overrides local rules; inspect full firewall policy and routing.
10-Step Recovery Playbook (Copy/Paste)
- systemctl status fail2ban
- fail2ban-client status; status sshd
- tail -n 200 /var/log/fail2ban.log
- Set loglevel = DEBUG, restart, re-check logs
- Verify logpath (auth.log vs secure) or set backend = systemd
- fail2ban-regex logpath filter.d/sshd.conf
- Pick the correct action (iptables, nftables, ufw, firewalld)
- Move edits to jail.local; reload Fail2ban
- Tune bantime/findtime/maxretry; set ignoreip
- Enable on boot; re-test with controlled failed logins
Best Practices to Keep Fail2ban Effective
- Use key-based SSH auth and change the SSH port only as a supplemental measure.
- Enable recidive and longer bans for repeat offenders.
- Keep filters updated; new daemon versions change log formats.
- Monitor Fail2ban with system logs or external alerts.
- Pair Fail2ban with a hardened firewall baseline and minimal attack surface.
Professional Help: When to Call the Experts
If you still can’t get Fail2ban to ban reliably, you may have deeper firewall conflicts, custom logging, or distributed entry points. YouStable’s managed VPS and dedicated servers include hands-on security hardening, firewall tuning, and Fail2ban configuration. Our engineers can audit your stack and implement a resilient, monitored banning strategy without downtime.
Useful Commands Reference
# Check jail status and bans
sudo fail2ban-client status
sudo fail2ban-client status sshd

# Unban/ban an IP
sudo fail2ban-client set sshd unbanip 1.2.3.4
sudo fail2ban-client set sshd banip 1.2.3.4

# Test a filter against a log
sudo fail2ban-regex /var/log/auth.log /etc/fail2ban/filter.d/sshd.conf

# Switch action (example)
# In /etc/fail2ban/jail.local:
# action = nftables-multiport

# Restart/reload
sudo fail2ban-client reload
sudo systemctl restart fail2ban
FAQs
Why is Fail2ban not banning SSH attackers?
Typically because the SSH jail isn’t enabled, the logpath is wrong (auth.log vs secure), the filter doesn’t match the log format, or the firewall action is incompatible. Run fail2ban-client status sshd, test with fail2ban-regex, and ensure the action matches your firewall (iptables, nftables, UFW, or firewalld).
What’s the difference between bantime and findtime?
bantime is how long an IP remains blocked after triggering a ban. findtime is the time window during which maxretry failures are counted. For example, with findtime=10m and maxretry=5, five failures within 10 minutes lead to a ban lasting bantime (e.g., 1h or 24h).
How do I unban or reban an IP in Fail2ban?
Use the jail-specific commands: sudo fail2ban-client set <jail> unbanip 1.2.3.4 to unban and sudo fail2ban-client set <jail> banip 1.2.3.4 to force a ban. Confirm with fail2ban-client status <jail> and your firewall rules.
Does Fail2ban work with Cloudflare or a cloud load balancer?
Yes, but ensure Fail2ban sees the real client IPs. If your service sits behind Cloudflare or an LB, configure real IP headers and logs (e.g., real_ip for Nginx) so filters match clients, not the proxy IP. Consider banning at the app layer or via provider firewall APIs where appropriate.
Should I use backend=systemd or file-based logs?
Use file-based logs if you have rsyslog writing to files like /var/log/auth.log or /var/log/secure. Use backend = systemd when logs are only in journald. Pick one that matches your environment; mixing causes missed matches and failed bans.