
To create TLS on a Linux server, install a trusted certificate (Let’s Encrypt or commercial CA) or generate a self-signed cert with OpenSSL, then configure your web server (Nginx/Apache) to use the certificate and enforce TLS 1.2/1.3.
Finally, test with SSL Labs, enable auto-renewal, and add security headers like HSTS.
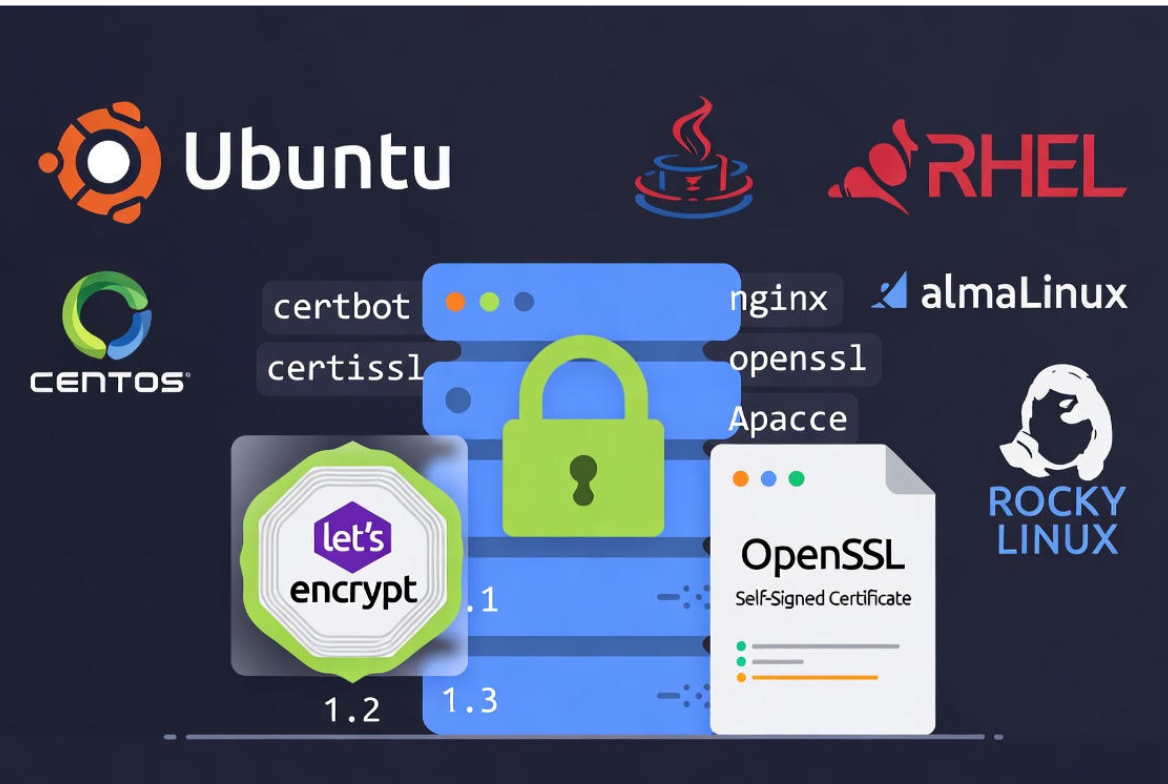
Securing your website with HTTPS is essential for trust, SEO, and compliance. This guide explains how to create TLS on Linux server environments using Let’s Encrypt and OpenSSL, configure strong ciphers on Nginx/Apache, enable TLS 1.3, and set up automated renewals step by step, beginner friendly, and production-ready.
What is TLS and Why it Matters?
TLS (Transport Layer Security) encrypts data between clients and servers. It’s the modern, secure successor to SSL and is required for the HTTPS padlock. Benefits include confidentiality, integrity, authentication (via certificates), better user trust, and improved search rankings.
Always target TLS 1.2 and TLS 1.3—disable legacy protocols like SSLv3, TLS 1.0, and TLS 1.1.
Prerequisites and Choosing the Right Certificate
Prerequisites
- A Linux server (Ubuntu/Debian, RHEL/CentOS/AlmaLinux, etc.) with sudo/root access
- A registered domain pointing to your server’s public IP
- Firewall allowing ports 80 (HTTP) and 443 (HTTPS)
- Installed web server (Nginx or Apache) or proxy/stack (HAProxy, Node.js behind Nginx, etc.)
Certificate Options: Let’s Encrypt vs. Commercial vs. Self‑Signed
- Let’s Encrypt (DV): Free, automated, and trusted by all browsers. Ideal for most websites and APIs.
- Commercial CA (DV/OV/EV): Paid, may include warranties/support, OV/EV display validated organization info.
- Self‑signed: Free but untrusted by browsers; use for internal testing, dev, or non-public endpoints.
For public sites, Let’s Encrypt is the fastest path to secure, automated HTTPS. For internal services, self‑signed or private CA may suffice.
Method 1: Free HTTPS with Let’s Encrypt (Certbot)
Certbot automates certificate issuance and renewal. It can integrate with Nginx/Apache or run standalone. Below are commands for common distributions.
Install Certbot
# Ubuntu / Debian (apt)
sudo apt update
sudo apt install -y certbot python3-certbot-nginx python3-certbot-apache

# RHEL / CentOS / AlmaLinux / Rocky (dnf)
sudo dnf install -y epel-release
sudo dnf install -y certbot python3-certbot-nginx python3-certbot-apache

# Amazon Linux 2
sudo dnf install -y certbot python3-certbot-nginx python3-certbot-apache
Obtain and Install Certificates (Nginx)
Ensure your server_name matches the domain and your site is reachable on port 80/443. Then run:
sudo certbot --nginx -d example.com -d www.example.com
# Follow prompts to choose redirect (select “redirect” to force HTTPS)
Obtain and Install Certificates (Apache)
sudo certbot --apache -d example.com -d www.example.com
# Choose the HTTPS redirect option when prompted
Standalone / Webroot Methods
Use these if Certbot should not modify your server configuration (e.g., custom stacks, containers).
# Webroot (your app still serves HTTP)
sudo certbot certonly --webroot -w /var/www/html \
  -d example.com -d www.example.com

# Standalone (Certbot runs a temporary HTTP server; stop Nginx/Apache first)
sudo systemctl stop nginx || sudo systemctl stop apache2 || true
sudo certbot certonly --standalone -d example.com
sudo systemctl start nginx || sudo systemctl start apache2 || true
Certificates are stored under /etc/letsencrypt/live/DOMAIN/ as fullchain.pem (cert + chain) and privkey.pem (private key).
Auto-Renewal
# Test renewal (dry run)
sudo certbot renew --dry-run

# Systemd timers handle renewal on most distros; or use cron:
# 0 3 * * * /usr/bin/certbot renew --quiet --post-hook "systemctl reload nginx"
Method 2: Create a Self‑Signed TLS Certificate with OpenSSL
Use self‑signed certificates for internal systems, lab environments, or testing—browsers will warn users on public sites.
Simple Self‑Signed Certificate
# 1. Create a private key (2048-bit RSA or consider ECDSA)
openssl genrsa -out /etc/ssl/private/example.key 2048

# 2. Create a self-signed certificate (valid 365 days)
openssl req -new -x509 -key /etc/ssl/private/example.key \
  -out /etc/ssl/certs/example.crt -days 365 -subj "/CN=example.com"
SAN (Subject Alternative Name) Self‑Signed Certificate
# Create an OpenSSL config with SANs
cat > /etc/ssl/openssl-san.cnf <<'EOF'
[ req ]
default_bits       = 2048
prompt             = no
default_md         = sha256
req_extensions     = req_ext
distinguished_name = dn

[ dn ]
CN = example.com

[ req_ext ]
subjectAltName = @alt_names

[ alt_names ]
DNS.1 = example.com
DNS.2 = www.example.com
EOF

# Generate key and CSR, then self-sign with SAN
openssl genrsa -out /etc/ssl/private/example.key 2048
openssl req -new -key /etc/ssl/private/example.key \
  -out /etc/ssl/csr/example.csr -config /etc/ssl/openssl-san.cnf
openssl x509 -req -in /etc/ssl/csr/example.csr -signkey /etc/ssl/private/example.key \
  -out /etc/ssl/certs/example.crt -days 365 -extensions req_ext -extfile /etc/ssl/openssl-san.cnf
Lock down permissions: private keys should be readable only by root (chmod 600) and stored in /etc/ssl/private.
Configure Popular Servers for Strong TLS
Nginx: Enable TLS 1.3, Harden Ciphers, HSTS, OCSP
# /etc/nginx/sites-available/example.conf
server {
  listen 80;
  server_name example.com www.example.com;
  return 301 https://$host$request_uri;
}

server {
  listen 443 ssl http2;
  server_name example.com www.example.com;

  ssl_certificate     /etc/letsencrypt/live/example.com/fullchain.pem;
  ssl_certificate_key /etc/letsencrypt/live/example.com/privkey.pem;

  ssl_protocols TLSv1.2 TLSv1.3;
  ssl_prefer_server_ciphers on;
  ssl_ciphers 'ECDHE-ECDSA-AES256-GCM-SHA384:ECDHE-RSA-AES256-GCM-SHA384:
               ECDHE-ECDSA-CHACHA20-POLY1305:ECDHE-RSA-CHACHA20-POLY1305:
               ECDHE-ECDSA-AES128-GCM-SHA256:ECDHE-RSA-AES128-GCM-SHA256';

  # OCSP Stapling (requires resolver and valid chain)
  resolver 1.1.1.1 8.8.8.8;
  ssl_stapling on;
  ssl_stapling_verify on;

  # Security headers (HSTS enforces HTTPS in browsers)
  add_header Strict-Transport-Security "max-age=31536000; includeSubDomains; preload" always;
  add_header X-Content-Type-Options nosniff;
  add_header X-Frame-Options SAMEORIGIN;

  root /var/www/html;
  index index.html index.php;
  # ... your location blocks ...
}

sudo nginx -t && sudo systemctl reload nginx
Apache: Enable TLS 1.3, Strong Suites, HSTS
# /etc/apache2/sites-available/example-ssl.conf (Debian/Ubuntu)
# Ensure modules: a2enmod ssl headers http2
<IfModule mod_ssl.c>
  <VirtualHost *:443>
    ServerName example.com
    ServerAlias www.example.com
    DocumentRoot /var/www/html

    SSLEngine on
    SSLCertificateFile /etc/letsencrypt/live/example.com/fullchain.pem
    SSLCertificateKeyFile /etc/letsencrypt/live/example.com/privkey.pem

    SSLProtocol -all +TLSv1.2 +TLSv1.3
    SSLCipherSuite TLS_AES_256_GCM_SHA384:TLS_CHACHA20_POLY1305_SHA256:TLS_AES_128_GCM_SHA256
    SSLHonorCipherOrder off

    # OCSP Stapling
    SSLUseStapling on
    SSLStaplingCache "shmcb:/var/run/ocsp(128000)"

    # HSTS and security headers
    Header always set Strict-Transport-Security "max-age=31536000; includeSubDomains; preload"
    Header set X-Content-Type-Options "nosniff"
    Header set X-Frame-Options "SAMEORIGIN"
  </VirtualHost>
</IfModule>

# Redirect HTTP to HTTPS
<VirtualHost *:80>
  ServerName example.com
  ServerAlias www.example.com
  RewriteEngine On
  RewriteRule ^ https://%{HTTP_HOST}%{REQUEST_URI} [L,R=301]
</VirtualHost>

sudo a2enmod ssl headers rewrite http2
sudo a2ensite example-ssl.conf
sudo apachectl configtest && sudo systemctl reload apache2
HAProxy: TLS Termination
# Concatenate cert and key into a single PEM for HAProxy
cat /etc/letsencrypt/live/example.com/fullchain.pem /etc/letsencrypt/live/example.com/privkey.pem \
  | sudo tee /etc/haproxy/certs/example.com.pem

# /etc/haproxy/haproxy.cfg
global
  tune.ssl.default-dh-param 2048

frontend https
  bind :443 ssl crt /etc/haproxy/certs/ alpn h2,http/1.1
  http-response set-header Strict-Transport-Security "max-age=31536000; includeSubDomains; preload"
  default_backend app

backend app
  server app1 127.0.0.1:8080 check

frontend http
  bind :80
  http-request redirect scheme https code 301 unless { ssl_fc }

sudo haproxy -c -f /etc/haproxy/haproxy.cfg && sudo systemctl reload haproxy
Harden and Verify Your TLS
Generate Strong Diffie–Hellman Parameters (if needed)
# For servers that still use custom DH params (e.g., older configs)
sudo openssl dhparam -out /etc/ssl/certs/dhparam.pem 2048

# Reference in Nginx (example)
# ssl_dhparam /etc/ssl/certs/dhparam.pem;
Command-Line Testing
# Check certificate chain, protocol, and cipher
openssl s_client -connect example.com:443 -servername example.com -tls1_2 < /dev/null | openssl x509 -noout -dates -issuer -subject

# Verify HTTP to HTTPS redirect
curl -I http://example.com
curl -I https://example.com

# Check negotiated HTTP/2 and TLS 1.3 support
curl -I --http2 https://example.com
openssl s_client -connect example.com:443 -tls1_3 < /dev/null | grep -i "Protocol\|Cipher"
External Scans and Recommended Baselines
- Run an external scan with SSL Labs Server Test to verify grade, ciphers, and chain.
- Use the Mozilla SSL Configuration guidelines to pick modern or intermediate profiles for Nginx/Apache.
- Monitor expiry to prevent outages; aim for 30-day renewal buffer.
Troubleshooting Common TLS Errors
- Port 80/443 blocked: Open firewall rules (ufw, firewalld, or security groups).
- Certbot “challenge failed”: Ensure DNS A/AAAA records point to the correct server and no CDN/firewall blocks HTTP-01.
- “Incomplete chain” or “Unknown issuer”: Use fullchain.pem, not just cert.pem.
- “Key mismatch”: Confirm certificate and private key pair match (check modulus with OpenSSL).
- “Old protocol/ciphers”: Update configs to allow only TLS 1.2/1.3 and modern cipher suites.
- OCSP stapling errors: Ensure your server can reach CA OCSP endpoints and has a resolver configured.
# Check modulus match (should be identical)
openssl x509 -noout -modulus -in /path/to/cert.pem | openssl md5
openssl rsa  -noout -modulus -in /path/to/privkey.pem | openssl md5
Operational Best Practices
Automate Everything
- Let’s Encrypt renewals with systemd timers or cron, including post-hooks to reload services.
- Configuration management (Ansible, Terraform) to standardize TLS across fleets.
- Alerting for certificate expiry via monitoring (Prometheus exporters, Nagios plugins, or SaaS monitors).
Wildcard Certificates and DNS Challenges
For subdomains, use a wildcard (*.example.com). With Let’s Encrypt, this requires DNS-01 validation via your DNS provider’s API.
# Example (Cloudflare plugin shown as a pattern; replace for your provider)
sudo apt install python3-certbot-dns-cloudflare
sudo certbot -a dns-cloudflare --dns-cloudflare-credentials ~/.secrets/cf.ini \
  -d example.com -d "*.example.com"
Key Management and Security
- Restrict key access (chmod 600, root-owned).
- Prefer ECDSA certificates on modern stacks for speed; keep RSA fallback if compatibility is required.
- Rotate keys and revoke compromised certificates immediately.
How YouStable Helps
At YouStable, our hosting stack ships with free Let’s Encrypt SSL/TLS, HTTP/2, and TLS 1.3 enabled by default. We automate renewals, configure secure ciphers, and monitor uptime so your site stays fast, secure, and compliant without manual babysitting. Need advanced setups (wildcards, load balancers, HA)? Our engineers handle it for you.
FAQ’s
1. How do I enable TLS 1.3 on a Linux server?
Use a modern web server version that supports TLS 1.3 (Nginx 1.13.0+, Apache 2.4.36+ with OpenSSL 1.1.1+). In Nginx, set “ssl_protocols TLSv1.2 TLSv1.3;”. In Apache, set “SSLProtocol -all +TLSv1.2 +TLSv1.3”. Reload the server and verify with “openssl s_client -tls1_3”.
2. Is TLS the same as SSL, and which version should I use?
SSL is the predecessor to TLS. Modern best practice is to disable SSL and older TLS versions. Only allow TLS 1.2 and TLS 1.3. They’re more secure and widely supported by current browsers and APIs.
3. Can I use a wildcard certificate with Let’s Encrypt?
Yes. Request “*.example.com” using the DNS-01 challenge with Certbot’s DNS plugins for your provider. This secures all subdomains and simplifies multi-subdomain deployments.
4. How do I redirect all HTTP traffic to HTTPS?
In Nginx, create a port 80 server block that returns a 301 to https://$host$request_uri. In Apache, use a port 80 VirtualHost with “RewriteEngine On” and a RewriteRule to https. Many Certbot installers can set this automatically during issuance.
5. Which ports are required for Let’s Encrypt validation?
For HTTP-01, port 80 must be publicly reachable. For TLS-ALPN-01, port 443 is used. For DNS-01 (wildcards), no inbound HTTP/HTTPS is required, but you must create a TXT record via your DNS provider’s API or panel.


