
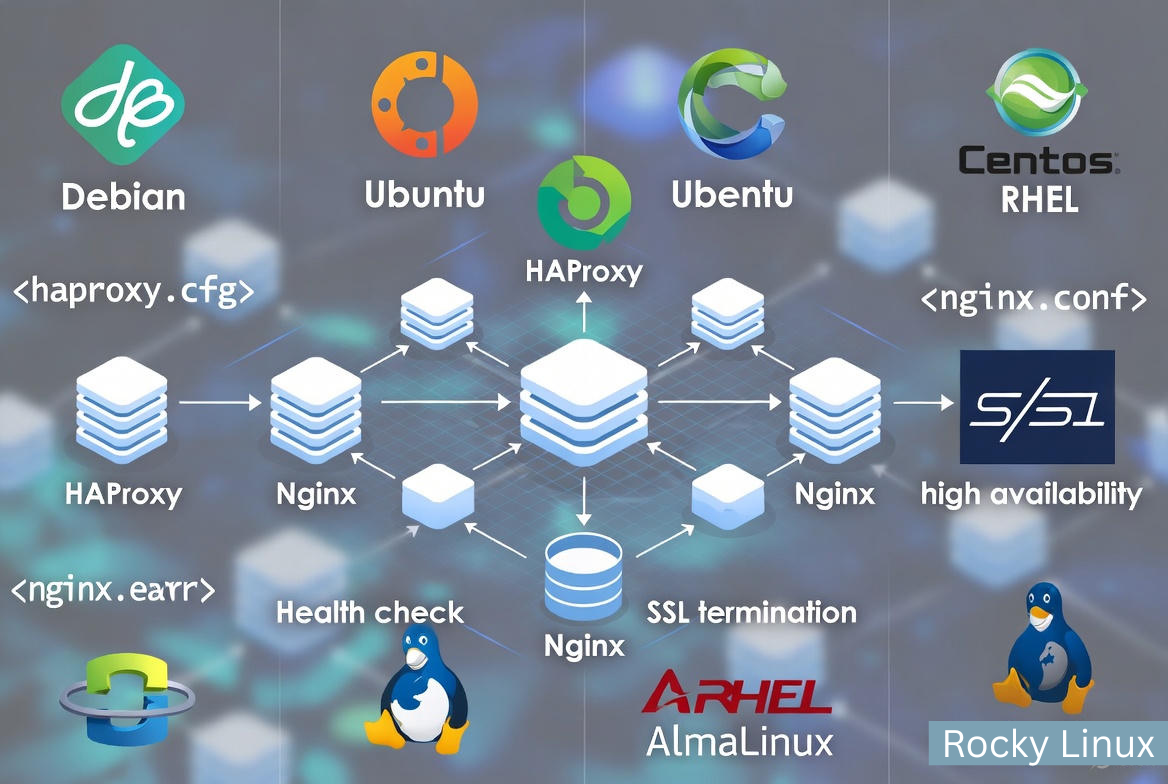
A Linux load balancer distributes incoming traffic across multiple backend servers to increase availability, performance, and fault tolerance. To create a load balancer on a Linux server, install and configure a proxy like HAProxy or Nginx, set health checks, enable SSL termination if needed, and harden, monitor, and test for high availability.
If you’re wondering how to create a load balancer on Linux server, this guide walks you through a production-ready setup using Nginx and HAProxy, with optional high availability via Keepalived.
We’ll cover planning, installation, configuration, SSL termination, sticky sessions, security, monitoring, and performance tuning—step by step and beginner friendly.
What is a Linux Load Balancer (and Why You Need One)
A load balancer sits in front of your application servers and routes requests to healthy instances. This helps you handle traffic spikes, reduce downtime, and scale horizontally. On Linux, the most popular open-source choices are Nginx and HAProxy for Layer 7 (HTTP/HTTPS) and Layer 4 (TCP) load balancing, and LVS/IPVS for ultra-high throughput at Layer 4.
Prerequisites and Architecture Planning
Before you begin, plan your architecture and gather the essentials:
- 1 public Linux server (Debian/Ubuntu/CentOS/RHEL/AlmaLinux/Rocky) for the load balancer
- 2+ private/backend servers running your app (e.g., Node.js, PHP-FPM, Django, or static content)
- Domain and DNS record (A/AAAA) pointing to the load balancer
- Root or sudo access, ports 80/443 open
- SSL certificate (Let’s Encrypt or custom)
Decide on:-
- Layer 7 (HTTP/HTTPS) vs Layer 4 (TCP) balancing
- Load balancing algorithm (round-robin, leastconn, source/IP hash)
- Session persistence (sticky sessions) needs
- Active health checks vs passive checks
- Single load balancer vs high availability (active/passive with VRRP)
Option 1: Create an HTTP/HTTPS Load Balancer with Nginx
Nginx is a lightweight, fast reverse proxy and HTTP load balancer. It supports round-robin by default, with optional IP-based session persistence.
Install Nginx
# Debian/Ubuntu
sudo apt update && sudo apt install -y nginx

# RHEL/CentOS/Alma/Rocky
sudo dnf install -y nginx
sudo systemctl enable --now nginx
Configure Upstreams and Load Balancing
Create an upstream with your backend servers and a server block that proxies requests. This example uses round-robin with passive health checks.
sudo nano /etc/nginx/conf.d/loadbalancer.conf

upstream app_backend {
    # Use round-robin by default
    server 10.0.0.11:8080 max_fails=3 fail_timeout=10s;
    server 10.0.0.12:8080 max_fails=3 fail_timeout=10s;

    # For simple persistence, uncomment IP hash:
    # ip_hash;
}

server {
    listen 80;
    server_name example.com;

    # Redirect HTTP to HTTPS (uncomment after SSL is ready)
    # return 301 https://$host$request_uri;
}

server {
    listen 443 ssl http2;
    server_name example.com;

    ssl_certificate /etc/ssl/certs/example.crt;
    ssl_certificate_key /etc/ssl/private/example.key;

    # Security and performance
    ssl_protocols TLSv1.2 TLSv1.3;
    ssl_ciphers HIGH:!aNULL:!MD5;
    client_max_body_size 25m;
    proxy_read_timeout 60s;

    location / {
        proxy_pass http://app_backend;
        proxy_set_header Host $host;
        proxy_set_header X-Real-IP $remote_addr;
        proxy_set_header X-Forwarded-For $proxy_add_x_forwarded_for;
        proxy_set_header X-Forwarded-Proto $scheme;
        proxy_http_version 1.1;
        proxy_set_header Connection "";
    }

    # Health endpoint passthrough
    location /health {
        proxy_pass http://app_backend/health;
    }
}
Validate and reload:
sudo nginx -t
sudo systemctl reload nginx
Enable SSL with Let’s Encrypt (Optional)
# Debian/Ubuntu
sudo apt install -y certbot python3-certbot-nginx
sudo certbot --nginx -d example.com

# RHEL family (EPEL may be required)
sudo dnf install -y certbot python3-certbot-nginx
sudo certbot --nginx -d example.com
Nginx open-source supports passive health checks via max_fails/fail_timeout. For advanced active health checks or cookie-based stickiness, consider HAProxy or NGINX Plus. For simpler persistence, use ip_hash.
Option 2: Create a TCP/HTTP Load Balancer with HAProxy
HAProxy excels at Layer 7 HTTP and Layer 4 TCP load balancing, offers robust health checks, detailed observability, and built-in sticky sessions, making it ideal for production workloads.
Install HAProxy
# Debian/Ubuntu
sudo apt update && sudo apt install -y haproxy

# RHEL/CentOS/Alma/Rocky
sudo dnf install -y haproxy
sudo systemctl enable --now haproxy
Basic HTTP Load Balancer (Round-robin + Health Checks)
sudo nano /etc/haproxy/haproxy.cfg

global
    log /dev/log local0
    log /dev/log local1 notice
    maxconn 50000
    tune.ssl.default-dh-param 2048
    user haproxy
    group haproxy
    daemon

defaults
    log     global
    mode    http
    option  httplog
    option  dontlognull
    timeout connect 5s
    timeout client  60s
    timeout server  60s
    retries 3

frontend fe_http
    bind *:80
    redirect scheme https code 301 if !{ ssl_fc }

frontend fe_https
    bind *:443 ssl crt /etc/ssl/private/example.pem
    mode http
    option httpclose
    option forwardfor
    default_backend be_app

backend be_app
    mode http
    balance roundrobin
    option httpchk GET /health
    http-check expect rstring OK
    server app1 10.0.0.11:8080 check fall 3 rise 2
    server app2 10.0.0.12:8080 check fall 3 rise 2

listen stats
    bind *:8404
    mode http
    stats enable
    stats uri /stats
    stats refresh 5s
    # Protect with basic auth
    stats auth admin:StrongPassHere
Concatenate your certificate and key into a PEM for HAProxy:
sudo bash -c 'cat /etc/ssl/certs/example.crt /etc/ssl/private/example.key > /etc/ssl/private/example.pem'
sudo chmod 600 /etc/ssl/private/example.pem
sudo systemctl restart haproxy
Sticky Sessions (Cookie-Based)
backend be_app
    mode http
    balance roundrobin
    cookie SRV insert indirect nocache
    option httpchk GET /health
    http-check expect rstring OK
    server app1 10.0.0.11:8080 check cookie s1
    server app2 10.0.0.12:8080 check cookie s2
Rate Limiting and DDoS Basics
frontend fe_https
    # ...previous lines...
    stick-table type ip size 200k expire 10m store http_req_rate(10s)
    tcp-request connection track-sc0 src
    acl too_fast sc0_http_req_rate gt 50
    http-request deny if too_fast
This limits abusive clients to 50 requests per 10 seconds. Adjust for your workload.
High Availability with Keepalived (VRRP Virtual IP)
To avoid a single point of failure, run two load balancers (LB1 and LB2) and float a Virtual IP (VIP) between them using Keepalived. Clients connect to the VIP, which fails over automatically.
Install and Configure Keepalived
# Debian/Ubuntu
sudo apt install -y keepalived

# RHEL family
sudo dnf install -y keepalived
# On LB1 (MASTER)
sudo nano /etc/keepalived/keepalived.conf
vrrp_instance VI_1 {
state MASTER
interface eth0
virtual_router_id 51
priority 200
advert_int 1
authentication {
auth_type PASS
auth_pass StrongVRRPPass
}
virtual_ipaddress {
203.0.113.10/24 dev eth0
}
track_process {
haproxy
}
}
# On LB2 (BACKUP)
sudo nano /etc/keepalived/keepalived.conf
vrrp_instance VI_1 {
state BACKUP
interface eth0
virtual_router_id 51
priority 100
advert_int 1
authentication {
auth_type PASS
auth_pass StrongVRRPPass
}
virtual_ipaddress {
203.0.113.10/24 dev eth0
}
track_process {
haproxy
}
}
sudo systemctl enable --now keepalivedTest failover by stopping HAProxy or Keepalived on LB1 and verifying VIP moves to LB2:
ip addr show | grep 203.0.113.10
sudo systemctl stop haproxy   # triggers VIP failover
Firewall, SELinux, and Hardening
Open Required Ports
# UFW (Ubuntu)
sudo ufw allow 80,443/tcp
sudo ufw allow 8404/tcp   # HAProxy stats (optional)
sudo ufw enable

# firewalld (RHEL family)
sudo firewall-cmd --add-service=http --permanent
sudo firewall-cmd --add-service=https --permanent
sudo firewall-cmd --add-port=8404/tcp --permanent
sudo firewall-cmd --reload
SELinux Contexts (HAProxy)
# Place certs where HAProxy can read them:
sudo mkdir -p /etc/pki/haproxy
sudo cp example.pem /etc/pki/haproxy/
sudo chown haproxy:haproxy /etc/pki/haproxy/example.pem
sudo chmod 600 /etc/pki/haproxy/example.pem

# If SELinux is enforcing, label context:
sudo semanage fcontext -a -t haproxy_etc_t "/etc/pki/haproxy(/.*)?"
sudo restorecon -Rv /etc/pki/haproxy
System Tuning
sudo tee -a /etc/sysctl.d/99-lb-tuning.conf > /dev/null <<'EOF'
net.core.somaxconn=65535
net.ipv4.ip_local_port_range=10240 65000
net.ipv4.tcp_tw_reuse=1
net.ipv4.tcp_fin_timeout=15
net.core.netdev_max_backlog=16384
EOF

sudo sysctl --system

# Increase file descriptors
echo '* soft nofile 200000' | sudo tee -a /etc/security/limits.conf
echo '* hard nofile 200000' | sudo tee -a /etc/security/limits.conf
Monitoring, Logs, and Observability
- Enable HAProxy stats page on port 8404 (as shown) and protect it with auth.
- Ship logs to a central system (Elastic, Loki, CloudWatch) using rsyslog or Vector.
- Monitor key metrics: request rate, active connections, response times, backend health states, 4xx/5xx rates.
- Use node_exporter and HAProxy exporter with Prometheus + Grafana for dashboards.
Benchmark and Tune
- Use
wrkorabto load test against the LB VIP or domain. - Adjust timeouts (
timeout connect/client/server) to match app behavior. - Pick the right algorithm:
leastconnfor long-lived requests;roundrobinfor uniform loads;sourcefor simple persistence. - Scale out backends horizontally; add/remove servers without downtime.
Common Errors and Quick Fixes
- 502 Bad Gateway: Check backend port, firewall, SELinux, or health check path.
- SSL handshake failure: Ensure full chain PEM for HAProxy and correct file permissions.
- Reload fails: Validate config syntax (
nginx -t/haproxy -c -f /etc/haproxy/haproxy.cfg). - Sticky sessions not working: Confirm cookie insertion and that app respects it.
- VIP not moving: Verify Keepalived priorities, VRRP IDs, interface names, and process tracking.
When to Use Managed Load Balancing
If you don’t want to manage SSL renewals, failover, monitoring, and patching, consider managed load balancing. At YouStable, our engineers design and operate HAProxy/Nginx clusters with VRRP, SSL offload, WAF, and 24/7 observability—so you can focus on your app. Ask us about a migration or performance review.
FAQ’s
1. Which is better for Linux load balancing: Nginx or HAProxy?
Nginx is excellent for simple HTTP reverse proxying and static content. HAProxy offers richer health checks, detailed metrics, advanced stickiness, and TCP support. For most production apps, HAProxy is the safer default. Many teams use Nginx at the edge and HAProxy for application routing.
2. How do I add SSL to my Linux load balancer?
Use Let’s Encrypt with Nginx’s Certbot plugin, or bind SSL in HAProxy with a PEM file that concatenates certificate and private key. Terminate TLS at the load balancer and proxy HTTP to backends, or re‑encrypt to HTTPS if required by compliance.
3. Do I need sticky sessions for my application?
Use sticky sessions if your app stores session state in memory on a single backend (e.g., PHP session files). For stateless apps or distributed session stores (Redis, database), you don’t need stickiness. HAProxy supports cookie-based stickiness; Nginx open-source supports IP-based ip_hash.
4. How can I make the load balancer highly available?
Deploy two load balancer nodes and a virtual IP using Keepalived (VRRP). The VIP automatically fails over if the primary node or process dies. You can also use cloud-managed LBs or BGP-based designs for larger environments.
5. What’s the difference between Layer 4 and Layer 7 load balancing?
Layer 4 operates at the transport level (TCP/UDP) and is extremely fast but lacks HTTP awareness. Layer 7 understands HTTP headers, paths, and cookies, enabling features like URL routing, header rewriting, compression, and sticky sessions. Choose based on feature needs and performance goals.


