Upgrade Your VPS to boost performance, storage, or bandwidth without facing service interruptions. Many users face downtime during upgrades because of poor migration planning, insufficient backups, or incompatible server configurations. These issues can cause website inaccessibility and data loss, which ultimately affects visitors and revenue. Whether you’re scaling up resources or switching to a more powerful plan, careful execution is essential to maintain uptime.
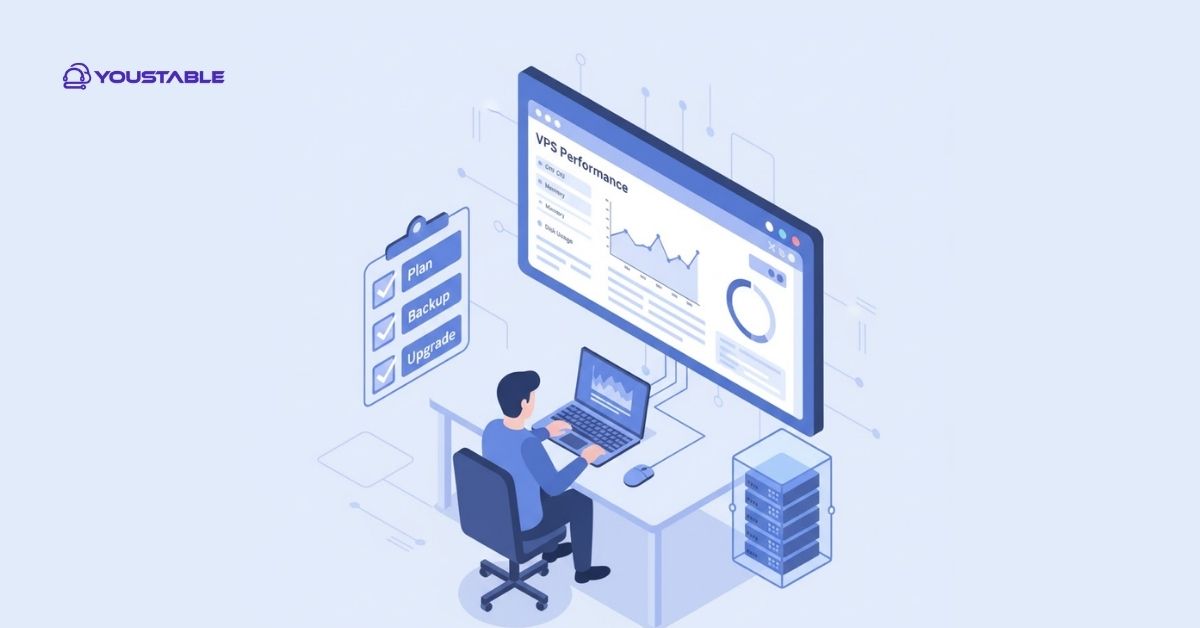
In this guide, you’ll learn how to Upgrade Your VPS Without Downtime by following proven methods. We’ll cover preparation steps, snapshot creation, temporary scaling, and migration strategies that ensure seamless transitions. By the end, you’ll know exactly how to plan and perform an upgrade safely and efficiently while keeping your website online.
Upgrade Your VPS Without Downtime – Step-by-Step Process
Upgrading your VPS doesn’t have to cause interruptions. Follow these essential steps to maintain uptime and ensure a smooth, successful upgrade process.
Plan the Upgrade in Advance
Before you Upgrade Your VPS, it’s crucial to create a clear plan. Downtime often occurs when users upgrade impulsively without understanding the server’s requirements or compatibility. Review your current VPS performance, storage, CPU, and RAM usage. Determine what needs improvement and ensure your hosting provider supports seamless upgrades or temporary scaling.
To Upgrade Your VPS Without Downtime, schedule the process during low-traffic hours and notify your users beforehand. Document your configurations and dependencies to avoid compatibility issues later. Proper planning minimizes errors and guarantees that your website stays online throughout the upgrade process.
Take a Complete Backup or Snapshot
One of the most important steps before you Upgrade Your VPS is creating a backup or snapshot. Many users skip this step and end up losing critical data if something goes wrong during the transition. Backups help restore your system to a working state if the upgrade fails or data gets corrupted.
To Upgrade Your VPS Without Downtime, use your hosting control panel or backup tools to take a full server snapshot. Store copies in multiple locations — local and cloud-based — to ensure safety. With a verified backup, you can confidently perform the upgrade knowing your data is fully protected.
Use a Temporary or Staging Server
If you want to Upgrade Your VPS Without Downtime, a staging or temporary server is your best tool. Many website owners directly modify the live VPS, which leads to interruptions or crashes during the upgrade. Using a staging environment allows you to test configurations safely before deploying them live.
Clone your current VPS to a staging instance and perform the upgrade there first. Test all services, databases, and scripts to ensure stability. Once verified, switch your live traffic to the upgraded server. This method ensures a seamless experience for visitors while avoiding any potential downtime.
Sync Data and Switch DNS Gradually
Another effective way to Upgrade Your VPS Without Downtime is by syncing your data continuously between the old and new servers. Sudden switching without synchronization causes data mismatches, especially for dynamic sites like e-commerce or CMS-based platforms.
Set up real-time synchronization between both environments. Once the new VPS is fully updated and tested, switch DNS records with a low TTL (Time-to-Live) setting to speed up propagation. Gradual DNS switching ensures smooth redirection, so users experience no interruptions during or after the upgrade.
Test Thoroughly Before Finalizing
After you Upgrade Your VPS, never finalize the process without proper testing. Many users skip post-upgrade validation, resulting in broken features, missing files, or performance lags. A thorough test ensures that all configurations, services, and applications run flawlessly.
Check your website’s speed, database connections, and application logs. Simulate real-user scenarios to identify potential issues. Once everything performs as expected, you can confidently finalize your upgrade knowing your VPS is stable, optimized, and fully operational without downtime.
Conclusion
Upgrading your VPS is essential for maintaining high performance and scalability, but doing it without downtime requires careful planning. You’ve learned how to Upgrade Your VPS Without Downtime by preparing in advance, creating backups, using staging environments, syncing data, and testing thoroughly.
These steps minimize risks and ensure a smooth upgrade process. Whether you’re improving resources or migrating to a new server, always verify your changes before going live. If you encounter issues, contact your hosting provider’s support team for professional assistance and ensure your VPS remains online and reliable throughout the process.