Update Nameservers is the first crucial step when connecting your domain to a new hosting provider like YouStable. Many users face issues because their domain remains pointed to the old server, leading to downtime, email disruptions, or website inaccessibility. Incorrect nameserver settings prevent your website from resolving correctly, which can cause delays in launching or migrating your site. By understanding how to update nameservers properly, you ensure a smooth and error-free connection between your domain and hosting.
In this guide, we will cover the process of updating nameservers, explain why each step matters, and help you connect your domain to YouStable quickly. By the end, you will know exactly how to make your website live without interruptions.
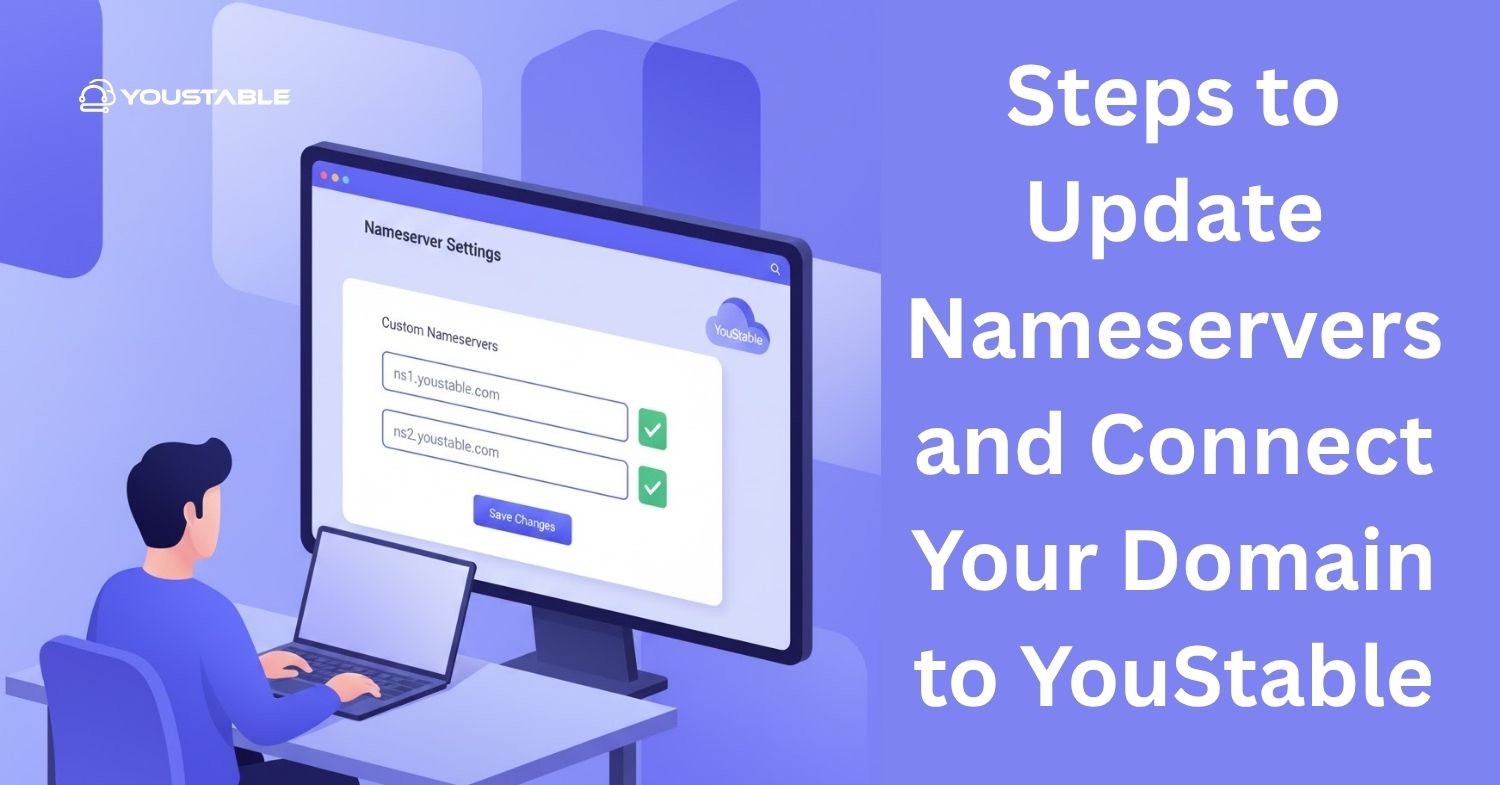
Steps to Update Nameservers and Connect Your Domain to YouStable
Updating nameservers may seem technical, but following these step-by-step instructions will make it simple. Here’s how to get your domain pointing to YouStable correctly.
1. Access Your Domain Registrar Account
Start by logging in to the account where your domain is registered. Look for the domain management or DNS settings section. This is where you can update nameservers. Different registrars have slightly different interfaces, but the process is generally similar. You’ll usually find a button or link labeled “Manage DNS” or “Nameservers.”
Once inside the domain settings, check your current nameservers. Make a note of them in case you need to revert. Then, you are ready to replace the old nameservers with YouStable’s nameservers, which you can find in your hosting dashboard.
2. Enter YouStable Nameservers
Now, replace your existing nameservers with the ones provided by YouStable. Typically, YouStable offers two or more nameservers, like ns1.youstable.com and ns2.youstable.com. Copy and paste these exactly as provided to avoid errors.
After entering the new nameservers, save the changes. It can take anywhere from a few minutes to 48 hours for the DNS to propagate globally. During this period, your website might not appear immediately, but this is normal. Keep monitoring to confirm the domain points are correct.
Also, Read | How to Set Up Business Email in YouStable Hosting (Step-by-Step Guide)
3. Verify Your Domain Connection
After updating nameservers, verify that your domain is connected to YouStable. You can use online tools like DNS checkers or simply visit your website to see if it resolves to your hosting account.
If your website is not showing, double-check the nameservers for typos and ensure propagation time has passed. YouStable support can also assist in verifying your domain connection. Successful verification ensures your emails and website will work without interruptions.
Also, Read | How to Use Namecheap Domain with YouStable Hosting (Step-by-Step Guide)
Conclusion
Updating nameservers is essential for connecting your domain to YouStable. By accessing your registrar, entering the correct YouStable nameservers, and verifying your domain connection, you ensure your website and emails function correctly. Following these steps reduces downtime and prevents common DNS issues.
Always double-check the nameserver entries and allow time for propagation. If you encounter problems, YouStable support is available to guide you. By keeping your nameservers updated, you maintain control over your domain and ensure a smooth, reliable online presence. Start updating your nameservers today for a hassle-free website launch.