
To create Let’s Encrypt on a Linux server, install Certbot, validate your domain via HTTP-01 or DNS-01, issue a free SSL/TLS certificate, configure your web server (Nginx/Apache), and enable auto-renew.
The fastest approach is using Snap to install Certbot, then running certbot –nginx or certbot –apache to obtain and configure HTTPS automatically.
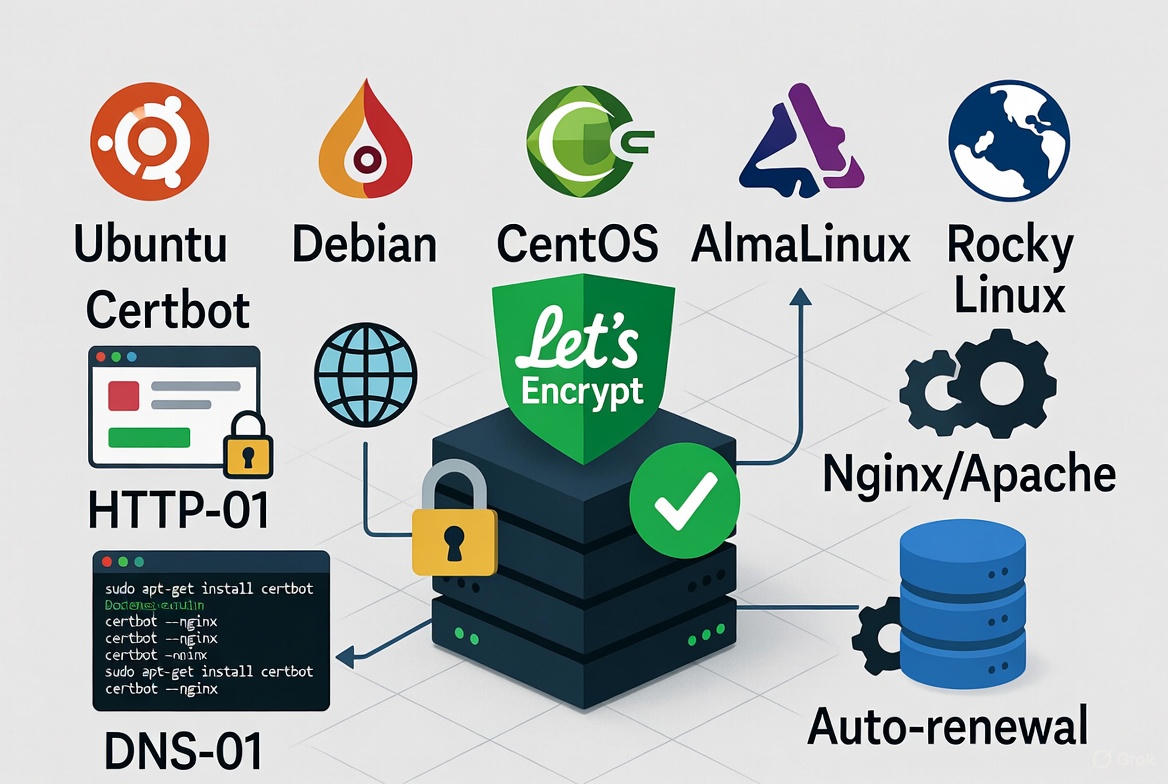
Securing your website with Let’s Encrypt on a Linux server is straightforward, free, and great for SEO. In this guide, I’ll show you exactly how to install and configure Let’s Encrypt with Certbot for Nginx and Apache, enable auto-renewal, handle wildcard domains, and fix common issues—using practical steps I use on production servers.
What is Let’s Encrypt and Why It Matters?
Let’s Encrypt is a free, automated, and open certificate authority (CA) that issues SSL/TLS certificates so your site serves HTTPS. Certificates last 90 days, but Certbot handles renewal automatically.
HTTPS improves security, trust, and rankings—Google favors secure sites, and modern browsers warn users on non-HTTPS pages.
Prerequisites (Before You Start)
- A Linux server (Ubuntu, Debian, Rocky/AlmaLinux, CentOS Stream, etc.)
- Root or sudo access
- A fully qualified domain name (FQDN) pointed to your server’s IP (A/AAAA DNS records)
- Open ports 80 (HTTP) and 443 (HTTPS) on your firewall and cloud security group
- Nginx or Apache installed and serving your site
Tip: On managed VPS or cloud hosting from YouStable, you can request a preconfigured LEMP/LAMP stack with firewall and Let’s Encrypt ready to go—ideal if you want a faster, support-backed setup.
Quick Start: Install Certbot the Right Way
Snap provides the latest Certbot across most distros. It avoids outdated repository versions and plugin mismatches.
# 1) Install Snap and Certbot (Ubuntu/Debian)
sudo apt update
sudo apt install -y snapd
sudo snap install core; sudo snap refresh core
sudo snap install --classic certbot
sudo ln -s /snap/bin/certbot /usr/bin/certbot

# (RHEL/Rocky/AlmaLinux/CentOS Stream)
sudo dnf install -y epel-release
sudo dnf install -y snapd
sudo systemctl enable --now snapd.socket
sudo ln -s /var/lib/snapd/snap /snap
sudo snap install core; sudo snap refresh core
sudo snap install --classic certbot
sudo ln -s /snap/bin/certbot /usr/bin/certbot
Open your firewall for web traffic if it’s not already open.
# Using UFW (Ubuntu/Debian)
sudo ufw allow 80,443/tcp
sudo ufw reload

# Using firewalld (RHEL family)
sudo firewall-cmd --permanent --add-service=http
sudo firewall-cmd --permanent --add-service=https
sudo firewall-cmd --reload
Nginx: Get and Install a Let’s Encrypt Certificate
If your site is already live on Nginx and the server block points to your domain, the Nginx plugin can obtain and configure SSL automatically.
# Replace example.com with your domain; add -d for each domain/subdomain
sudo certbot --nginx -d example.com -d www.example.com

# Test the renewal (dry run)
sudo certbot renew --dry-run
Certbot updates your Nginx config, adds the certificate and key, and sets strong TLS defaults. Always reload Nginx if you manually change configurations.
sudo nginx -t && sudo systemctl reload nginxApache: Get and Install a Let’s Encrypt Certificate
For Apache, the plugin handles VirtualHost updates automatically if your vhost is configured for your domain.
# Replace example.com with your domain
sudo certbot --apache -d example.com -d www.example.com

# Validate renewal
sudo certbot renew --dry-run
Don’t Use Plugins? Use Webroot Mode
If you manage configs by hand or run a custom stack, use the webroot plugin. It drops challenge files in your website’s document root and avoids auto-editing configs.
# Nginx or Apache with document root at /var/www/example
sudo certbot certonly --webroot -w /var/www/example -d example.com -d www.example.com

# Cert files live under:
# /etc/letsencrypt/live/example.com/fullchain.pem
# /etc/letsencrypt/live/example.com/privkey.pem
Sample Nginx and Apache SSL Configs (Manual)
If you issued with webroot or want manual control, point to the live certificate paths.
# /etc/nginx/sites-available/example.conf
server {
    listen 80;
    server_name example.com www.example.com;
    root /var/www/example;
    location /.well-known/acme-challenge/ { allow all; }
    return 301 https://$host$request_uri;
}
server {
    listen 443 ssl http2;
    server_name example.com www.example.com;
    root /var/www/example;

    ssl_certificate /etc/letsencrypt/live/example.com/fullchain.pem;
    ssl_certificate_key /etc/letsencrypt/live/example.com/privkey.pem;

    # Optional hardening
    ssl_protocols TLSv1.2 TLSv1.3;
    ssl_ciphers EECDH+AESGCM:EECDH+CHACHA20;
    add_header Strict-Transport-Security "max-age=31536000; includeSubDomains" always;

    location / {
        try_files $uri $uri/ =404;
    }
}
# Apache vhost (enable modules: ssl, headers)
# /etc/apache2/sites-available/example-ssl.conf
<VirtualHost *:443>
ServerName example.com
ServerAlias www.example.com
DocumentRoot /var/www/example
SSLEngine on
SSLCertificateFile /etc/letsencrypt/live/example.com/fullchain.pem
SSLCertificateKeyFile /etc/letsencrypt/live/example.com/privkey.pem
Header always set Strict-Transport-Security "max-age=31536000; includeSubDomains"
</VirtualHost>
# Redirect HTTP to HTTPS (port 80 vhost)
<VirtualHost *:80>
ServerName example.com
ServerAlias www.example.com
Redirect permanent / https://example.com/
</VirtualHost>Enable and Verify Auto-Renewal
Let’s Encrypt certificates renew automatically via a systemd timer when installed with Snap. Verify it and run a dry-run test.
# Check timer
systemctl list-timers | grep certbot

# Dry-run
sudo certbot renew --dry-run
If you installed Certbot from a package without timers, set a cron job.
# Cron (runs twice daily)
echo '0 3,15 * * * root certbot renew --quiet --post-hook "systemctl reload nginx || systemctl reload apache2"' | sudo tee /etc/cron.d/certbot
Wildcard Certificates (DNS-01 Challenge)
Wildcard certificates like *.example.com require DNS-01 validation. You’ll add a TXT record at _acme-challenge.example.com. Many DNS providers support automated APIs via Certbot plugins.
# Manual DNS challenge (any web server)
sudo certbot -d example.com -d '*.example.com' --manual --preferred-challenges dns --agree-tos --no-eff-email -m admin@example.com

# Follow prompts to add the TXT record, then continue.
# After issuance, configure your web server with the issued cert paths.
For automation, use your DNS provider’s Certbot plugin (e.g., certbot-dns-cloudflare). Store API tokens securely and automate renewals without downtime.
Verification and SSL Quality Checks
- Browser test: Visit https://example.com and confirm the secure padlock.
- Command-line test: curl -I https://example.com and expect HTTP/2 200.
- Certificate chain: openssl s_client -connect example.com:443 -servername example.com | openssl x509 -noout -issuer -dates
- External scanners: Use SSL Labs to confirm A/A+ and modern TLS ciphers.
curl -I https://example.com
openssl s_client -connect example.com:443 -servername example.com | openssl x509 -noout -issuer -dates
Troubleshooting Common Errors
Challenge failed (HTTP-01)
- DNS not propagated: Ensure A/AAAA records resolve to your server. Check with dig or nslookup.
- Firewall/Ports: Open 80 and 443 in OS firewall and cloud provider security groups.
- Reverse proxies/CDNs: If using Cloudflare “orange cloud,” temporarily set DNS to “gray cloud” (DNS-only) or use DNS-01.
- Wrong webroot: Ensure /.well-known/acme-challenge is reachable and not blocked by rewrite rules.
Permission or SELinux issues
- On SELinux-enabled systems, allow web server access to webroot: restorecon -Rv /var/www/example
- Ensure Certbot can write to /var/lib/letsencrypt and /etc/letsencrypt.
Rate limits
- Let’s Encrypt enforces weekly limits (e.g., 50 certificates per registered domain). Consolidate SANs (multiple -d flags) and avoid reissuing repeatedly.
- Use the staging server for testing: –staging flag to bypass production limits while you debug.
Security and Best Practices
- Prefer ECDSA keys for performance: use –key-type ecdsa (if your stack supports it).
- Enforce HTTPS with 301 redirects and HSTS (with care—test first).
- Enable TLS 1.2 and 1.3 only; disable obsolete protocols and ciphers.
- Monitor renewals with email alerts (set -m in Certbot, check logs under /var/log/letsencrypt/).
- Back up /etc/letsencrypt (certs, keys, renewal configs) securely.
# Example with ECDSA key type
sudo certbot --nginx --key-type ecdsa -d example.com -d www.example.com
Real-World Tips from Production Hosting
- Clock drift breaks TLS: install chrony or systemd-timesyncd to keep time accurate.
- IPv6 matters: make sure AAAA records point to the server and ports are open on IPv6.
- Multiple vhosts: ensure the correct server_name matches the requested domain; default vhosts often capture traffic unintentionally.
- Containers: use a reverse proxy (Traefik, Nginx Proxy Manager, Caddy) or Certbot in the host with webroot mapped to the container.
- Staging to production: issue on staging with –staging first, then switch to production CA after configs are stable.
If you prefer a done-for-you setup, YouStable’s VPS and Dedicated servers can ship with Nginx/Apache, HTTP/3, and Let’s Encrypt preconfigured, plus proactive monitoring of renewals.
FAQ’s
1. How do I install Let’s Encrypt on Ubuntu with Nginx?
Install Certbot via Snap, then run certbot –nginx -d example.com -d www.example.com. Certbot fetches the certificate, edits Nginx, reloads it, and enables auto-renew. Validate with certbot renew –dry-run.
2. Can I get a wildcard SSL certificate with Let’s Encrypt?
Yes. Use DNS-01 validation: certbot -d example.com -d ‘*.example.com’ –manual –preferred-challenges dns. For automation, use a DNS plugin (e.g., certbot-dns-cloudflare) with API tokens to renew without manual TXT updates.
3. Why is my Let’s Encrypt renewal failing?
Common causes: blocked port 80, incorrect DNS, webroot mismatch, CDN proxy interference, or SELinux denials. Check /var/log/letsencrypt/letsencrypt.log, verify DNS, ensure /.well-known/acme-challenge is accessible, and run certbot renew –dry-run for clues.
4. Does Let’s Encrypt support ECDSA certificates?
Yes. Use –key-type ecdsa when issuing. Ensure your web server and clients support ECDSA. It’s faster and lighter than RSA while maintaining strong security.
5. Will HTTPS improve SEO for my site?
Absolutely. HTTPS is a ranking signal, enables HTTP/2/3 for speed, and builds trust. Browsers mark HTTP as “Not Secure,” which hurts conversions and engagement. Let’s Encrypt helps you achieve this without extra cost.


