
A DHCP server (Dynamic Host Configuration Protocol server) is like a network’s automatic address book manager. When a device (a laptop, phone, server, etc.) joins the network, the DHCP server assigns it an IP address, subnet mask, gateway, DNS server, and other network settings, all automatically. This spares you the hassle of configuring network settings manually.
A DHCP server automatically hands out IP addresses and related network configuration to devices that join a network, ensuring each device gets correct, conflict free settings without manual work.
What does “DHCP” mean and why does it matter?
- DHCP stands for Dynamic Host Configuration Protocol.
- The core job of a DHCP server is to automatically assign network settings to devices, especially IP addresses, whenever they connect. This removes the need to manually configure each device.
- Without DHCP, an admin (or user) would need to manually configure every device on the network, rather tedious and error prone
How does a DHCP Server Actually Work? (The DORA Flow)
When a device joins the network, it goes through a quick 4 step handshake with the DHCP server. This is often referred to as DORA:
| Step | What happens |
|---|---|
| Discover | The device broadcasts a DHCPDISCOVER message, saying “Hey — is there a DHCP server out there?” |
| Offer | A DHCP server responds with a DHCPOFFER, offering an available IP address and related network info (subnet mask, gateway, DNS, etc.). |
| Request | The device sends back DHCPREQUEST, indicating it accepts the offer and wants to use that IP. |
| Acknowledge | Server replies with DHCPACK, confirming the assignment. Now the device is configured and can communicate. |
Often this happens within a second or two, it’s fast and automatic. After that, the device uses the IP and settings assigned.
If you prefer some flexibility, the server may also use reservations, leases, or static like assignments based on MAC addresses.
What are the Core Components of a DHCP Server?
- IP Pool / Scope — A defined range of IP addresses that the server can assign.
- Leases — The period for which an IP address is assigned to a device; after expiry, it can be reallocated.
- Reservations — Static like assignments: map a MAC address to a fixed IP so that a device always gets the same address.
- DHCP Options — Additional network configuration: subnet mask, gateway, DNS, time servers, domain names, etc.
- Relay / DHCP Relay (or IP helper) — In larger networks with multiple subnets, a relay agent forwards DHCP messages across subnets so a centralized server can serve all.
DHCP vs Static IP — Which One to Use?
| Aspect | DHCP (Dynamic IP) | Static IP |
|---|---|---|
| IP assignment | Automatic from server pool | Manually assigned per device |
| Administrative work | Minimal | Higher — manual configuration per device |
| Scalability | High — easy to add many devices | Harder — manual tracking required |
| Use case | Laptops, phones, guest devices, dynamic environments | Servers, printers, network hardware where fixed IP matters |
| Risk of IP conflict | Low (managed by server) | Higher (if misconfigured) |
| Flexibility | High — devices can change frequently | Low — fixed IPs may need manual reconfiguration |
Tip: In many setups, a mix works best: DHCP for most devices, static or reserved IPs for crucial servers/devices.
Why Use a DHCP Server? (Advantages)
- Centralized IP address management — no manual IPs for each device.
- Faster onboarding — new devices join the network instantly without manual configuration.
- Reduced human errors — fewer mistakes in subnet masks, gateway/DNS configs, or IP conflicts.
- Scalable — works equally well for a home Wi Fi, a small office, or a large data center hosting hundreds of devices.
- Flexibility — dynamic devices (phones, laptops) can join/leave frequently without manual intervention.
What Are the Downsides or Risks of DHCP?
- DHCP server is a single point of failure: If the server goes offline, new devices can’t get IPs — network access breaks.
- Less control over IPs: Devices can get different IPs over time, which may be a challenge if you rely on consistent addresses.
- Security risks: A malicious or unauthorized DHCP server (a “rogue DHCP”) can distribute incorrect or malicious network settings.
- IP lease exhaustion: If DHCP pool is too small or many devices request leases simultaneously, you may run out of IPs.
Where Does DHCP Server Shine — Real World Use Cases
- Home networks / Wi Fi routers — almost all home routers act as DHCP servers so you don’t need to configure devices manually.
- Small offices — laptops, desktops, smartphones get automatic configuration; easy to add/remove devices.
- Large corporate networks / data centers — centralized IP management for hundreds/thousands of devices; DHCP relay helps cover multiple subnets.
- Cloud / VPS hosting / Hosting environments (e.g., WordPress servers, VPS clusters) — helps manage many servers/instances without manual IP assignment.
- Guest networks / Wi Fi hotspots / public networks — clients get configuration on the fly, and IPs are recycled when devices leave.
Security Considerations — What to Watch Out For
- Rogue DHCP Servers: Unauthorized devices (e.g., a mis configured router or a VM) could start handing out IPs, leading to network chaos or worse — malicious routing.
- DHCP Starvation Attacks: Attackers can flood the network with fake DHCP requests to exhaust the IP pool, blocking legitimate devices.
- No built in authentication: Standard DHCP doesn’t authenticate clients and servers — anyone can respond to a DHCPDISCOVER.
- Mitigations:
- Use DHCP snooping on managed switches — only allow trusted ports/servers to give DHCP offers.
- Combine DHCP with MAC binding / reservations for critical devices.
- Monitor and audit DHCP logs regularly for unusual behavior.
- Use network segmentation, VLANs, and secure switch configurations to isolate DHCP related traffic.
Example: Configuring DHCP Server on Linux
Here’s how you might set up a DHCP server on a Linux box (e.g., for a small office or hosting lab):
# Update and install ISC DHCP Server
sudo apt update
sudo apt install isc-dhcp-server -y
Sample /etc/dhcp/dhcpd.conf:
default-lease-time 600;
max-lease-time 7200;
authoritative;

subnet 192.168.10.0 netmask 255.255.255.0 {
  range 192.168.10.100 192.168.10.200;
  option routers 192.168.10.1;
  option subnet-mask 255.255.255.0;
  option domain-name-servers 8.8.8.8, 8.8.4.4;
  option domain-name "example.local";
}
Then restart your DHCP service:
sudo systemctl restart isc-dhcp-server
sudo systemctl status isc-dhcp-server
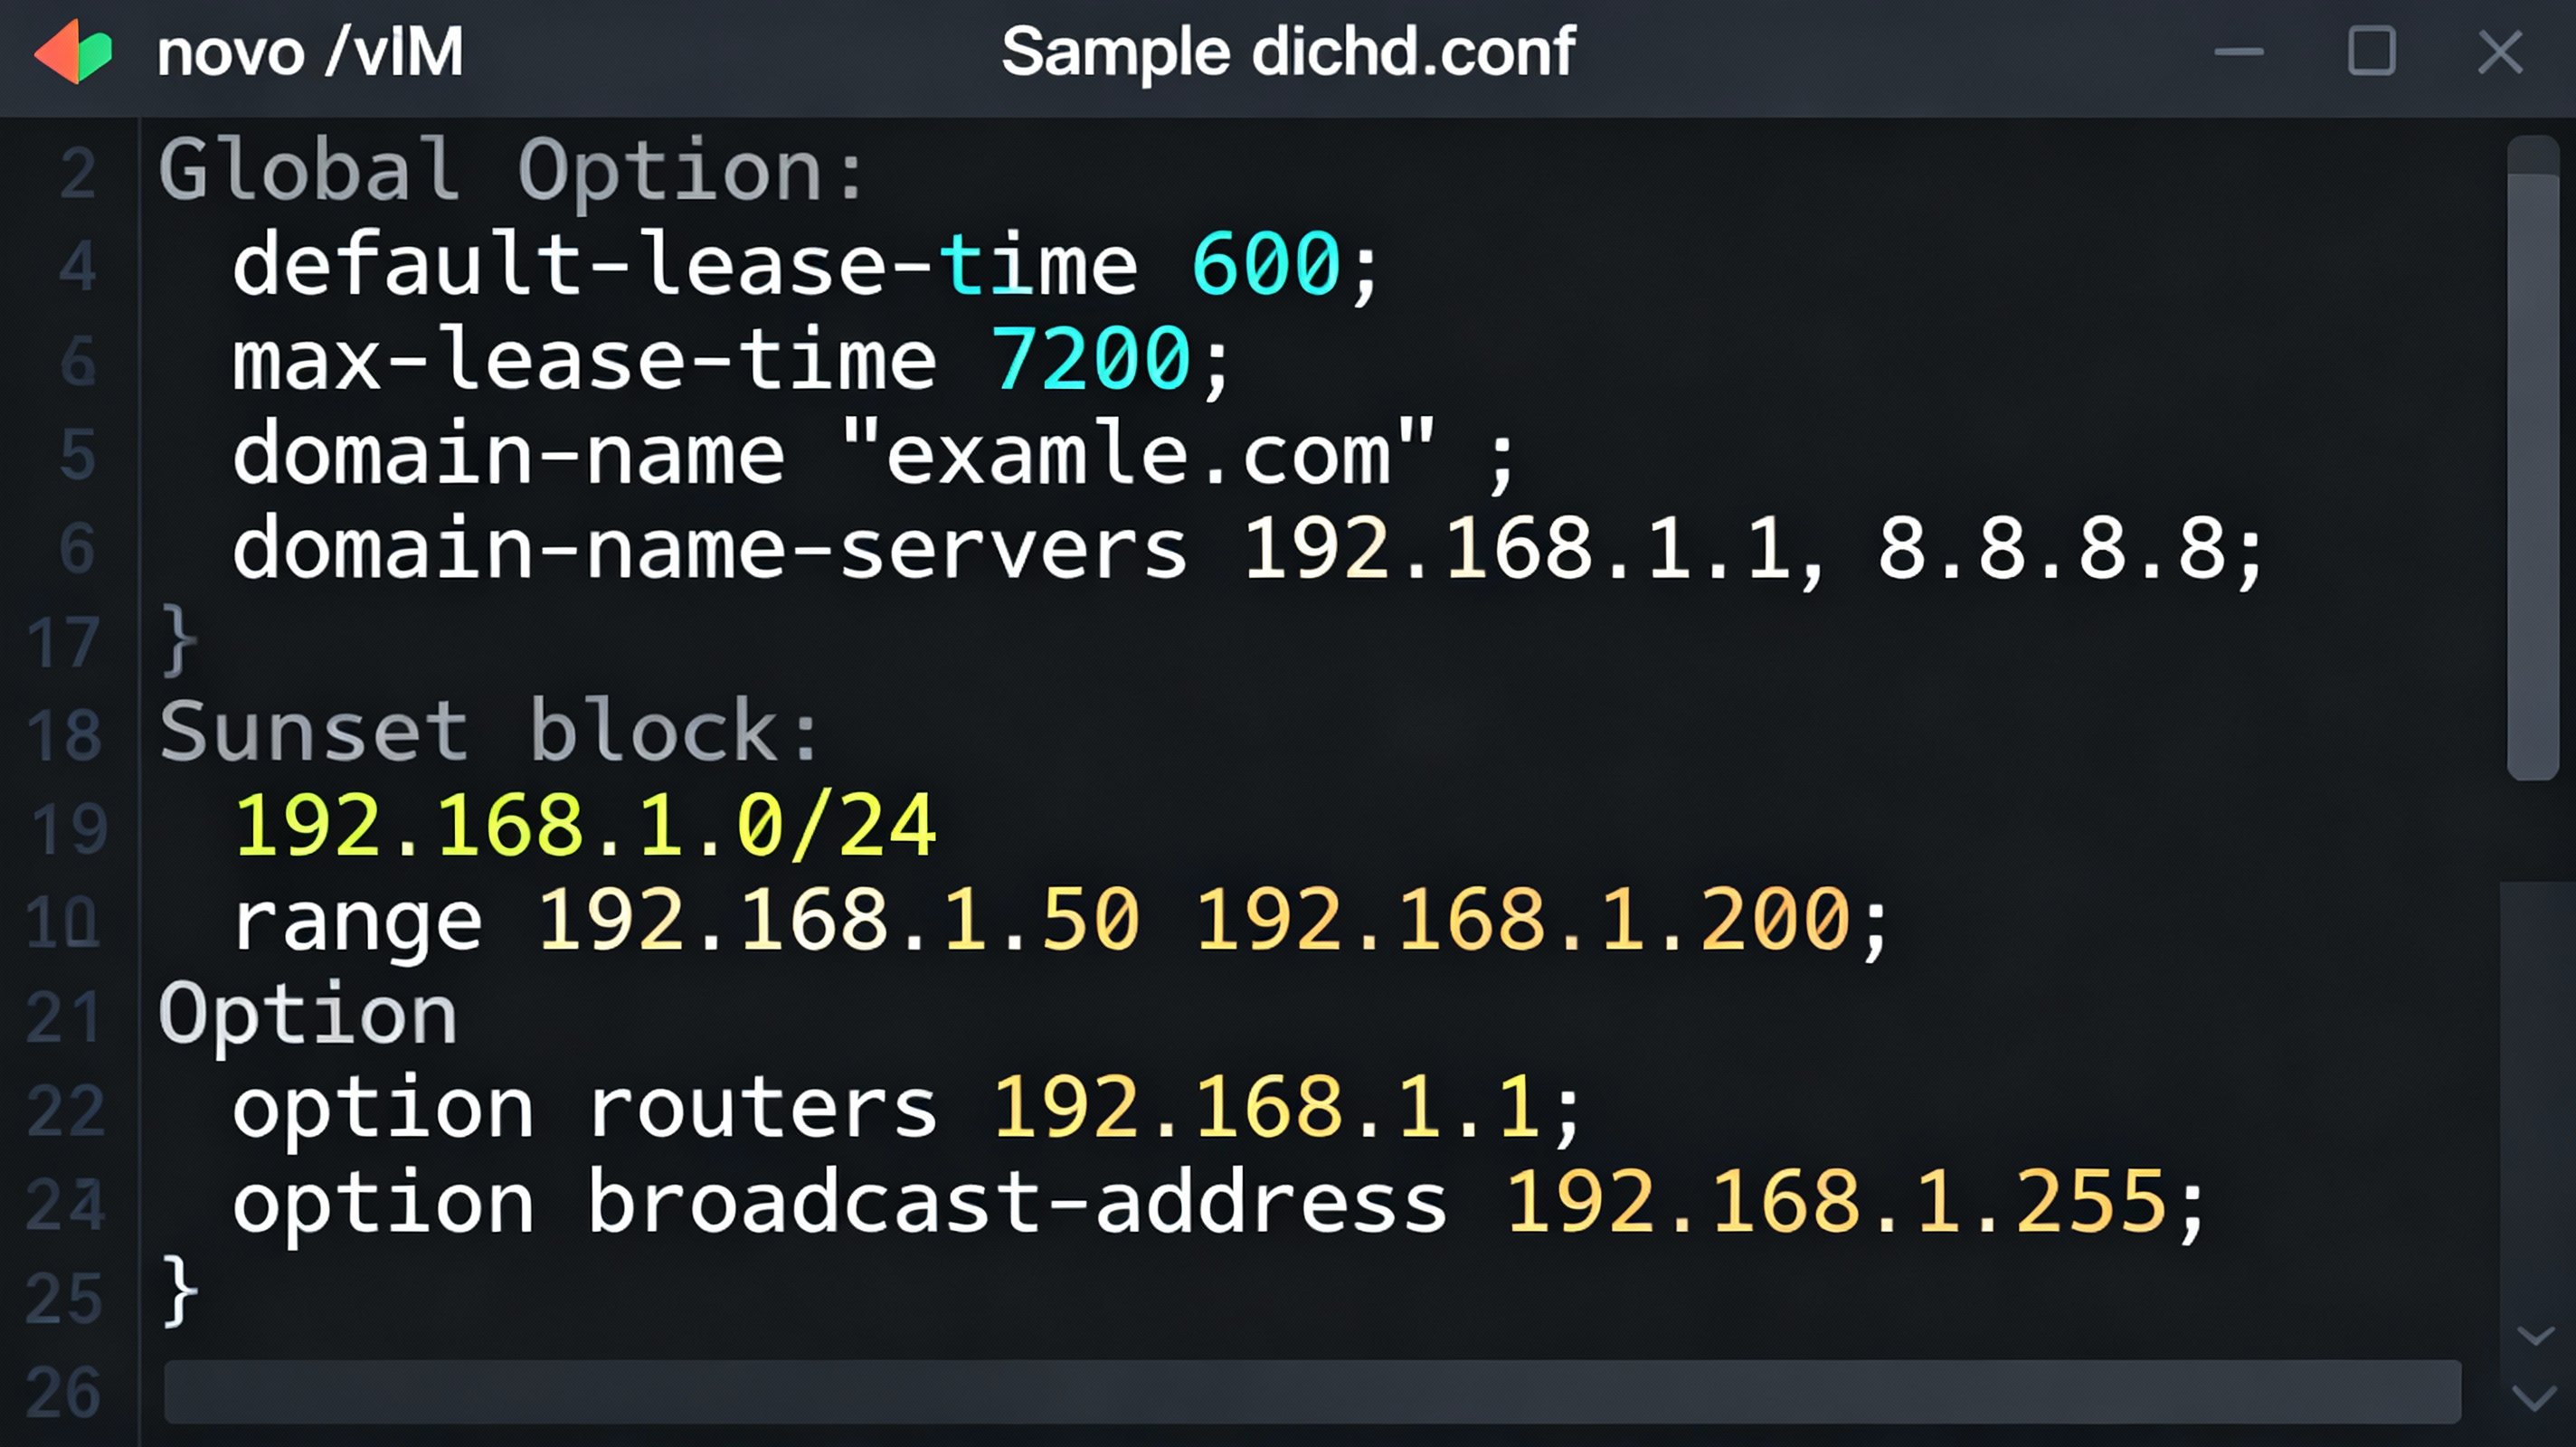
This basic setup gives devices in the 192.168.10.0/24 subnet an IP range from .100 to .200, along with gateway and DNS.
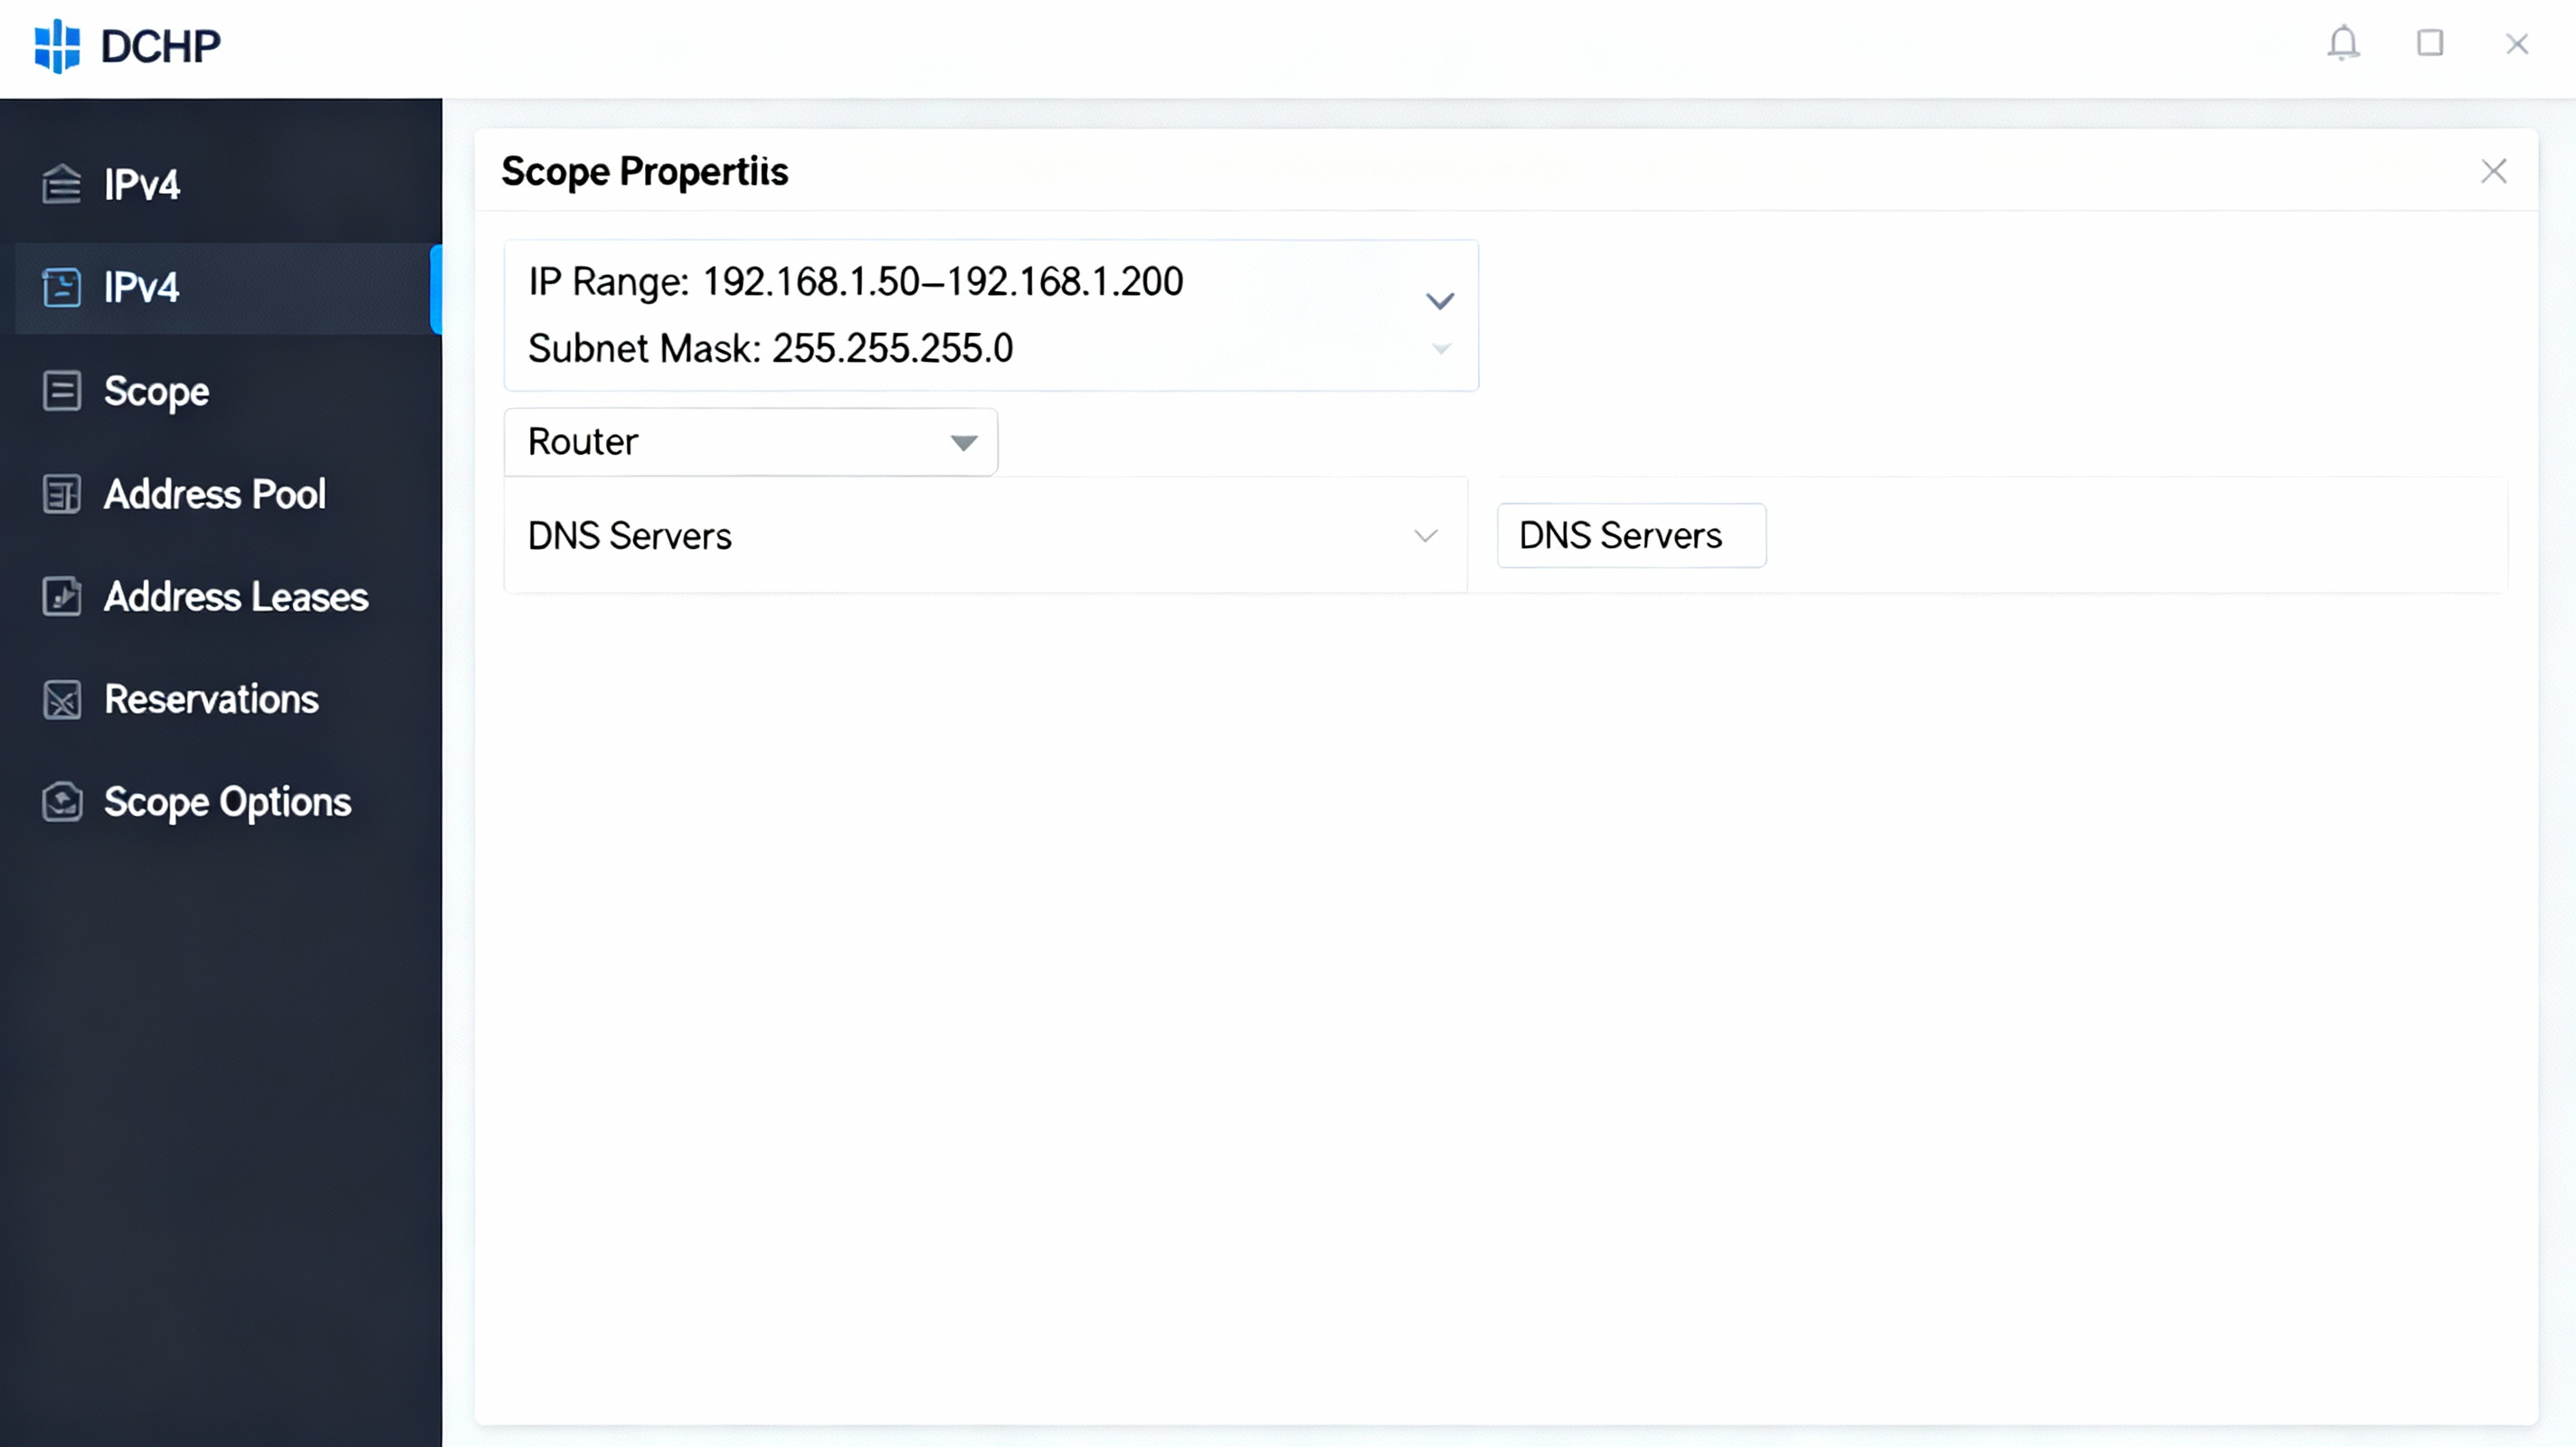
Example: Configuring DHCP Server on Windows Server (High Level)
- Open Server Manager → Add DHCP Server Role.
- Create a new DHCP Scope: define IP range, subnet mask, lease times.
- Set additional options: default gateway, DNS servers, domain name.
- Authorize the DHCP server in your Active Directory domain. Microsoft Learn+1
- Activate the scope — devices connecting on the network will start receiving IPs automatically.
Common Problems & Troubleshooting Tips
| Problem | Possible Cause | What to Do |
|---|---|---|
| Client not getting IP (stuck on automatic) | DHCP service down, wrong interface, no free IPs | Check service status, ensure correct network binding, enlarge IP pool |
| IP conflict between devices | Overlapping static IP + DHCP pool or lease mis management | Use reservations for static devices; ensure pool doesn’t overlap static IPs |
| Wrong DNS or gateway | DHCP options misconfigured | Verify dhcpd.conf or DHCP scope options |
| Clients get 169.254.x.x (APIPA) | DHCP unreachable | Check physical network, relay configuration, firewall/bridge issues |
Useful commands:
- On Windows:
ipconfig /all,ipconfig /release,ipconfig /renew - On Linux:
systemctl status isc-dhcp-server,journalctl -u isc-dhcp-server


