To install ZFS on a Linux server, add the OpenZFS packages for your distribution, load the ZFS kernel module, and create a storage pool. On Ubuntu, install zfsutils-linux via apt; on Debian, use zfs-dkms; on RHEL derivatives, enable the OpenZFS repo, install zfs, then create and manage pools with zpool and zfs commands.
If you’re looking to install ZFS on Linux Server for reliable, self-healing storage with snapshots, compression, and easy scalability, this guide walks you through everything. We’ll cover installation on major distributions, then show how to create pools, datasets, snapshots, replication, and performance tuning—following best practices I use in real hosting environments.
What is ZFS and Why Use it on Linux?
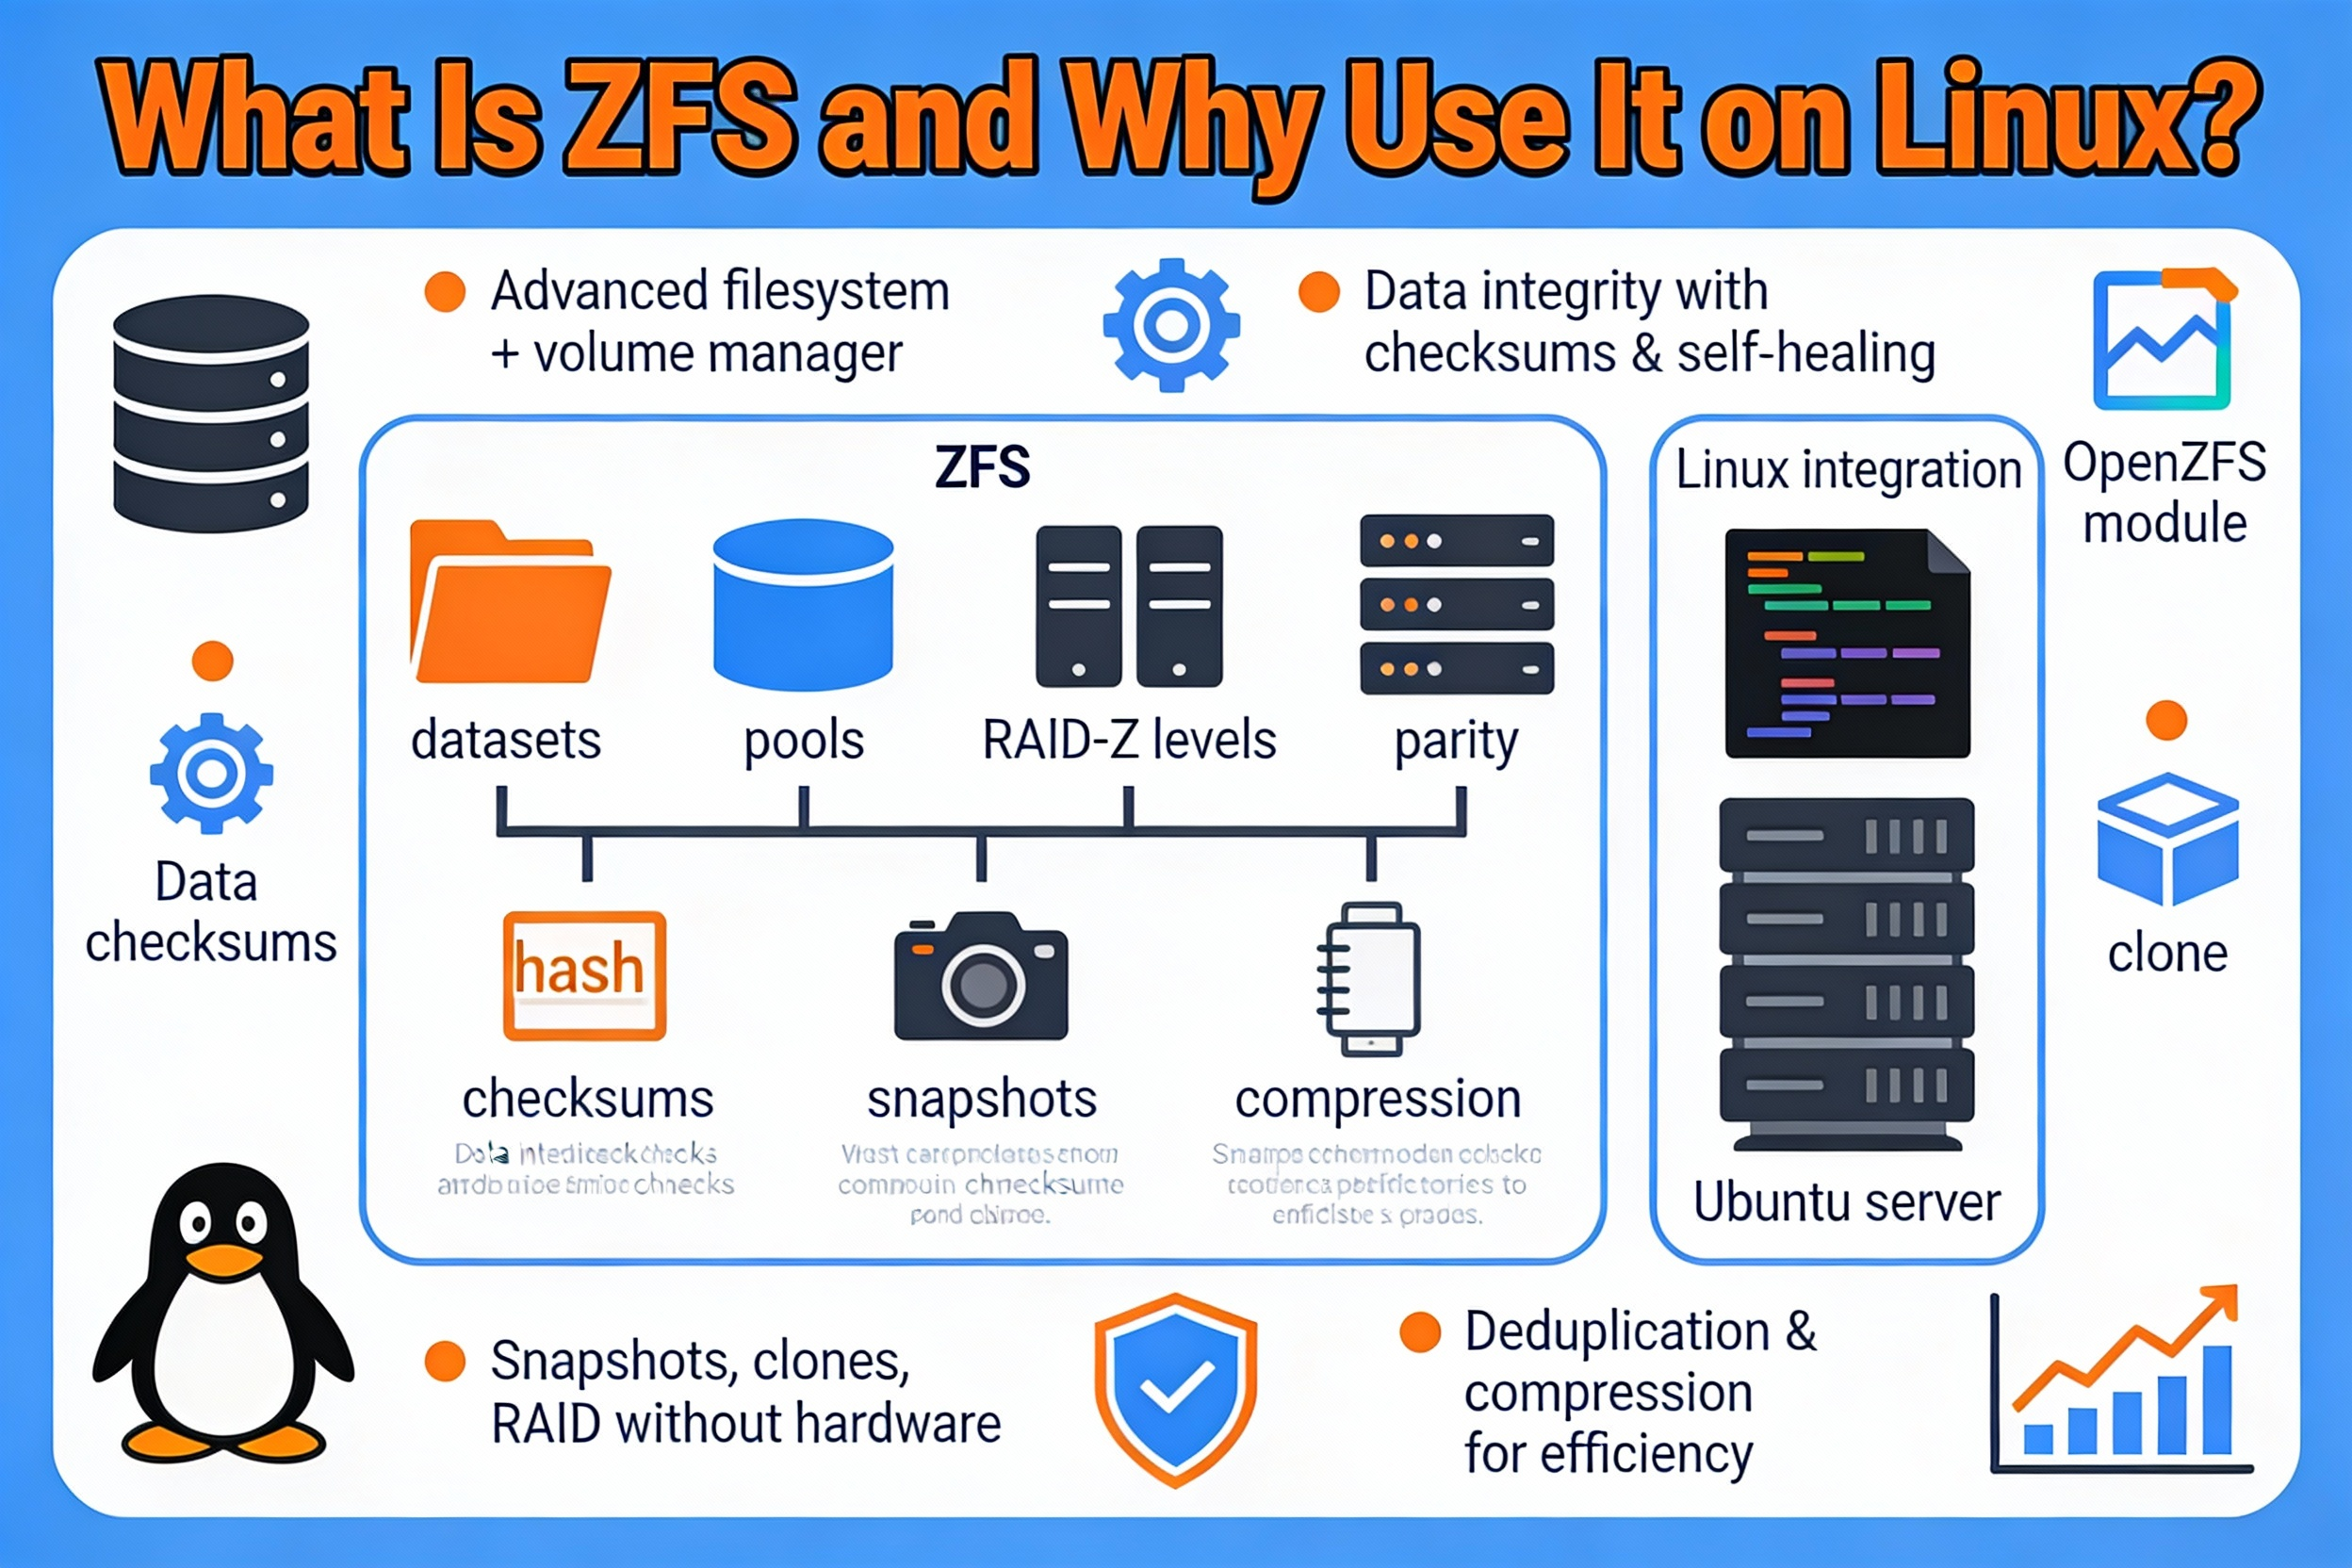
ZFS (OpenZFS on Linux) is a 128-bit, copy-on-write filesystem and volume manager known for end-to-end checksums, snapshots, replication, compression, and built-in RAID (mirror, RAIDZ). Its self-healing design detects and corrects silent data corruption, making it ideal for production servers, NAS, virtualization, and databases.
Key benefits:
- Data integrity: End-to-end checksums and self-healing reads
- Flexible RAID: Mirror, RAIDZ1/2/3 without extra tools
- Efficient snapshots and clones for fast rollbacks
- Inline compression (lz4) to save space and improve I/O
- Simplified management with zpool and zfs commands
Prerequisites and Planning
Before you install ZFS on Linux Server, plan the following to avoid rework and downtime:
- Disks: Use dedicated drives; identify them via /dev/disk/by-id for stable naming.
- Backups: Back up any data on disks you will add to a pool (ZFS will overwrite).
- RAM: ZFS performs best with >8 GB RAM; more is better for ARC cache, especially with VMs or databases.
- Kernel headers: Required for DKMS-based installs (Debian, RHEL with dkms flavor).
- Secure Boot: May block unsigned modules. Be ready to enroll a Machine Owner Key (MOK) or temporarily disable Secure Boot.
- Use case: Choose mirror or RAIDZ based on performance and fault tolerance needs.
Install ZFS on Ubuntu and Debian
Ubuntu (20.04/22.04/24.04)
Ubuntu ships ZFS packages in the official repositories, so installation is straightforward.
sudo apt update
sudo apt install -y zfsutils-linux
# Optional if the module isn't auto-loaded:
sudo modprobe zfs

# Enable ZFS services
sudo systemctl enable --now zfs-import-cache zfs-mount zfs-import.target
On Secure Boot systems, Ubuntu may prompt you to create and enroll a MOK during installation; follow the on-screen steps and complete enrollment on the next reboot.
Debian (11/12)
Debian uses DKMS to build ZFS against your kernel. Ensure the contrib repository is enabled in /etc/apt/sources.list (add the “contrib” component alongside “main”). Then install:
sudo apt update
sudo apt install -y dkms linux-headers-$(uname -r) zfs-dkms zfsutils-linux
sudo modprobe zfs
sudo systemctl enable --now zfs-mount zfs-import.target
If DKMS fails, confirm headers match your running kernel and retry after a reboot.
Install ZFS on RHEL, CentOS, Rocky, and AlmaLinux
On RHEL derivatives, install ZFS from the OpenZFS repository. You’ll typically install a release RPM that adds the repo, then install zfs. Replace the release package with the one matching your OS and version from the OpenZFS project.
# Enable EPEL (often required)
sudo dnf install -y epel-release

# Add the OpenZFS repo by installing the appropriate release package:
# Example placeholder (replace with the correct URL for your OS/version):
sudo dnf install -y https://zfsonlinux.org/epel/zfs-release.el$(rpm -E %rhel).noarch.rpm

# Install ZFS (kmod or dkms flavor will be chosen by the repo)
sudo dnf install -y zfs

# Load the module and enable services
sudo modprobe zfs
sudo systemctl enable --now zfs-import-cache zfs-mount zfs-import.target
If you use Secure Boot, either disable it or sign the ZFS module per your distribution’s documentation.
Install ZFS on Fedora and openSUSE
Fedora
Install the OpenZFS release package for your Fedora version, then install zfs.
# Add OpenZFS repo for your Fedora version (replace with current release package)
sudo dnf install -y https://zfsonlinux.org/fedora/zfs-release-$(rpm -E %fedora).noarch.rpm

sudo dnf install -y zfs
sudo modprobe zfs
sudo systemctl enable --now zfs-import-cache zfs-mount zfs-import.target
openSUSE (Leap/Tumbleweed)
Use the filesystems repository that ships ZFS for your version, then install.
# Example: add the filesystems repo for your release (adjust ID and VERSION_ID)
source /etc/os-release
sudo zypper addrepo -f https://download.opensuse.org/repositories/filesystems/$ID_$VERSION_ID/filesystems.repo
sudo zypper refresh
sudo zypper install -y zfs
sudo modprobe zfs
sudo systemctl enable --now zfs-import-cache zfs-mount zfs-import.target
Always verify repository instructions with the OpenZFS documentation for your exact distribution and version.
Create Your First ZFS Pool and Datasets
Identify disks by persistent IDs so device renames don’t break your pool. The following examples use by-id paths and create a mirror pool named “tank”.
# List disks with stable names
ls -l /dev/disk/by-id

# Optional: wipe old signatures (DANGEROUS — erases data)
sudo wipefs -a /dev/sdX
sudo wipefs -a /dev/sdY

# Create a mirrored pool with 4K sector alignment (ashift=12)
sudo zpool create -f -o ashift=12 tank mirror \
  /dev/disk/by-id/wwn-disk1-id \
  /dev/disk/by-id/wwn-disk2-id

# Set recommended defaults
sudo zfs set compression=lz4 tank
sudo zfs set atime=off tank

# Create a dataset for application data and mount it at /srv/data
sudo zfs create -o mountpoint=/srv/data tank/data

# Verify
zpool status
zfs list
For a capacity-optimized pool, use RAIDZ. For example, a 3-disk RAIDZ1:
sudo zpool create -o ashift=12 tank raidz1 \
  /dev/disk/by-id/wwn-disk1-id \
  /dev/disk/by-id/wwn-disk2-id \
  /dev/disk/by-id/wwn-disk3-id
If you need native encryption for sensitive data:
# Encrypted dataset with passphrase
sudo zfs create -o encryption=aes-256-gcm -o keyformat=passphrase tank/secret
sudo zfs mount tank/secret
Everyday ZFS Management: Snapshots, Clones, and Replication
Snapshots are space-efficient and instant. Use them before risky changes or on schedules.
# Take a recursive snapshot
sudo zfs snapshot -r tank/data@pre-upgrade

# List snapshots
zfs list -t snapshot

# Roll back to a snapshot (DANGEROUS — reverts changes)
sudo zfs rollback tank/data@pre-upgrade

# Create a writable clone (useful for testing)
sudo zfs clone tank/data@pre-upgrade tank/data-clone
Replicate datasets to another server for backup or DR using send/receive over SSH.
# Full send
zfs send -Rv tank/data@pre-upgrade | ssh backup-host zfs receive -F backup/tank-data

# Incremental send (from previous snapshot to new one)
zfs send -Rv -I @pre-upgrade tank/data@post-upgrade | ssh backup-host zfs receive -F backup/tank-data
Schedule periodic scrubs to verify and repair data integrity.
# Start a scrub
sudo zpool scrub tank

# Check status
zpool status -x
Best Practices and Performance Tuning
- Ashift: Use ashift=12 for modern 4K disks. For SSDs/NVMe, ashift=12 or 13 is typical.
- Compression: Keep compression=lz4 enabled globally; it’s fast and often improves throughput.
- Recordsize: Match recordsize to workload. For databases: 16K or 8K. For VMs: 16K–64K. For large media: 1M.
- atime: Disable atime on most datasets (atime=off) to reduce write overhead.
- ARC memory: If ZFS competes with apps, cap ARC size.
# Limit ARC to 8GiB (example). Calculate bytes carefully.
echo "options zfs zfs_arc_max=8589934592" | sudo tee /etc/modprobe.d/zfs.conf
# Rebuild initramfs where applicable and reboot
# Ubuntu/Debian:
sudo update-initramfs -u
sudo reboot- SLOG (ZIL) device: For heavy sync writes (databases, NFS), add a fast, power-safe SSD as SLOG.
- L2ARC: Use a fast SSD as read cache if your working set exceeds RAM. It supplements but doesn’t replace RAM.
- Scrubs: Run monthly for large pools; weekly for critical data.
- Monitoring: Use zpool status, zpool list, zfs list, and enable ZED (ZFS Event Daemon) for email alerts.
- By-id paths: Always build pools with /dev/disk/by-id to avoid device renaming issues.
Common Issues and Quick Fixes
- Secure Boot blocks module: Enroll a MOK during install or disable Secure Boot in UEFI. On RHEL/Fedora, sign the module if required.
- DKMS build fails: Ensure kernel headers match your running kernel; reboot after kernel updates; check /var/lib/dkms/zfs logs.
- Module not found: modprobe zfs; ensure the zfs package installed successfully; verify repo configuration.
- Pool won’t import after reboot: Try zpool import; check zpool import -f if requested; ensure zfs-import-cache service is enabled.
- Disk replacement: Use zpool replace with by-id paths and wait for resilver to complete.
# Import an existing pool if it didn't auto-import
sudo zpool import
sudo zpool import tank

# Replace a failed disk with a new one
sudo zpool status
sudo zpool replace tank <old-disk-id> /dev/disk/by-id/<new-disk-id>
sudo zpool status -t  # watch resilver progress
Real-World Use Cases
- Web hosting servers: Snapshots before deployments; fast rollback; compression to save SSD space.
- Databases: Mirrors or RAIDZ2 with tuned recordsize; SLOG for sync writes; frequent scrubs.
- Virtualization: ZVOLs for VM disks; lz4 compression; snapshots and send/receive for backup.
- Backups and archives: RAIDZ for capacity; inline compression; periodic replication offsite.
If you prefer a fully managed setup, YouStable can provision Linux servers with OpenZFS, set optimal dataset properties for your workloads, and implement snapshot/replication schedules, freeing your team to focus on applications, not storage plumbing.
Distribution-Specific Notes
- Ubuntu: zfsutils-linux is usually enough; the module ships prebuilt. Use the installer’s MOK flow if Secure Boot is enabled.
- Debian: Ensure contrib is enabled; dkms and linux-headers must match your kernel.
- RHEL/Rocky/AlmaLinux: Prefer kmod packages for stability on stock kernels; keep the OpenZFS repo aligned with your minor release.
- Fedora: Rapid kernel updates can outpace DKMS; run dnf upgrade regularly and reboot to build/activate the module.
- openSUSE: Use the filesystems repo for your exact version; Tumbleweed changes quickly, so keep the repo current.
FAQ’s: Install ZFS on Linux Server
Is ZFS stable on Linux for production?
Yes. OpenZFS on Linux is widely used in production for web hosting, virtualization, and storage appliances. Match your OpenZFS version to your distribution, follow best practices (scrubs, monitoring), and test updates in staging for mission-critical systems.
Which RAID level should I choose (mirror vs RAIDZ)?
Mirrors deliver the best small I/O performance and simplest disk replacement. RAIDZ (1/2/3) offers better capacity efficiency. For databases/VMs, use mirrors. For archives and backups, use RAIDZ2 or RAIDZ3 for stronger redundancy over larger pools.
How much RAM does ZFS need?
There’s no fixed minimum, but 8–16 GB is a practical baseline for servers. More RAM improves the ARC cache. If memory is tight, cap ARC with zfs_arc_max and consider L2ARC on a fast SSD to extend read caching.
Can I boot Linux from ZFS?
Some distributions support ZFS-on-root (Ubuntu offers an installer option on certain releases). For most server deployments, keeping the OS on a separate small disk or mirror and using ZFS for data is simpler and more portable.
Do I need to align ZFS to 4K sectors?
Yes—set ashift=12 when creating pools to align to 4K sectors, which modern HDDs and SSDs use. This avoids write amplification and preserves performance. You cannot change ashift later without recreating the pool.
How do ZFS snapshots impact performance and space?
Snapshots are copy-on-write and very space-efficient. Initially they consume almost no space and minimal overhead. As data diverges, snapshots store only changed blocks. Keep a sensible retention policy to avoid snapshot sprawl.
What’s the easiest way to back up ZFS datasets?
Use zfs send | zfs receive for efficient, incremental backups. Send to another local pool, remote server over SSH, or object-storage gateways. Automate snapshot creation and replication with cron or orchestration tools.
Conclusion
Installing ZFS on Linux Server gives you enterprise-grade data integrity, simple management, and powerful features like snapshots and replication. Start small with a mirror, enable lz4 compression, schedule scrubs, and grow as needed. If you want a stress-free deployment with best practices baked in, YouStable can provision, optimize, and support OpenZFS for your workloads.