
To configure CSF (ConfigServer Security & Firewall) on a Linux server, install CSF and LFD, switch off other firewalls (UFW or firewalld), edit /etc/csf/csf.conf to set TESTING=0 and define allowed ports, then enable CSF with csf -e and start LFD. Finally, whitelist your IP, reload rules, and verify connectivity.
In this step-by-step guide for 2026, you’ll learn exactly how to configure CSF Firewall on Linux server the right way—safely, quickly, and with best practices I use in real production hosting environments. We’ll cover installation, essential settings, open ports, whitelisting and blocking, GEO/IP rules, performance tips, and troubleshooting.
What Is CSF Firewall and Why Use It?
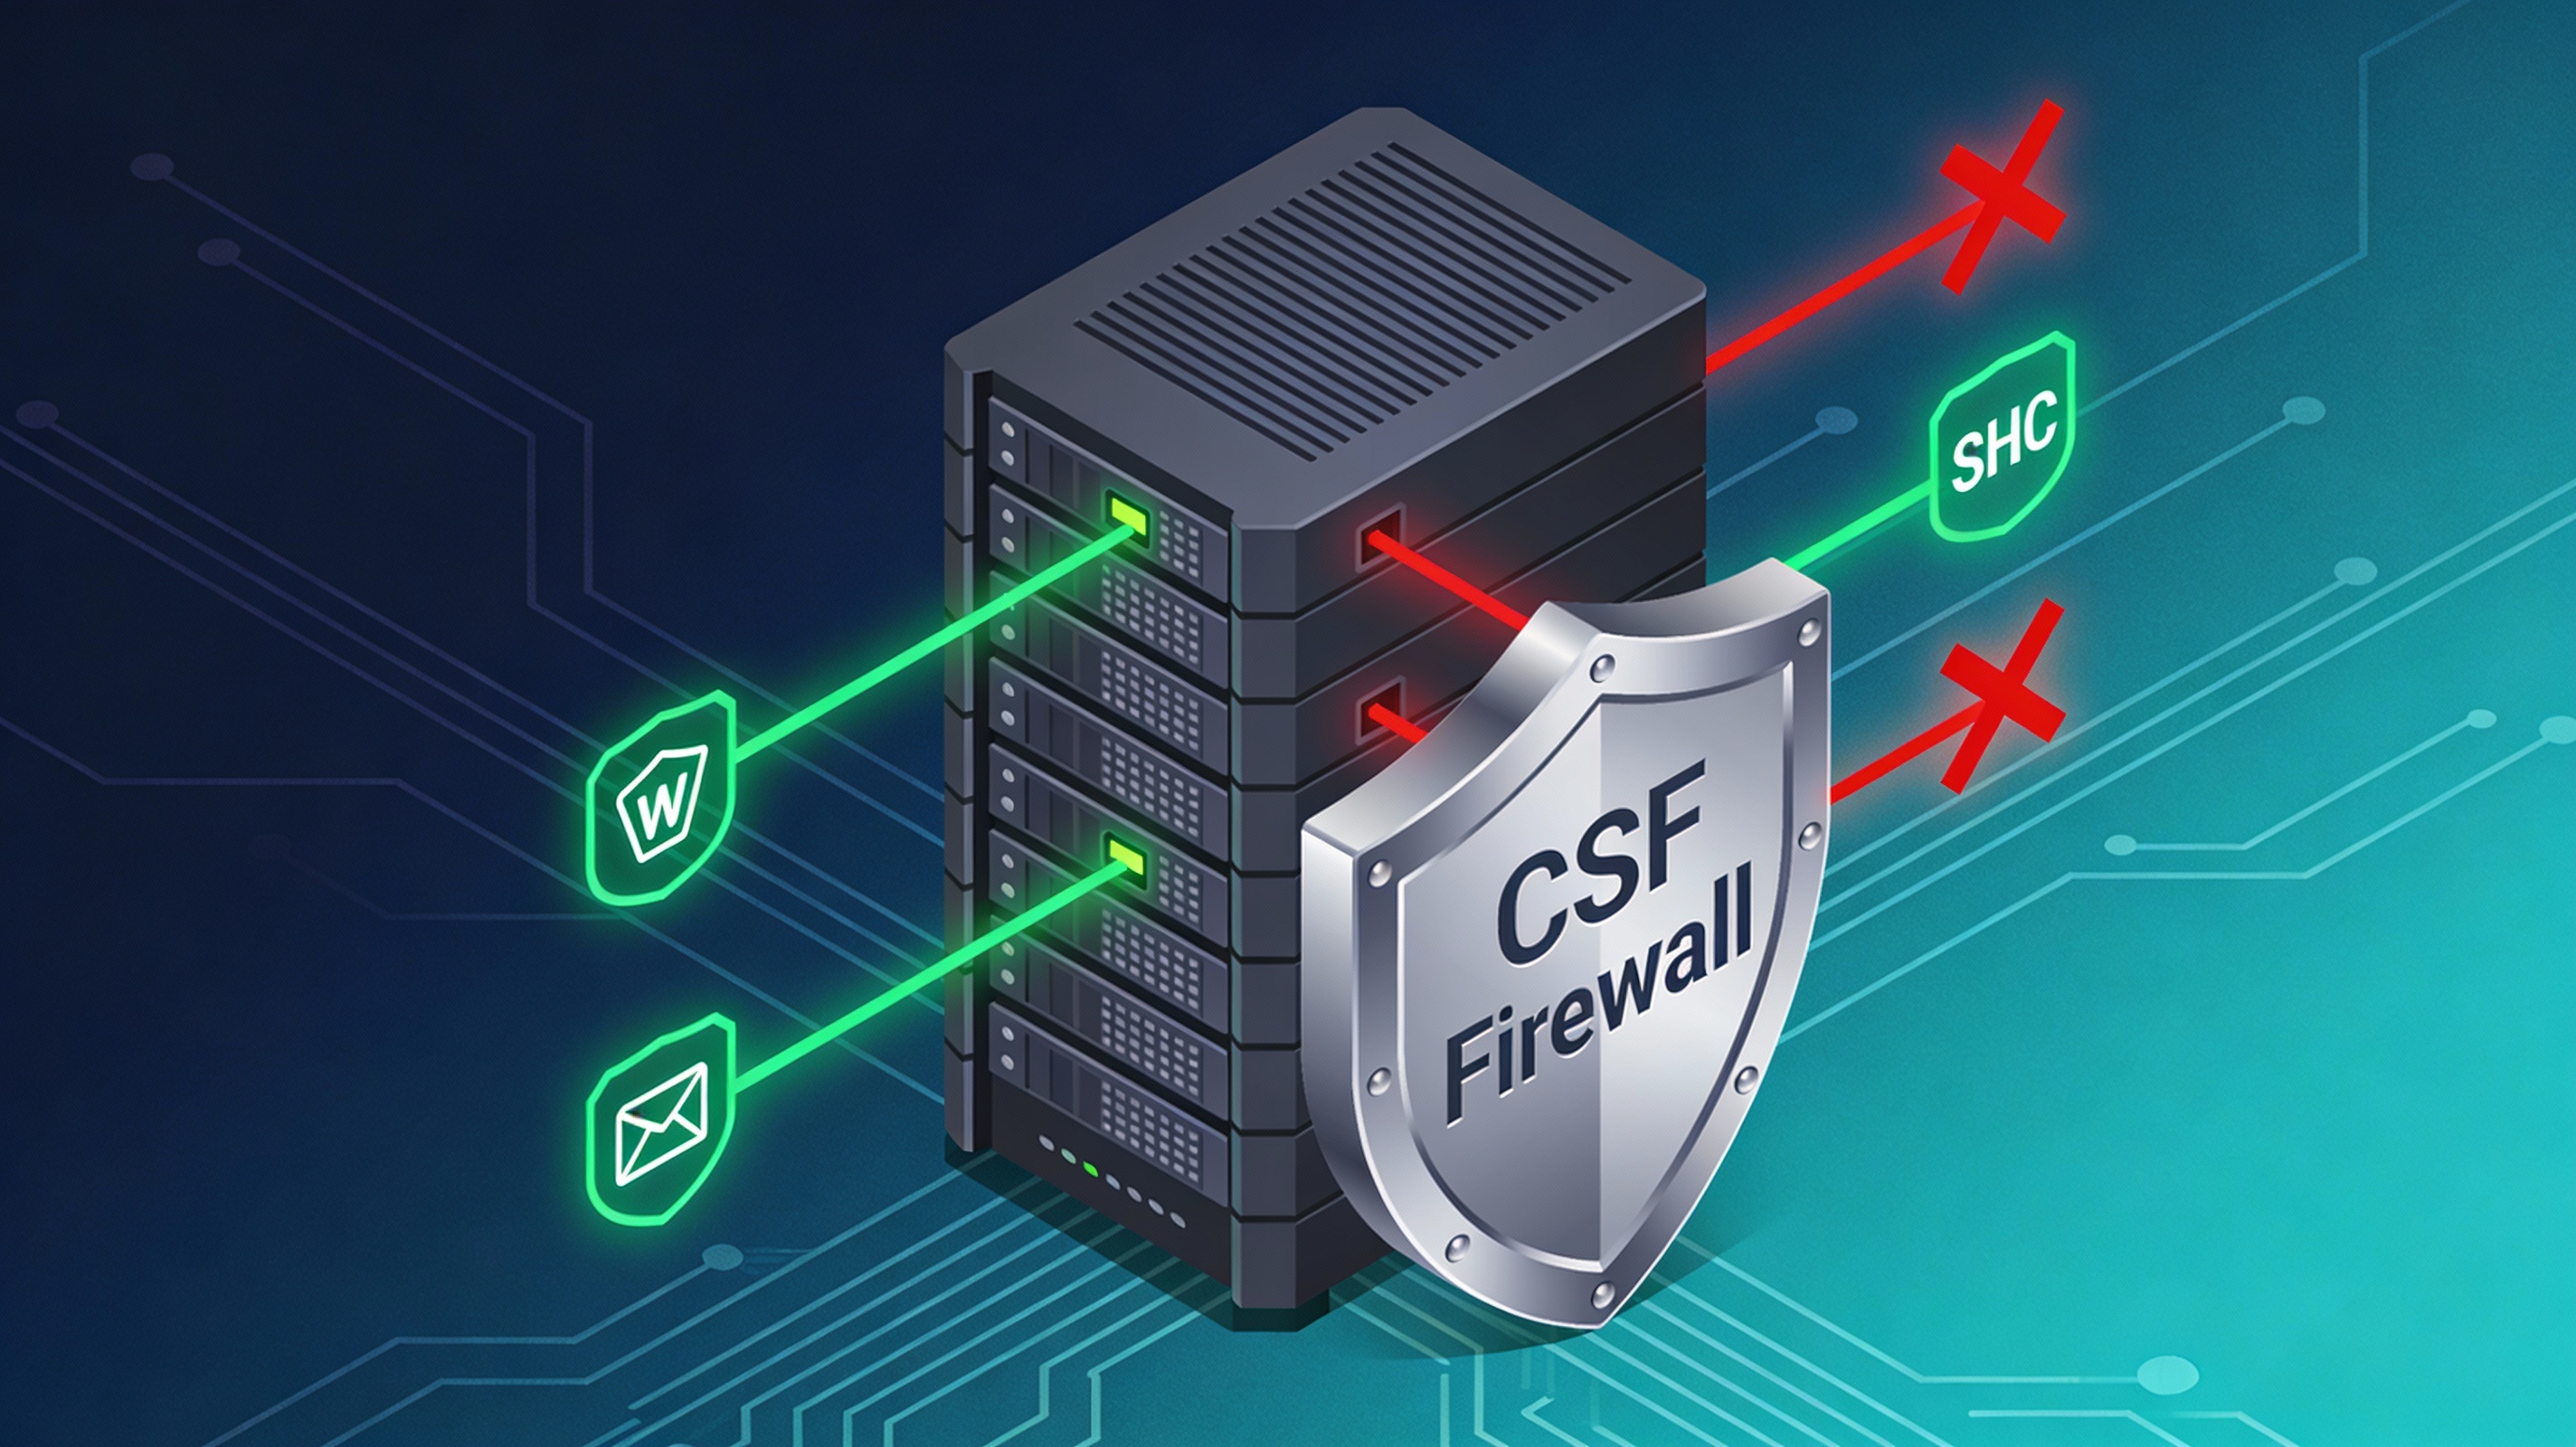
ConfigServer Security & Firewall (CSF) is an advanced iptables/nftables-based firewall for Linux. It ships with LFD (Login Failure Daemon), a security daemon that monitors logs for brute force attacks and automatically blocks offending IPs. CSF is popular on cPanel, DirectAdmin, and VPS/dedicated servers because it’s feature-rich, readable, and easy to automate.
Key benefits: granular port/IP control, auto-blocking, port flood protection, connection tracking, country blocking, custom blocklists, and control via CLI or hosting panels. On modern distributions (RHEL 9/AlmaLinux 9, Ubuntu 24.04), CSF uses iptables-nft, which translates to nftables under the hood—so it remains compatible in 2026.
Prerequisites and Compatibility
Before you configure CSF on Linux, ensure the following:
- Root or sudo access
- Supported OS: RHEL/CentOS/AlmaLinux/Rocky 7–9, Ubuntu 20.04/22.04/24.04, Debian 11/12
- Only one firewall framework active: disable UFW or firewalld before enabling CSF
- Open SSH console ready in case you need to revert quickly
Step-by-Step: Install CSF on Linux
1) Prepare the server
# RHEL/AlmaLinux/Rocky 8/9
sudo dnf -y update
sudo dnf -y install wget tar perl perl-libwww-perl iptables-services

# CentOS 7
sudo yum -y update
sudo yum -y install wget tar perl perl-libwww-perl iptables-services

# Ubuntu/Debian
sudo apt update
sudo apt -y install wget tar perl libwww-perl liblwp-protocol-https-perl
2) Stop other firewall managers
# If firewalld is present (RHEL-based)
sudo systemctl stop firewalld
sudo systemctl disable firewalld

# If UFW is present (Debian/Ubuntu)
sudo ufw disable
3) Download and install CSF
cd /usr/src
sudo wget https://download.configserver.com/csf.tgz
sudo tar -xzf csf.tgz
cd csf
sudo sh install.sh

# Test environment compatibility
sudo perl /usr/local/csf/bin/csftest.pl
If you use cPanel/WHM or DirectAdmin, CSF’s installer automatically adds a GUI under your panel’s Plugins section. On Webmin, there’s a dedicated CSF module you can enable post-install.
Baseline Configuration (Must-Do Settings)
Set testing mode off and define ports
By default, CSF installs in testing mode. Edit the main configuration file and set your core rules before enabling.
sudo nano /etc/csf/csf.confRecommended minimum changes:
# Disable testing mode (important)
TESTING = "0"

# SSH port (match your actual SSH port)
TCP_IN = "22,80,443"
TCP_OUT = "80,443,53"

# Optional common services (uncomment as needed)
# Add mail if this is a mail server:
# TCP_IN = "22,25,465,587,110,995,143,993,80,443"
# Add FTP passive range if you run FTP:
# TCP_IN = "21,20,30000:35000,80,443,22"

# UDP for DNS if needed
# UDP_IN = "53"
# UDP_OUT = "53,123"

# Tighten syslog access
RESTRICT_SYSLOG = "3"

# Email notifications (set to a valid address to get alerts)
LF_ALERT_TO = "admin@example.com"
Adjust the port list to exactly what your applications require. Minimal exposure equals better security.
Enable and Verify CSF/LFD
1) Enable rules and start LFD
# Enable CSF rules
sudo csf -e

# Start and enable LFD daemon
sudo systemctl enable --now lfd

# List active rules
sudo csf -l
2) Whitelist your IP and test connectivity
# Replace with your public IP
sudo csf -a 203.0.113.10 "Office IP"
sudo csf -r   # reload rules

# Verify server is reachable on SSH and web ports
sudo ss -tulpn | egrep ':22|:80|:443'
sudo iptables -L -n | head
Important: Always keep an additional console (VNC/IPMI/serial) open when applying new firewall rules, so you can revert if you misconfigure SSH access.
Everyday CSF Commands (Allow, Block, Open Ports)
Allow, deny, and temp allow/deny IPs
# Permanently allow an IP
sudo csf -a 203.0.113.10 "Office"

# Permanently block an IP
sudo csf -d 198.51.100.7 "Abusive host"

# Remove from allow/deny
sudo csf -ar 203.0.113.10
sudo csf -dr 198.51.100.7

# Temporarily allow (3600 seconds)
sudo csf -ta 203.0.113.10 3600

# Temporarily deny (2 hours)
sudo csf -td 203.0.113.200 7200
Open or close ports
Edit the TCP/UDP port lists in /etc/csf/csf.conf, then reload:
sudo nano /etc/csf/csf.conf
# Modify TCP_IN, TCP_OUT, UDP_IN, UDP_OUT
sudo csf -r
Enable SYN flood/port flood protection
# In /etc/csf/csf.conf
SYNFLOOD = "1"
SYNFLOOD_RATE = "100/s"
SYNFLOOD_BURST = "150"

# Port flood (per-port rate limiting)
PORTFLOOD = "80;tcp;100;5,443;tcp;100;5"
sudo csf -r
GeoIP and Blocklists (Use With Care)
Country blocking and external blocklists can reduce abusive traffic but may cause false positives. Test carefully before rolling into production.
Country allow/deny
# In /etc/csf/csf.conf
CC_DENY = "CN,RU"
# or allow only specific countries (deny the rest)
# CC_ALLOW = "US,CA,GB"
# Enable CC lookup backend and update GeoIP databases per CSF docs
sudo csf -r
Enable curated blocklists
CSF supports third-party blocklists in /etc/csf/csf.blocklists. Add reputable lists and set LF_IPSET to “1” for ipset acceleration where supported.
# Example line inside /etc/csf/csf.blocklists
# abusipdb|86400|https://raw.githubusercontent.com/abusix/abuse-ch/master/abuse-ch-ipblocklist.txt
sudo csf -r
Best-Practice Hardening Tips for 2026
- Change SSH to a non-standard port and restrict SSH to known IPs when possible
- Allow only required inbound services; block all else by default
- Enable LFD alerts and review /var/log/lfd.log regularly
- Use ipset (LF_IPSET=1) on busy servers to speed up large blocklists
- Set CT_LIMIT (connection tracking) to cap concurrent connections per IP for target ports
- Rotate and audit CSF allow/deny lists monthly; remove stale entries
- Combine CSF with fail2ban only if you understand overlaps; don’t duplicate bans from the same logs
Troubleshooting and Recovery
Locked out of SSH?
If SSH is blocked, use your provider’s console (VNC/IPMI). Whitelist your IP and reload:
sudo csf -a <your-ip>
sudo csf -r
Flush rules temporarily
# Disable CSF rules (keep LFD off if troubleshooting)
sudo csf -x
# Re-enable when fixed
sudo csf -e
Useful logs
- /var/log/lfd.log — LFD decisions and triggers
- /var/log/messages or /var/log/syslog — system-wide events
- /etc/csf/csf.deny and /etc/csf/csf.allow — manual entries
Performance and Compatibility Notes
- RHEL/AlmaLinux/Rocky 9 and Ubuntu 24.04 use nftables; CSF leverages iptables-nft compatibility layers and works fine
- On high-traffic servers, prefer ipset-based lists (LF_IPSET=1) and minimize per-IP rules
- Keep kernel and CSF updated to ensure conntrack and IPv6 handling are robust
- If you rely on Docker or Kubernetes, manage chains carefully; consider isolating CSF rules from container-managed networking
When Managed Hosting Helps
If you don’t want to babysit firewall rules and incident alerts, a managed VPS or dedicated server can save hours each month. At YouStable, our engineers deploy and tune CSF/LFD, harden SSH, and monitor logs 24/7—so your applications stay online and secure while you focus on growth.
FAQs: Configure CSF Firewall on Linux Server
Is CSF better than UFW or firewalld?
CSF isn’t “better” universally, but it’s more feature-rich for servers: LFD auto-bans, port flood control, blocklists, and easy per-IP management. UFW/firewalld are simpler and built-in. For hosting stacks (cPanel/DirectAdmin) and security automation, CSF is often preferred.
Does CSF work on RHEL 9/AlmaLinux 9 with nftables?
Yes. CSF uses iptables-nft on modern distributions, which translates rules to nftables. It’s fully usable in 2026. Keep your system packages up to date for best compatibility.
How do I avoid locking myself out of SSH?
Whitelist your IP before disabling TESTING. Keep a second console session open, confirm SSH is allowed in TCP_IN, and consider restricting SSH to your static IP. If locked out, use your provider console to csf -a your IP and csf -r.
How do I open ports 80 and 443 in CSF?
Edit /etc/csf/csf.conf, add 80 and 443 to TCP_IN and ensure they exist in TCP_OUT if your app makes outbound calls. Then run sudo csf -r to reload rules. Verify with ss -tulpn and an external port scan.
How do I uninstall CSF?
Disable it, run the uninstaller, then restore your preferred firewall:
sudo csf -x
cd /usr/src/csf
sudo sh uninstall.sh
# Re-enable firewalld or UFW if desired
sudo systemctl enable –now firewalld # or: sudo ufw enable
Final Thoughts
Configuring CSF on a Linux server is straightforward and powerful when done methodically. Install CSF/LFD, define only the ports you need, enable flood protection, and maintain allow/deny lists. With smart defaults and regular reviews, CSF gives you enterprise-grade control without the complexity.
Need a secure starting point? YouStable can provision your VPS or dedicated server with a hardened CSF profile, proactive LFD alerts, and 24/7 support—so your stack stays fast, locked down, and easy to manage.
