Are you trying to figure out how to install WSL on Windows without making things complicated? The good news is, you don’t need any technical setup or dual boot. With just one simple command, you can start using a full Linux environment directly on your Windows system.
In this easy setup guide for 2026, I’ll show you exactly how to install WSL on Windows step by step, so you can get everything working smoothly & start using Linux tools without confusion.
What is WSL and Why Use it?
Windows Subsystem for Linux (WSL) runs a genuine Linux environment directly on Windows.

WSL 2 uses a lightweight VM with a full Linux kernel, giving you near native performance, better compatibility, Docker support, and, on modern builds, GUI app support (WSLg). It’s ideal for web development, DevOps, cloud tools, and secure SSH workflows without leaving Windows.
5 Benefits of Using WSL on Windows
1. No need for dual boot or separate OS: You don’t have to install Linux separately or switch between operating systems. WSL lets you run Linux directly on Windows, saving time and effort.
2. Fast performance and better compatibility: WSL 2 provides near-native performance, which means your tools and applications run smoothly without lag. It also supports most modern development tools without issues.
3. Access to powerful Linux tools: You can use tools like Git, Docker, Node.js, Python, and SSH directly on Windows, making development and server management much easier.
4. Easy and quick setup process: With just one command, you can install WSL and start using it within minutes, without complex configurations.
5. Seamless workflow between Windows and Linux: You can easily switch between Windows and Linux environments, access files from both systems, and work without restarting your computer.
Who Should Use WSL on Windows?
WSL is a great fit if you want a Linux environment on Windows without extra setup. It works especially well for developers working with Node.js, Python, or PHP, as it lets you build and test projects in a real Linux setup.
DevOps engineers can use it to run Docker, Kubernetes, and automation tools more smoothly, while students and beginners can practice Linux commands without installing a separate OS.
It is also helpful for server administrators who manage VPS or dedicated servers using SSH, and for users working with cloud tools like AWS CLI or Terraform, where Linux compatibility makes tasks easier and more reliable.
System Requirements and Quick Checks
- Windows 11 (recommended) or Windows 10 version 2004 (build 19041) or later with latest updates.
- Hardware virtualization enabled (Intel VT-x or AMD-V) in BIOS/UEFI.
- Administrator rights on the machine and internet access to download the Linux distribution and kernel.
Quick ways to verify readiness:
- Windows version: Press Win+R > type
winverand confirm 2004+ (Windows 10) or Windows 11. - Virtualization: Task Manager > Performance > CPU should show “Virtualization: Enabled.” If not, enable it in BIOS/UEFI.
- Admin PowerShell: Right click Start > Windows Terminal (Admin) or PowerShell (Admin).
How to Set WSL 2 as Default Version
To make sure all new Linux distributions use WSL 2 by default, you just need to run a simple command in PowerShell.
Open PowerShell as Administrator and run:
wsl --set-default-version 2
This will set WSL 2 as the default version for all future installations. If you already have a distro installed on WSL 1, you can upgrade it by running:
wsl --set-version <DistroName> 2
For example:
wsl --set-version Ubuntu 2
After this, your system will use WSL 2, giving you better performance, full Linux kernel support, and improved compatibility with modern tools like Docker.
Install WSL on Windows (Fast Method) – Step by Step
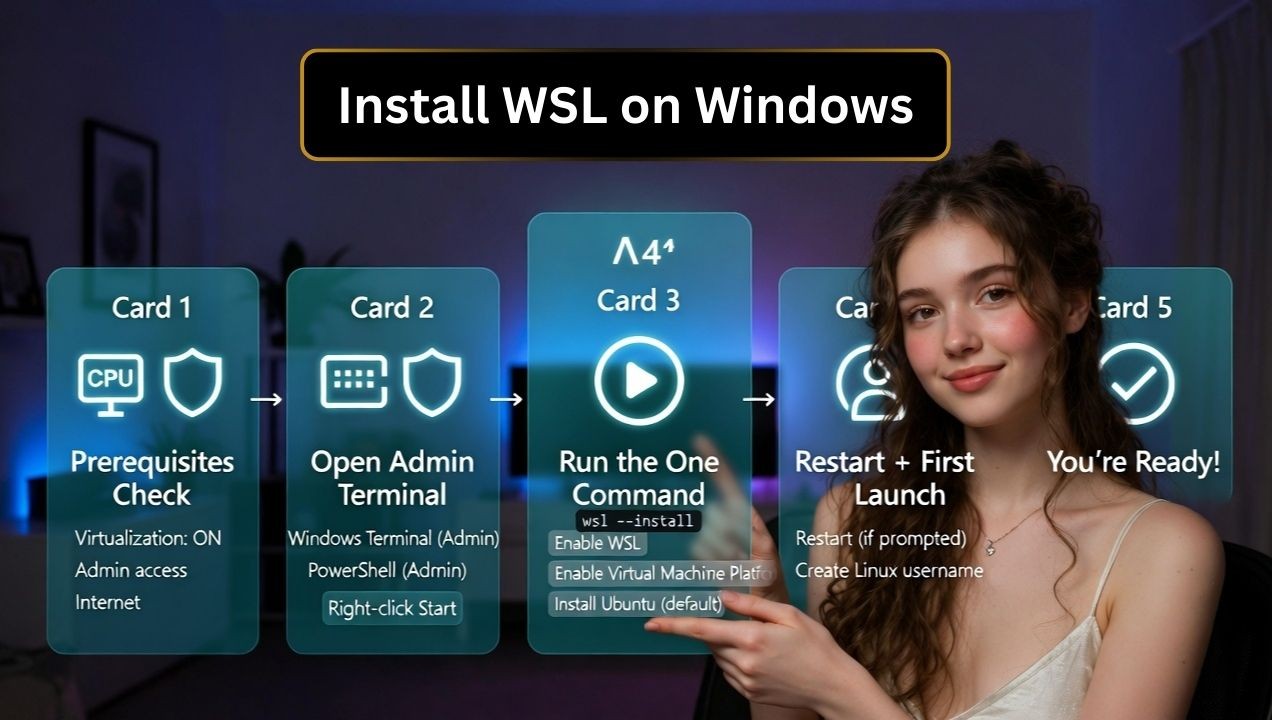
1. Open PowerShell as Administrator
Right click the Start button and choose Windows Terminal (Admin) or PowerShell (Admin). You’ll run a single command that sets up everything for WSL 2 and installs Ubuntu by default.
2. Run the one command installer
wsl --installWhat this does:
- Enables the Windows Subsystem for Linux and Virtual Machine Platform features.
- Installs the latest WSL kernel (Store version on modern builds).
- Downloads and installs the default Linux distribution (usually Ubuntu LTS).
Restart your PC if prompted. On first launch, WSL will ask you to create a Linux username and password.
3. Choose or change your Linux distro
If you want a different distribution (e.g., Ubuntu 22.04, Debian, Kali, openSUSE), list available options and install a specific one:
wsl -l -o
wsl --install -d Ubuntu-22.04
wsl --set-default Ubuntu-22.04
4. Create your Linux user and update packages
On first launch, WSL asks for a UNIX username and password. Then, update packages to ensure a secure, current environment:
sudo apt update && sudo apt -y upgrade
sudo apt install -y build-essential git curl
At this point you have a fully working WSL 2 environment on Windows.
Basic WSL Commands for Beginners
If you’re just starting with WSL, these basic commands will help you manage and use your Linux environment smoothly:
wsl -l -v
Shows all installed Linux distributions and their WSL version (WSL 1 or WSL 2).
wsl --status
Displays the current WSL status and default version.
wsl --shutdown
Stops all running WSL instances and restarts the environment.
wsl --update
Updates the WSL kernel to the latest version for better performance and security.
wsl --set-default-version 2
Sets WSL 2 as the default version for new installations.
wsl --set-version <DistroName> 2
Converts a specific Linux distribution to WSL 2.
wsl
Starts your default Linux distribution directly from the terminal.
exit
Closes the WSL session and returns to Windows.
Alternative: Manual Installation (Windows 10/Older Builds)
Enable WSL and Virtual Machine Platform features
If wsl --install isn’t available, enable the features manually in PowerShell (Admin):
dism.exe /online /enable-feature /featurename:Microsoft-Windows-Subsystem-Linux /all /norestart
dism.exe /online /enable-feature /featurename:VirtualMachinePlatform /all /norestart
Install the Linux kernel update (if prompted)
Older Windows 10 builds require the WSL 2 kernel package. If your system prompts for it, follow the link provided or run:
wsl --updateSet WSL 2 as default and install a distro
Make WSL 2 your default version and install a distribution of your choice:
wsl --set-default-version 2
wsl -l -o
wsl --install -d Ubuntu-22.04
If the Store is blocked, you can download a .appx package from Microsoft and install it offline, then run the distro to finalize setup.
Verify, Update, and Manage WSL
Check version and status
wsl -l -v
wsl --status
You should see your distro listed with “Version 2.” If it shows “1,” upgrade it:
wsl --set-version <DistroName> 2Update WSL and the kernel
wsl --update
wsl --shutdown
Shutdown restarts the lightweight VM so updates take effect. Keep both Windows and your Linux packages updated for security and performance.
Post Install Essentials and Best Practices
File system paths and backups
Access Windows files from Linux at /mnt/c, and Linux files from Windows via \\wsl$. For performance, keep project files inside your Linux home (e.g., ~/projects) rather than on the Windows side. Use Git inside WSL to avoid line ending and permission issues.
Using SSH to manage servers
WSL is excellent for SSH-based workflows. Generate keys, then connect to your VPS or dedicated server:
ssh-keygen -t ed25519 -C "your_email@example.com"
ssh-copy-id user@server-ip
ssh user@server-ip
If you host with YouStable, WSL gives you a consistent Linux toolchain on Windows to manage your servers over SSH, deploy web apps, and automate tasks with Ansible or Docker Compose, all from your local machine.
GPU, Docker, and dev tools
- Docker: Install Docker Desktop and enable “Use the WSL 2 based engine,” or install Docker Engine inside WSL for a pure Linux feel.
- GUI apps: On Windows 11 (and recent WSL), Linux GUI apps run out of the box with WSLg.
- VS Code: Install VS Code on Windows and the “Remote – WSL” extension for seamless editing inside Linux.
Control WSL resources (.wslconfig)
Limit CPU, RAM, and swap usage by creating %UserProfile%\.wslconfig and then running wsl --shutdown:
[wsl2]
memory=6GB
processors=4
swap=2GB
localhostForwarding=true
Troubleshooting Common Errors
Virtualization disabled
If you see errors about virtualization or can’t set WSL 2, enable Intel VT-x/AMD-V in BIOS/UEFI. Also ensure the “Virtual Machine Platform” feature is on and that other hypervisors (e.g., third party) aren’t conflicting.
Microsoft Store blocked or offline install
Use wsl --install -d <Distro> from PowerShell. In restricted environments, download the distro package from Microsoft and install it offline. Then initialize the distro by launching it once.
Permission and network issues
- Run PowerShell as Administrator for feature changes.
- Temporarily disable security software if it blocks the WSL kernel update.
- For DNS/network errors inside WSL, try
wsl --shutdownor reset the network stack, then relaunch.
Reset or uninstall WSL
wsl --shutdown
wsl --unregister <DistroName>   # removes a distro
wsl --uninstall                  # removes WSL (Store build)
Unregistering a distro deletes its data, so always back up important projects and databases first.
Also Read: Clear DNS Cache on Windows, Linux & Mac
How to Restart or Reset WSL
If WSL is not working properly or showing errors, you can quickly restart or reset it using a few simple commands.
To restart WSL, open PowerShell and run:
wsl --shutdown
This will stop all running WSL instances. When you open WSL again, it will start fresh and most temporary issues will be fixed.
If you want to reset a specific Linux distribution, use:
wsl --unregister <DistroName>
For example:
wsl --unregister Ubuntu
This will completely remove the distro from your system, so make sure to back up your data before running this command.
WSL 1 vs WSL 2: Which Should You Use?
- Compatibility: WSL 2 runs a real Linux kernel; Docker and most tools work better.
- Performance: WSL 2 is faster for file I/O inside Linux; WSL 1 can be faster when reading Windows files.
- Networking: WSL 2 uses a lightweight VM with its own IP by default; port forwarding to localhost works with modern WSL.
- Use WSL 1 only if your environment forbids virtualization or you need specific legacy behavior. Otherwise, choose WSL 2.
Real World Use Cases (From a Hosting Perspective)
- Local WordPress dev: Spin up LAMP/LEMP stacks in WSL, test, then deploy to your VPS.
- CI/CD pipelines: Use Git, Node.js, Python, and Docker in WSL to build and ship from Windows.
- Server admin: SSH into YouStable servers, manage Nginx/Apache, run backups, and automate with Bash.
- Cloud tooling: Use AWS CLI, Azure CLI, kubectl, and Terraform natively in Linux without leaving Windows.
If you’re moving from local WSL projects to production, YouStable’s SSD VPS and Dedicated Servers offer reliable performance, easy scaling, and 24×7 support making deployment from WSL straightforward and predictable.
Is WSL Safe on Windows?
Yes, WSL on Windows is safe, and you can use it without worrying about your system. It’s an official Microsoft feature, so it runs in a controlled and isolated environment without affecting your main Windows files.
But here’s something you should always keep in mind, your safety also depends on how you use it. If you install trusted packages, keep everything updated, and avoid running unknown commands, you’ll have a smooth and secure experience. So if you’re thinking about using WSL for development or server work, you’re absolutely on the right track
FAQs
Is WSL free, and does it work on Windows Home?
Yes, WSL is completely free & available on Windows 10 Home (version 2004 or later) and all editions of Windows 11. You don’t need Hyper-V, as WSL 2 works using the Virtual Machine Platform feature, which is supported on Home versions.
How do I check if I’m using WSL 2?
You can check your WSL version by running wsl -l -v in PowerShell or Windows Terminal. It will show your installed distributions along with their version. If it shows “2,” you are using WSL 2.
Can I move a WSL distro to another drive?
Yes, you can move a WSL distribution to another drive using export & import commands. First export the distro using wsl –export, then unregister it, and import it again to a new location using wsl –import with your desired path.
What’s the difference between WSL and a full Linux VM?
WSL 2 is a lightweight virtualized environment integrated with Windows, offering faster startup, better performance, & seamless file access. A full Linux VM provides complete isolation and more control but uses more system resources & requires manual setup.
Do I need Docker Desktop to use containers with WSL?
No, Docker Desktop is not required. You can install Docker Engine directly inside your WSL distribution for a native Linux experience. However, Docker Desktop provides easier setup & better integration with Windows.